Changing the Time Zone
Change the time zone to match your location. The default setting is New York or Singapore, depending on the region of purchase.
 switch:


FUNC.
[ MENU]
MENU] 
[ DATE/TIME SETUP]
  [T.ZONE/DST]
  Desired time zone*
FUNC.
*To adjust for daylight saving time, select the area name marked with a  .
.
Getting Ready to Start
Recording
Opening the Lens Cover and Adjusting the LCD Screen
Before you start recording, open the lens cover.
Setting the Date and Time
 switch:


1Open the date and time setup screen.
FUNC.  [
[ MENU]
MENU] 
[  DATE/TIME SETUP]
  [DATE/TIME]
Blinking arrows will be displayed around the first field of the date.
2Change each field of the date and
time with the joystick ( ) and move (
 ) to the next field.
3Press  to start the clock.
4Press FUNC. to close the menu.
 NOTES
NOTES
You can also change the date format
( 49).
49).
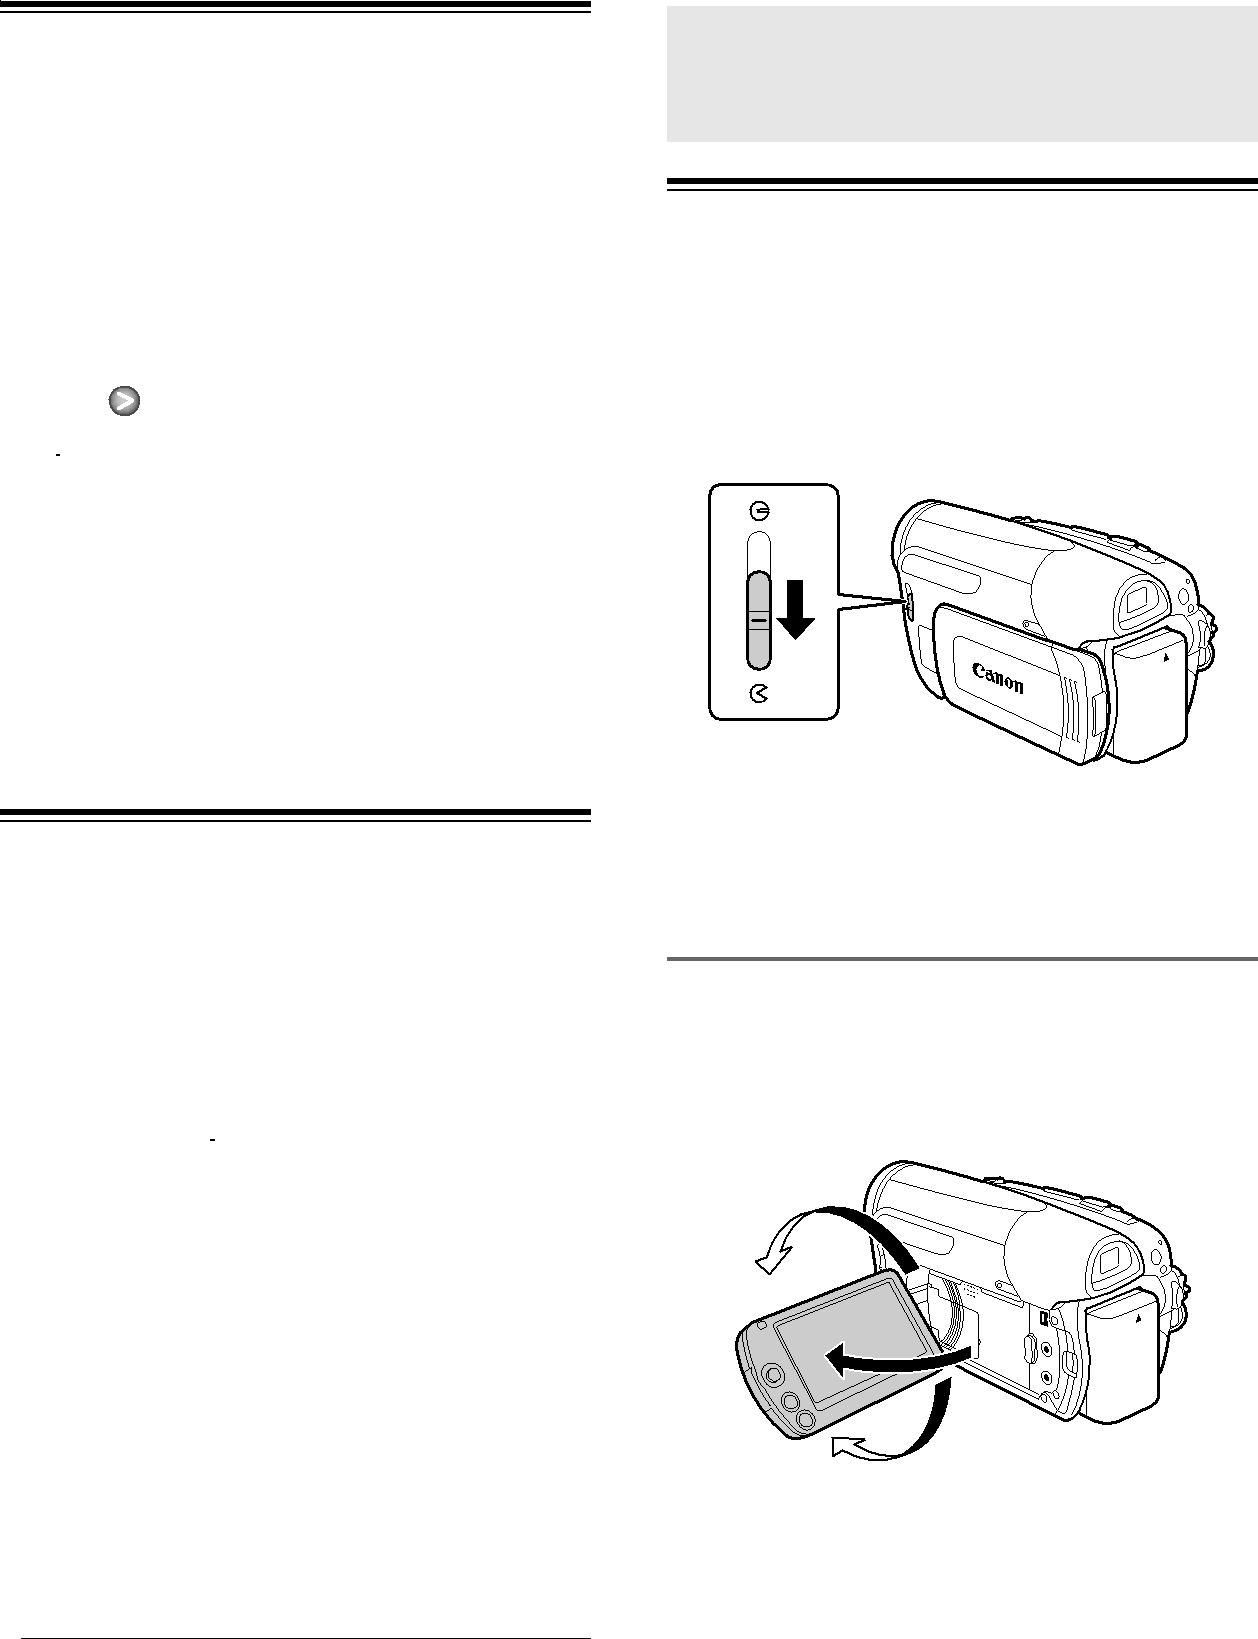
Move the lens cover switch down to  to open the lens cover.
Rotating the LCD Panel
Open the LCD panel 90 degrees.
You can rotate the panel 90 degrees downward.
180°
90°
You can rotate the panel 180 degrees toward the lens (allowing the subject to monitor the LCD screen while you use the viewfinder ( 23)). Rotating the LCD panel 180 degrees can be useful also when you wish to include yourself in the picture when recording with the self timer.
20 • Preparations