KitchenAid,
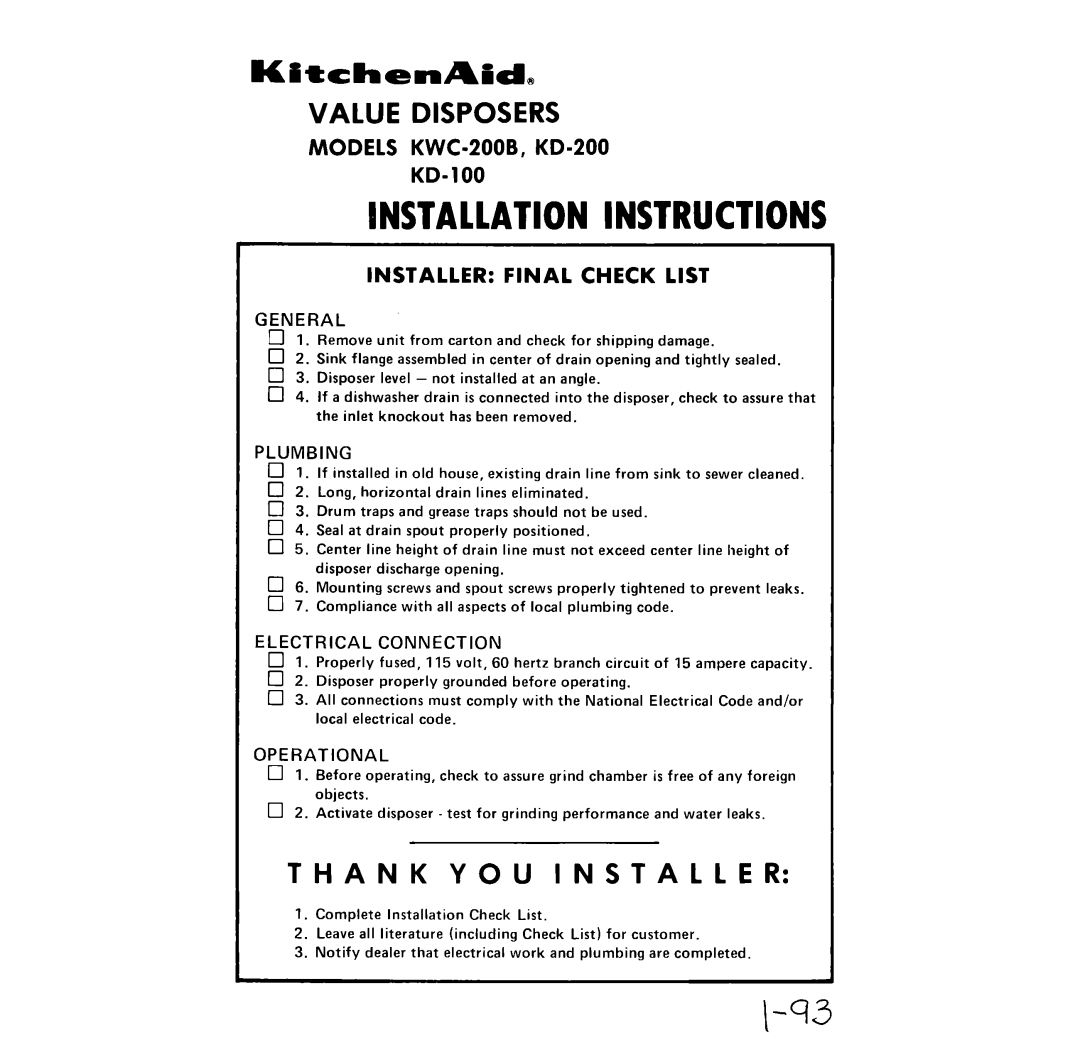
VALUE DISPOSERS
MODELS KWC=200B, KD-200
INSTALLATIONINSTRUCTIONS
INSTALLER: FINAL CHECK LISTGE.RlcLemove unit from carton and check for shipping damage.
02. Sink flange assembled in center of drain opening and tightly sealed.
03. Disposer level - not installed at an angle.
04. If a dishwasher drain is connected into the disposer, check to assure that the inlet knockout has been removed.
PLUMBING
01. If installed in old house, existing drain line from sink to sewer cleaned.
02. Long, horizontal drain lines eliminated.
03. Drum traps and grease traps should not be used.
04. Seal at drain spout properly positioned.
05. Center line height of drain line must not exceed center line height of disposer discharge opening.
0 | 6. | M oun t’ mg | screws and spout screws properly | tightened | to prevent leaks. |
0 | 7. | Compliance | with all aspects of local plumbing | code. |
|
ELECTRICAL CONNECTION
01. Properly fused, 115 volt, 60 hertz branch circuit of 15 ampere capacity.
02. Disposer properly grounded before operating.
03. All connections must comply with the National Electrical Code and/or local electrical code.
OPERATIONAL
0 1. Before operating, check to assure grind chamber is free of any foreign objects.
0 2. Activate disposer
THANK YOU INSTALLER:
1. Complete Installation Check List.
2.Leave all literature (including Check List) for customer.
3.Notify dealer that electrical work and plumbing are completed.