W1751 25"
Pressure Roller Depth and Alignment
To reduce snipe, double check the pressure roller depth adjustment. The front and rear pressure roller should be approximately
To adjust the pressure rollers, do these steps:
1.DISCONNECT THE SANDER FROM POWER, but keep the air pressure coming in.
2.Make two gauge boards that are 24" long and are of a uniform thickness.
3.Tension the sanding belt.
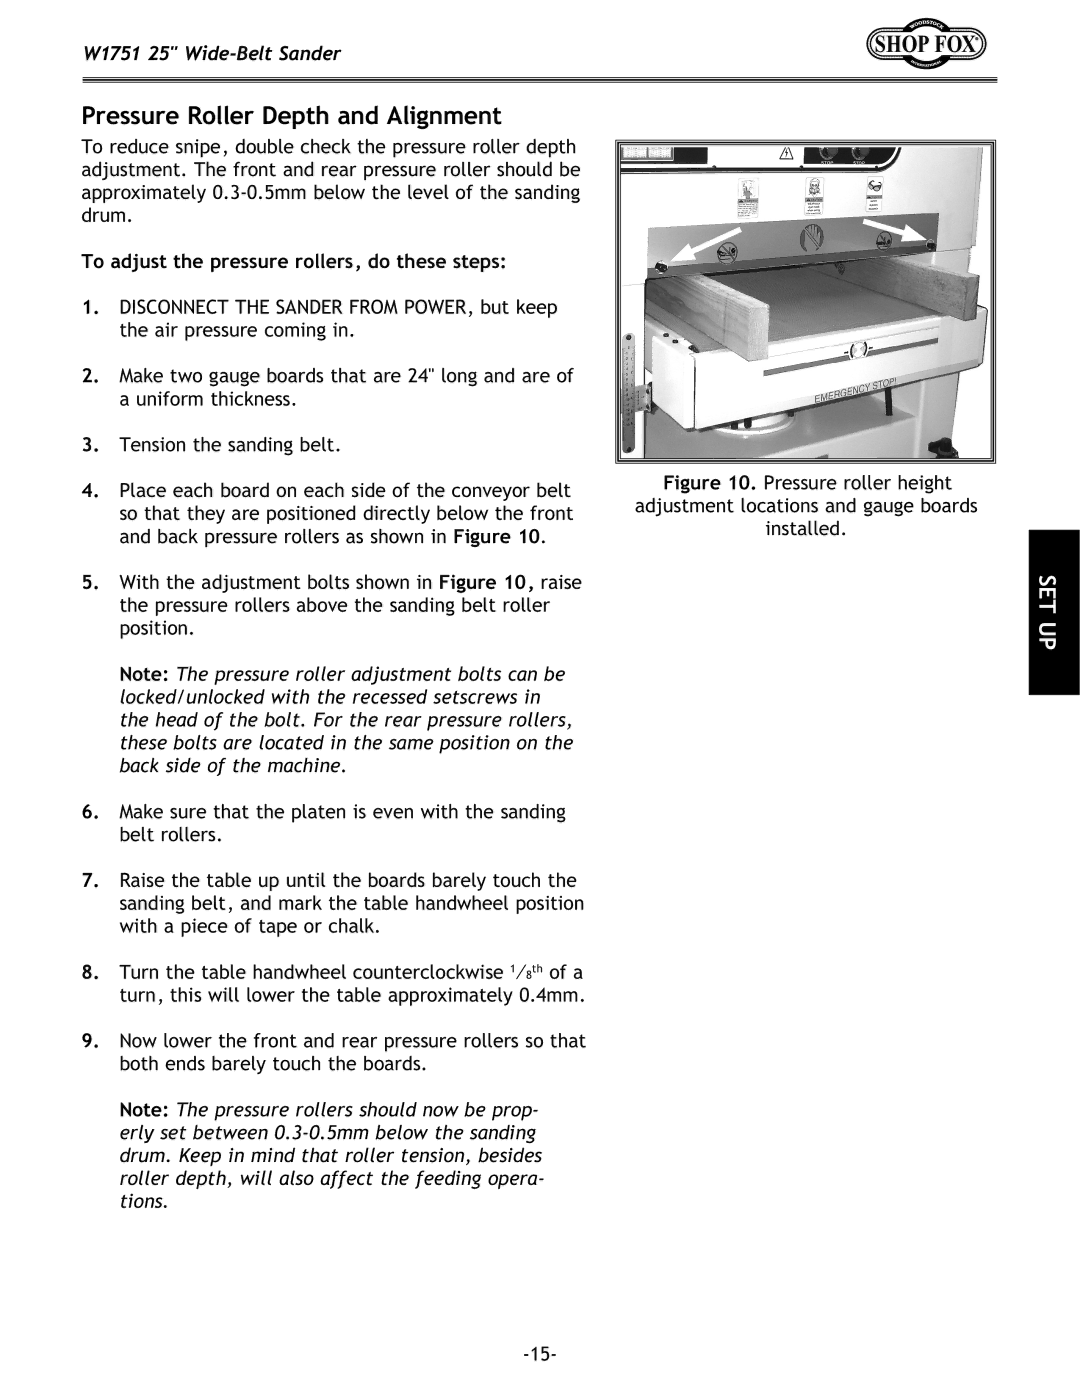
4.Place each board on each side of the conveyor belt so that they are positioned directly below the front and back pressure rollers as shown in Figure 10.
5.With the adjustment bolts shown in Figure 10, raise the pressure rollers above the sanding belt roller position.
Note: The pressure roller adjustment bolts can be locked/unlocked with the recessed setscrews in the head of the bolt. For the rear pressure rollers, these bolts are located in the same position on the back side of the machine.
6.Make sure that the platen is even with the sanding belt rollers.
7.Raise the table up until the boards barely touch the sanding belt, and mark the table handwheel position with a piece of tape or chalk.
8.Turn the table handwheel counterclockwise 1⁄8th of a turn, this will lower the table approximately 0.4mm.
9.Now lower the front and rear pressure rollers so that both ends barely touch the boards.
Note: The pressure rollers should now be prop- erly set between
Figure 10. Pressure roller height adjustment locations and gauge boards installed.
SET UP