Attaching/Removing the Battery
The camera can run with the battery power only. When the battery
•The battery cannot be used when the pantilter is attached.
•Turn off the power before attaching/removing the battery.
•The following cannot be used while the battery is attached:
– LAN terminal, network mode switch, reset button
CAUTION
•Be sure to use a battery of our manufacture. If a battery not of our manufacture is used, the safety and performance are not guaranteed.
•Charging may take time or may not be possible in places outside the operating temperature range.
Attaching
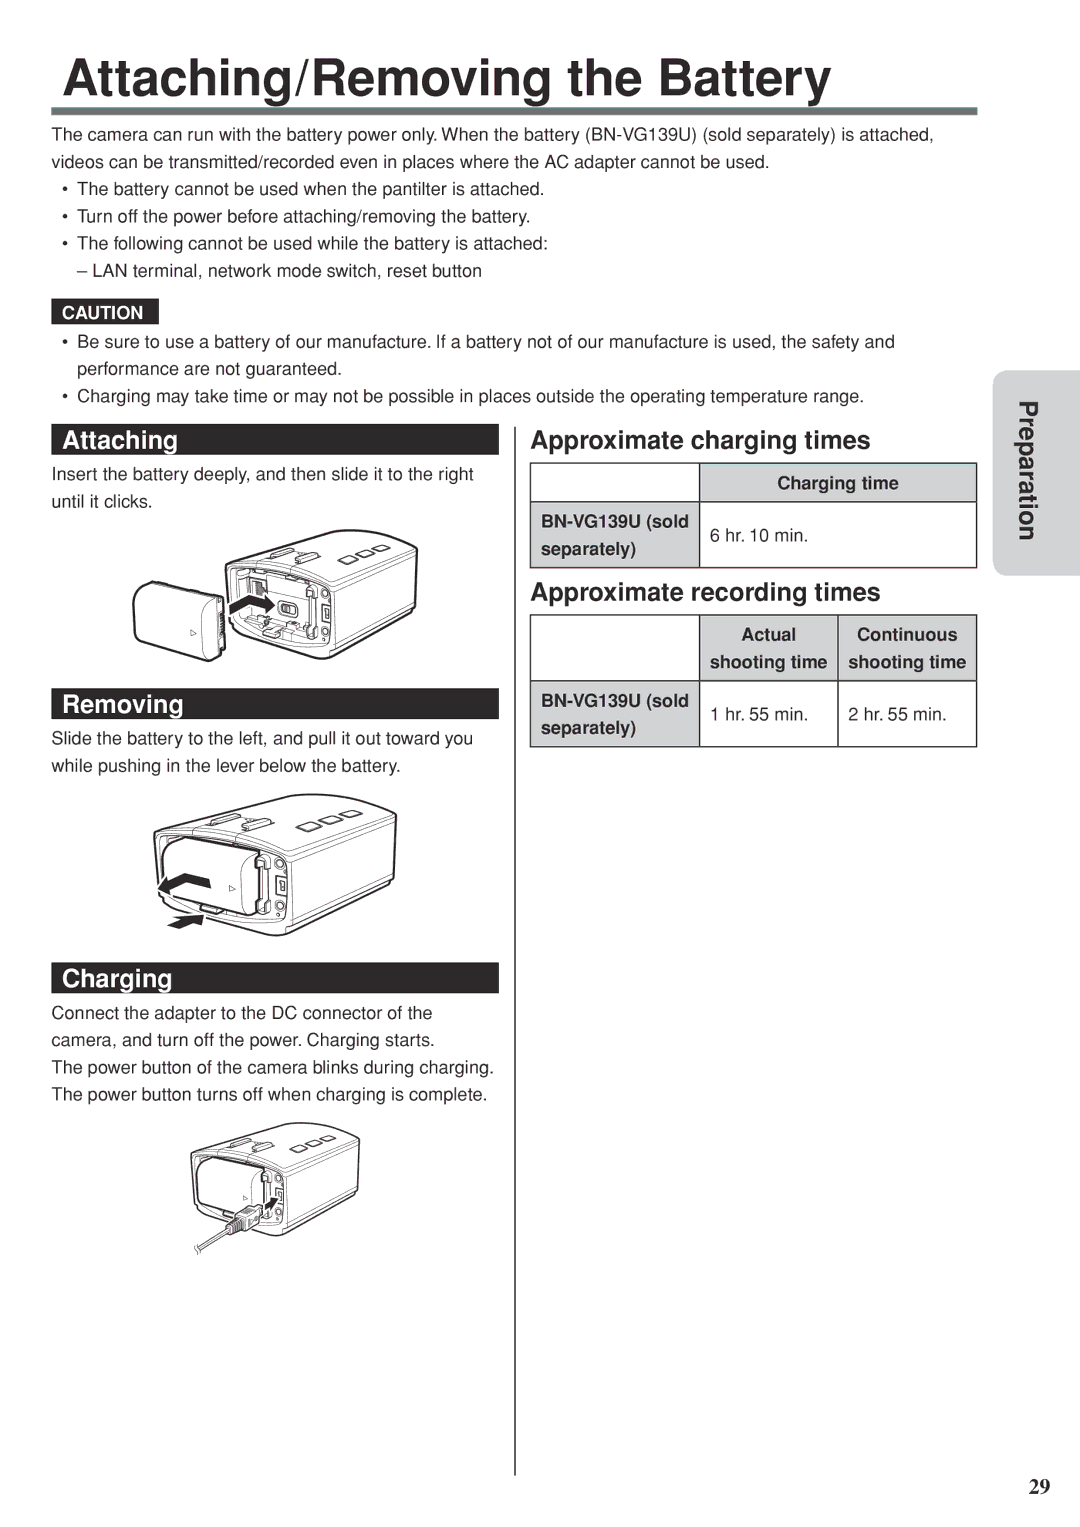
Insert the battery deeply, and then slide it to the right until it clicks.
Removing
Slide the battery to the left, and pull it out toward you while pushing in the lever below the battery.
Charging
Connect the adapter to the DC connector of the camera, and turn off the power. Charging starts.
The power button of the camera blinks during charging. The power button turns off when charging is complete.
Approximate charging times
| Charging time | ||
|
|
| |
6 hr. 10 min. |
| ||
separately) |
| ||
|
| ||
|
|
| |
Approximate recording times | |||
|
|
| |
| Actual | Continuous | |
| shooting time | shooting time | |
|
|
| |
1 hr. 55 min. | 2 hr. 55 min. | ||
separately) | |||
|
| ||
|
|
| |
Preparation
29