Dell Latitude E6320 Diagnostics32, Device Status Lights, Battery Status Lights, LED Error Codes

Page 115

Diagnostics32

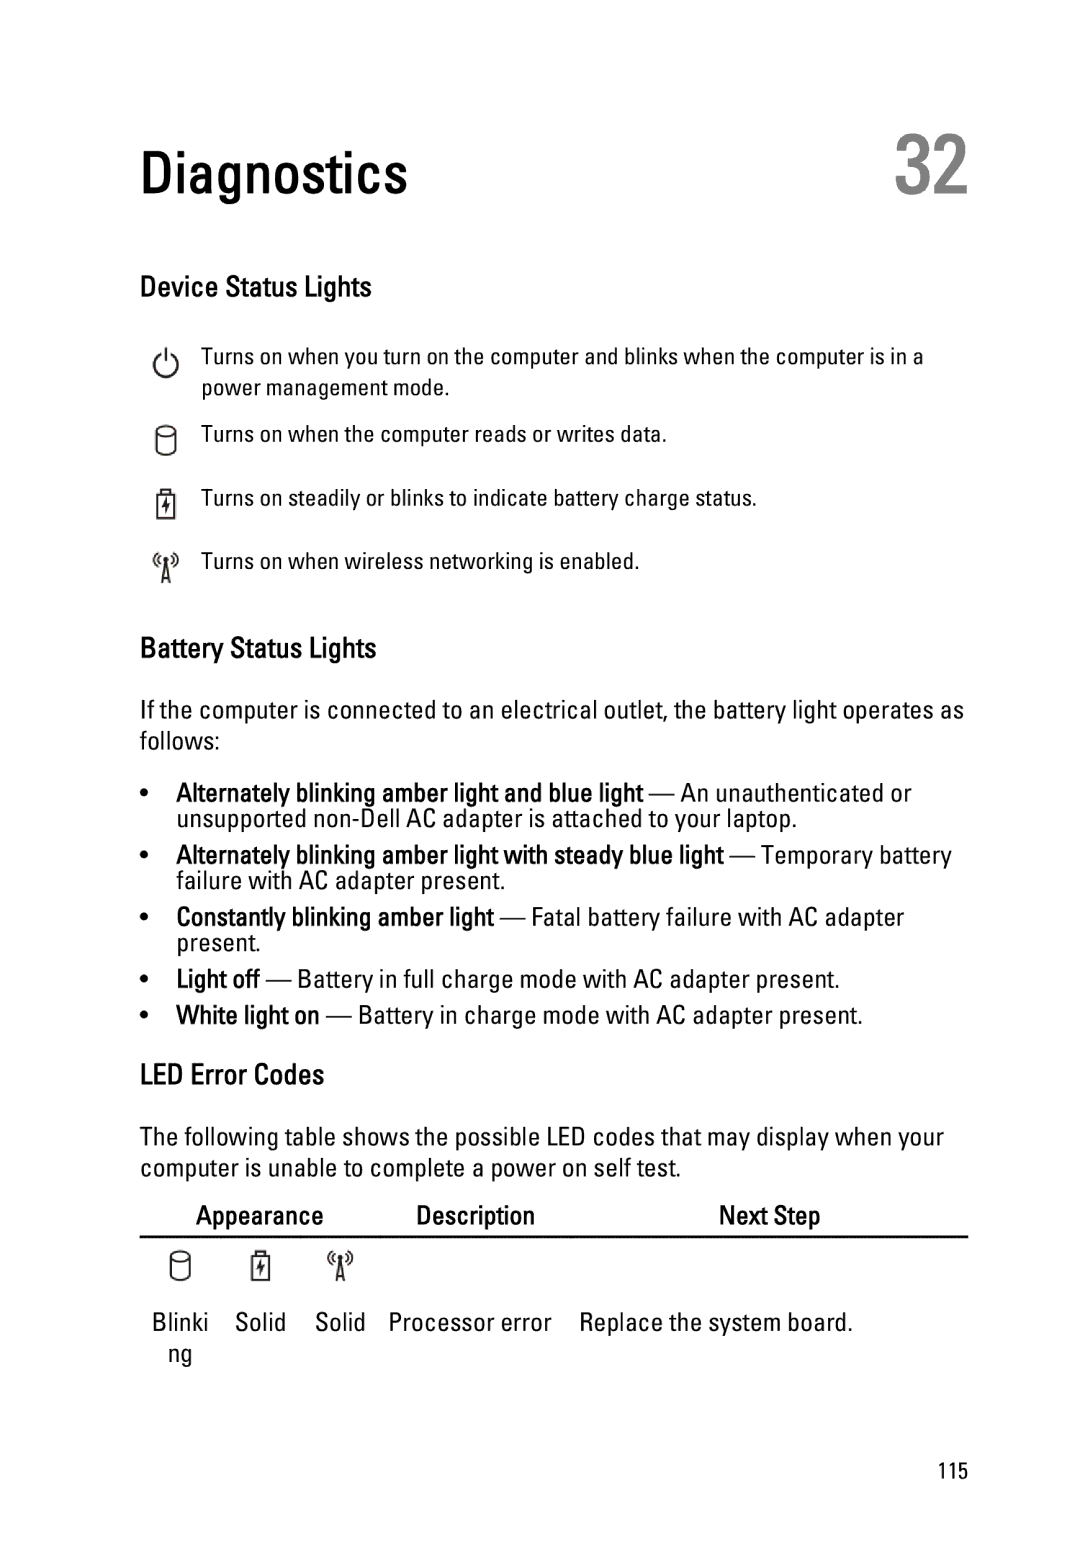
Device Status Lights

Turns on when you turn on the computer and blinks when the computer is in a power management mode.

Turns on when the computer reads or writes data.

Turns on steadily or blinks to indicate battery charge status.

Turns on when wireless networking is enabled.

Battery Status Lights

If the computer is connected to an electrical outlet, the battery light operates as follows:

Alternately blinking amber light and blue light — An unauthenticated or unsupported non-Dell AC adapter is attached to your laptop.

Alternately blinking amber light with steady blue light — Temporary battery failure with AC adapter present.

Constantly blinking amber light — Fatal battery failure with AC adapter present.

Light off — Battery in full charge mode with AC adapter present.

White light on — Battery in charge mode with AC adapter present.

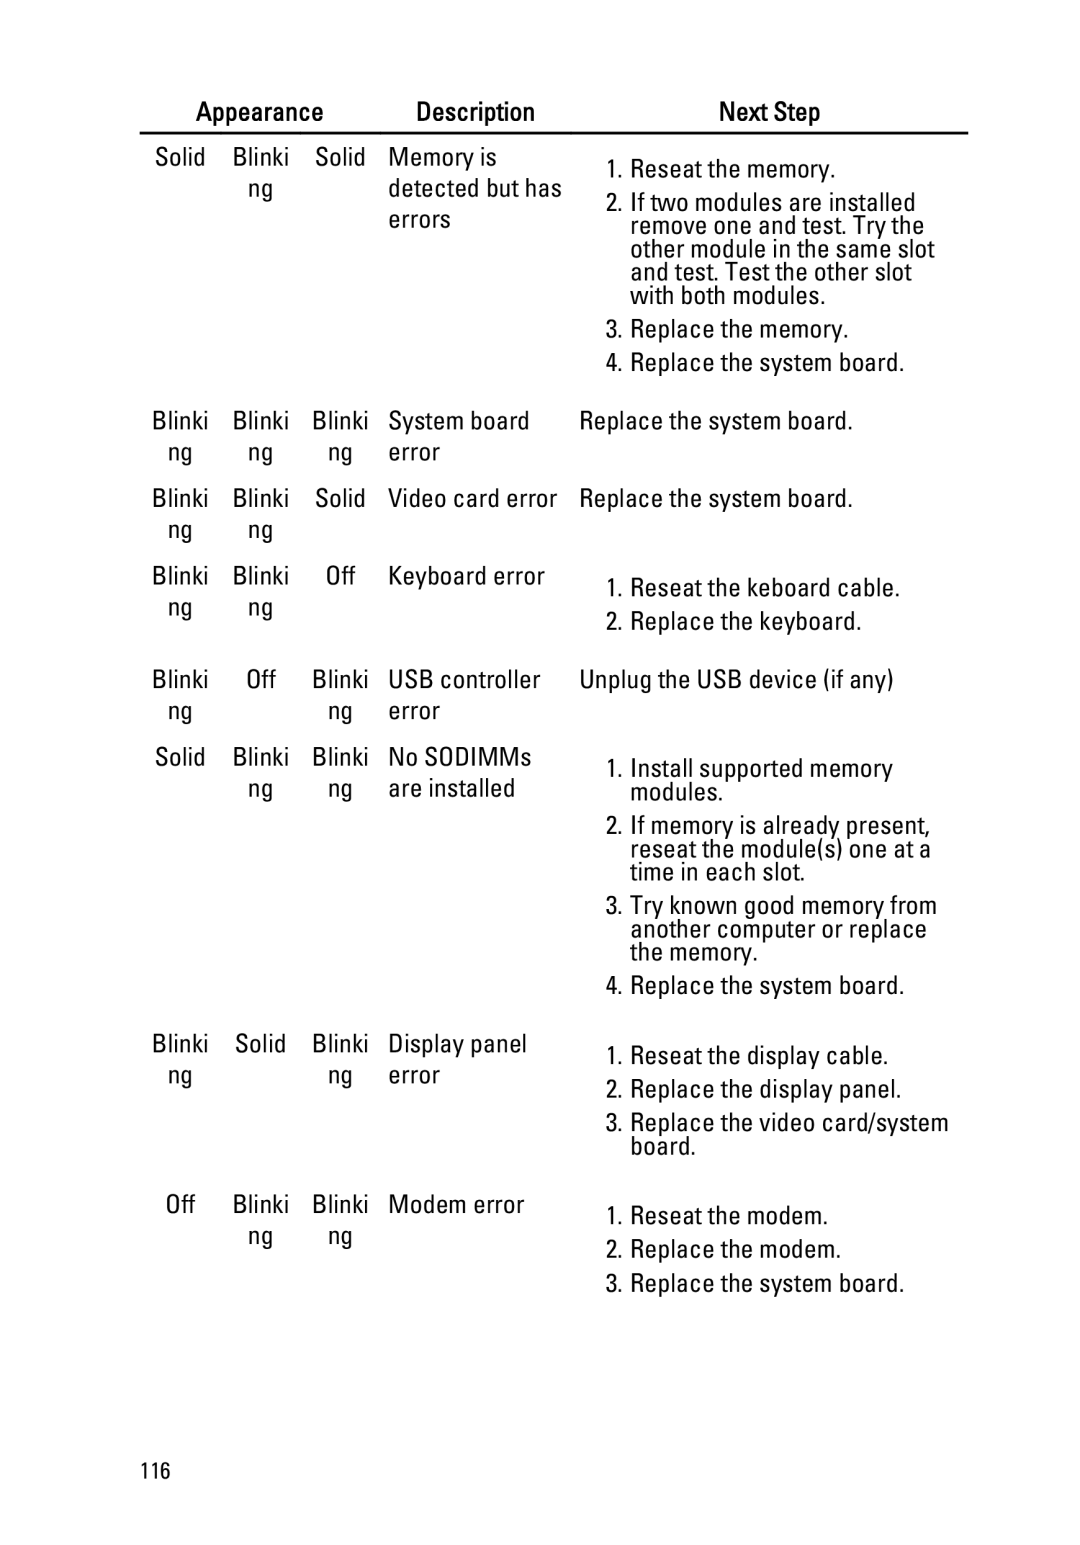
LED Error Codes

The following table shows the possible LED codes that may display when your computer is unable to complete a power on self test.

Appearance

Description

Next Step


Blinki Solid Solid

Processor error

Replace the system board.

ng


115

Image 115
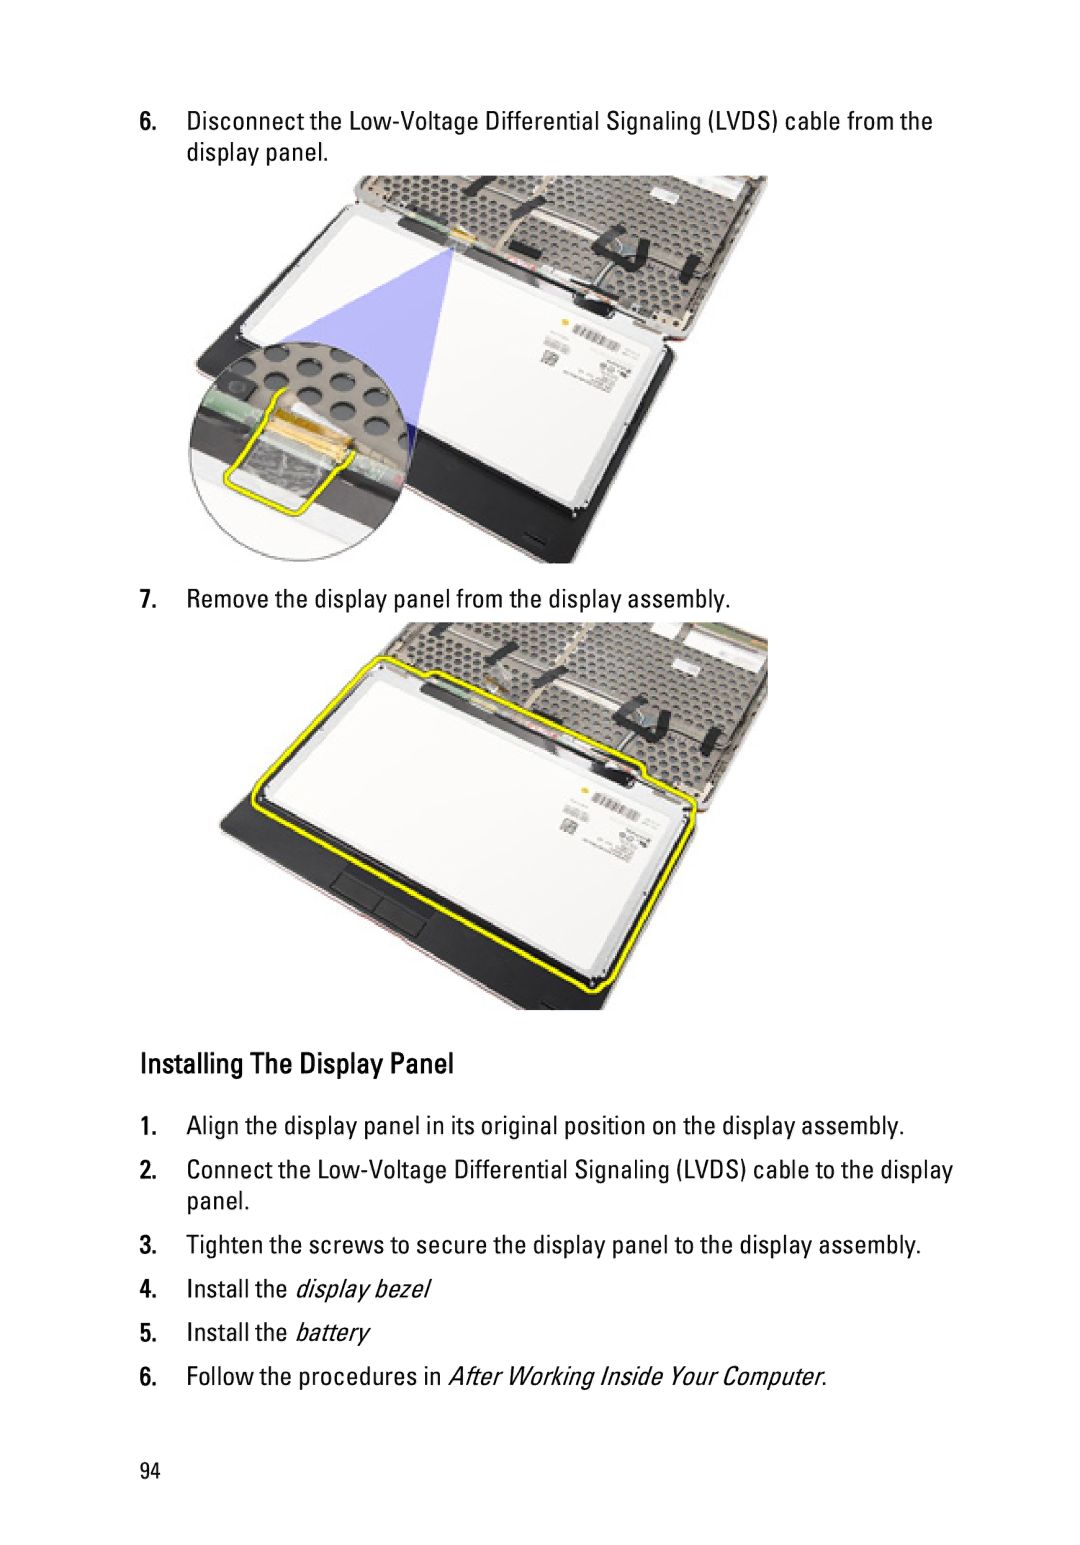
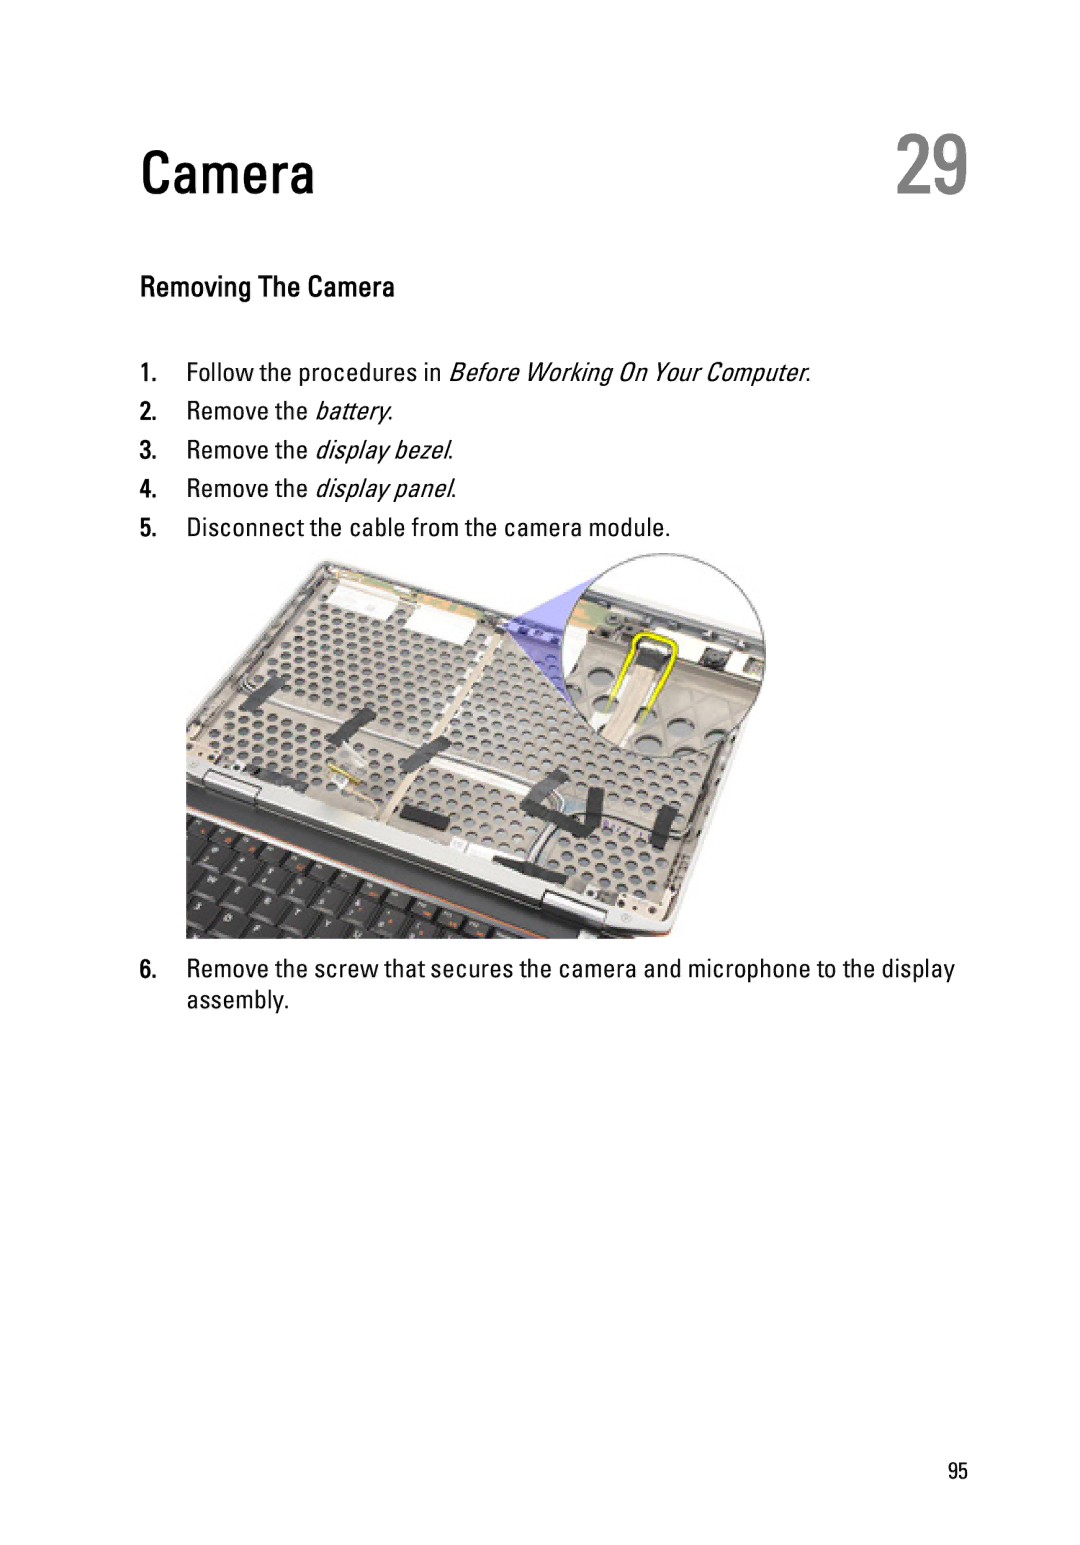
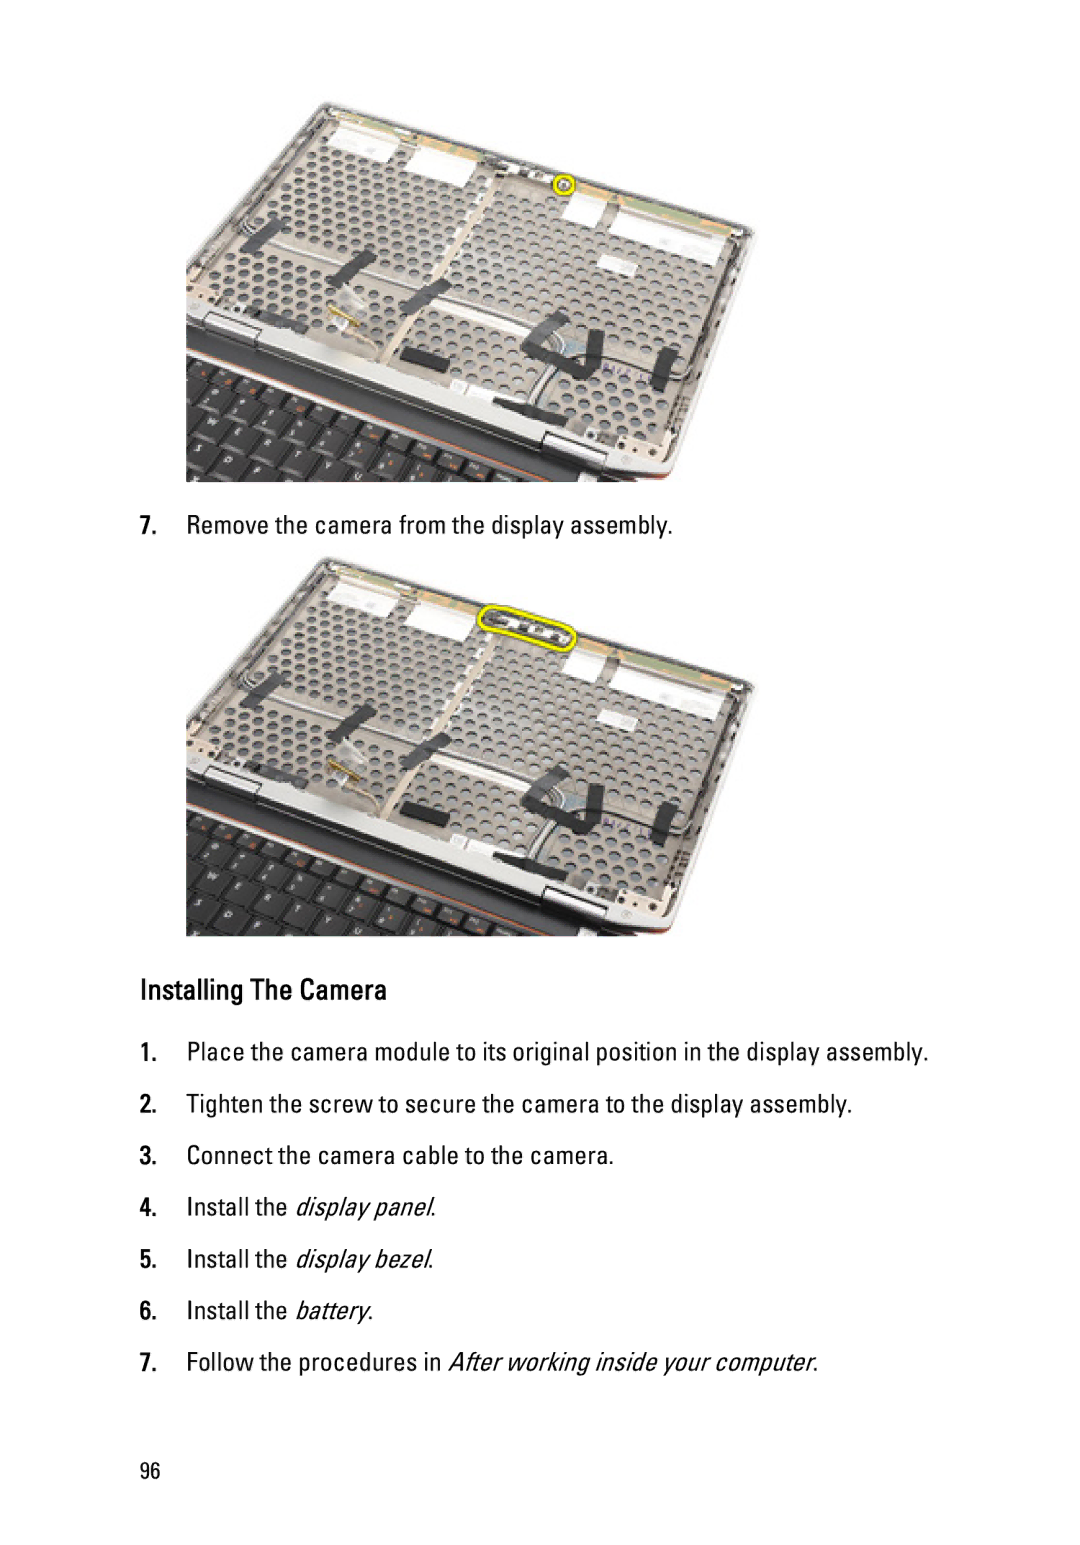
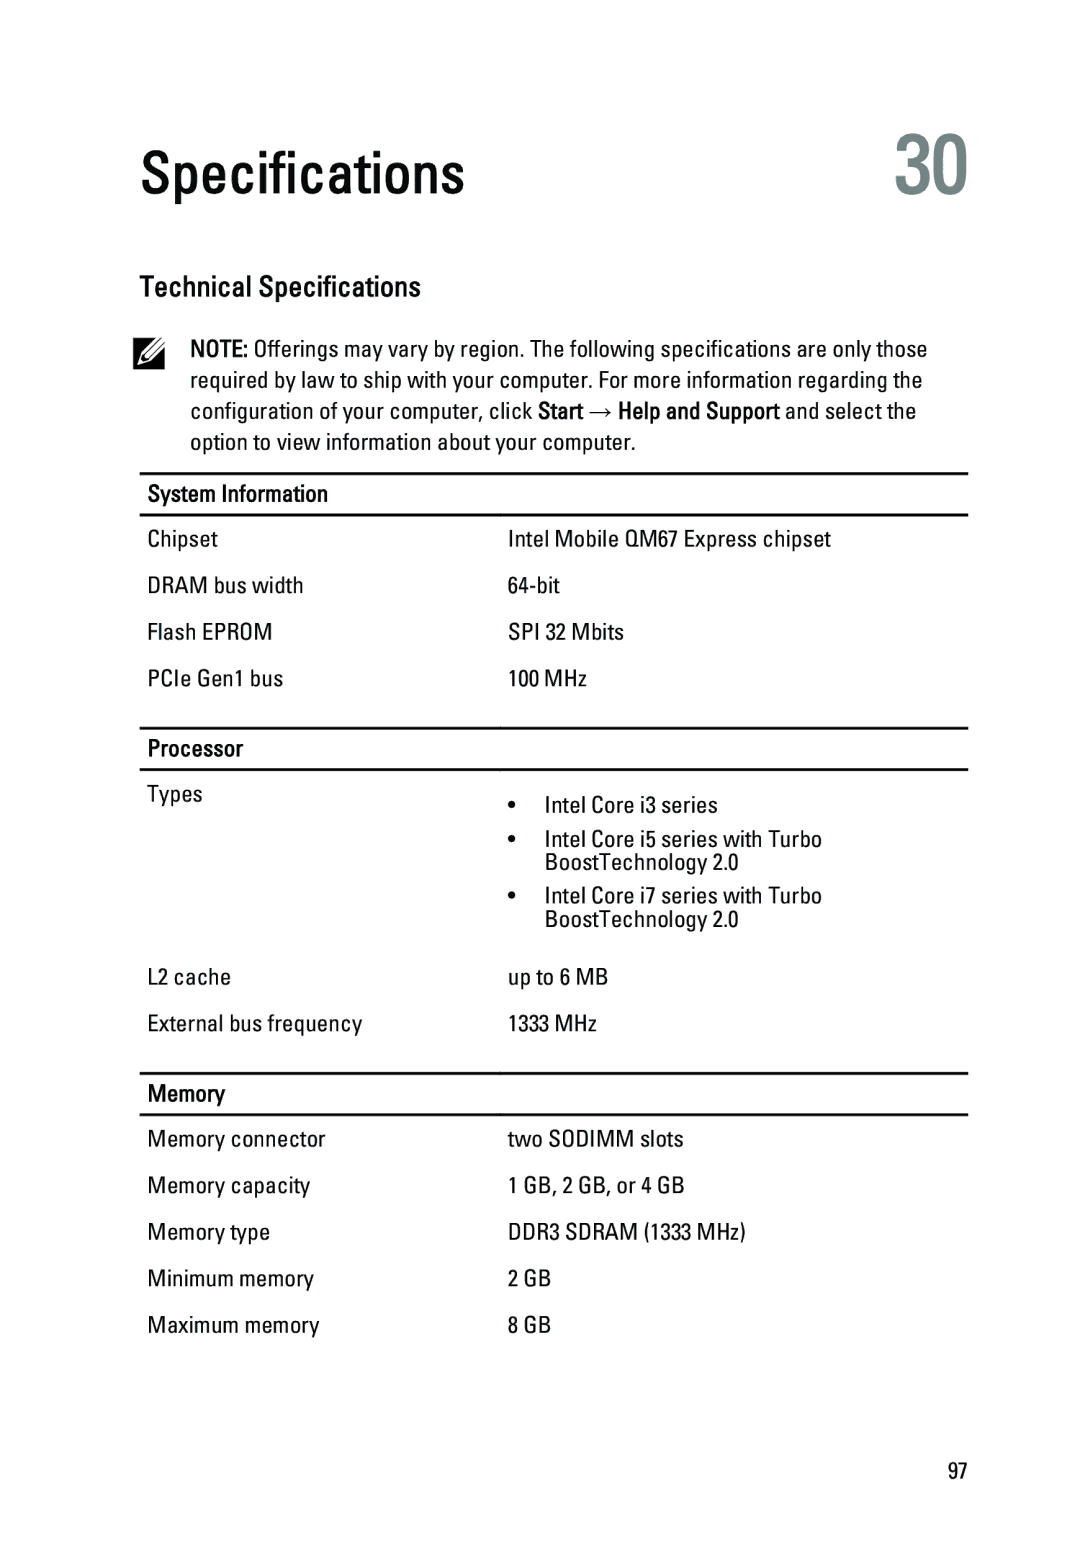
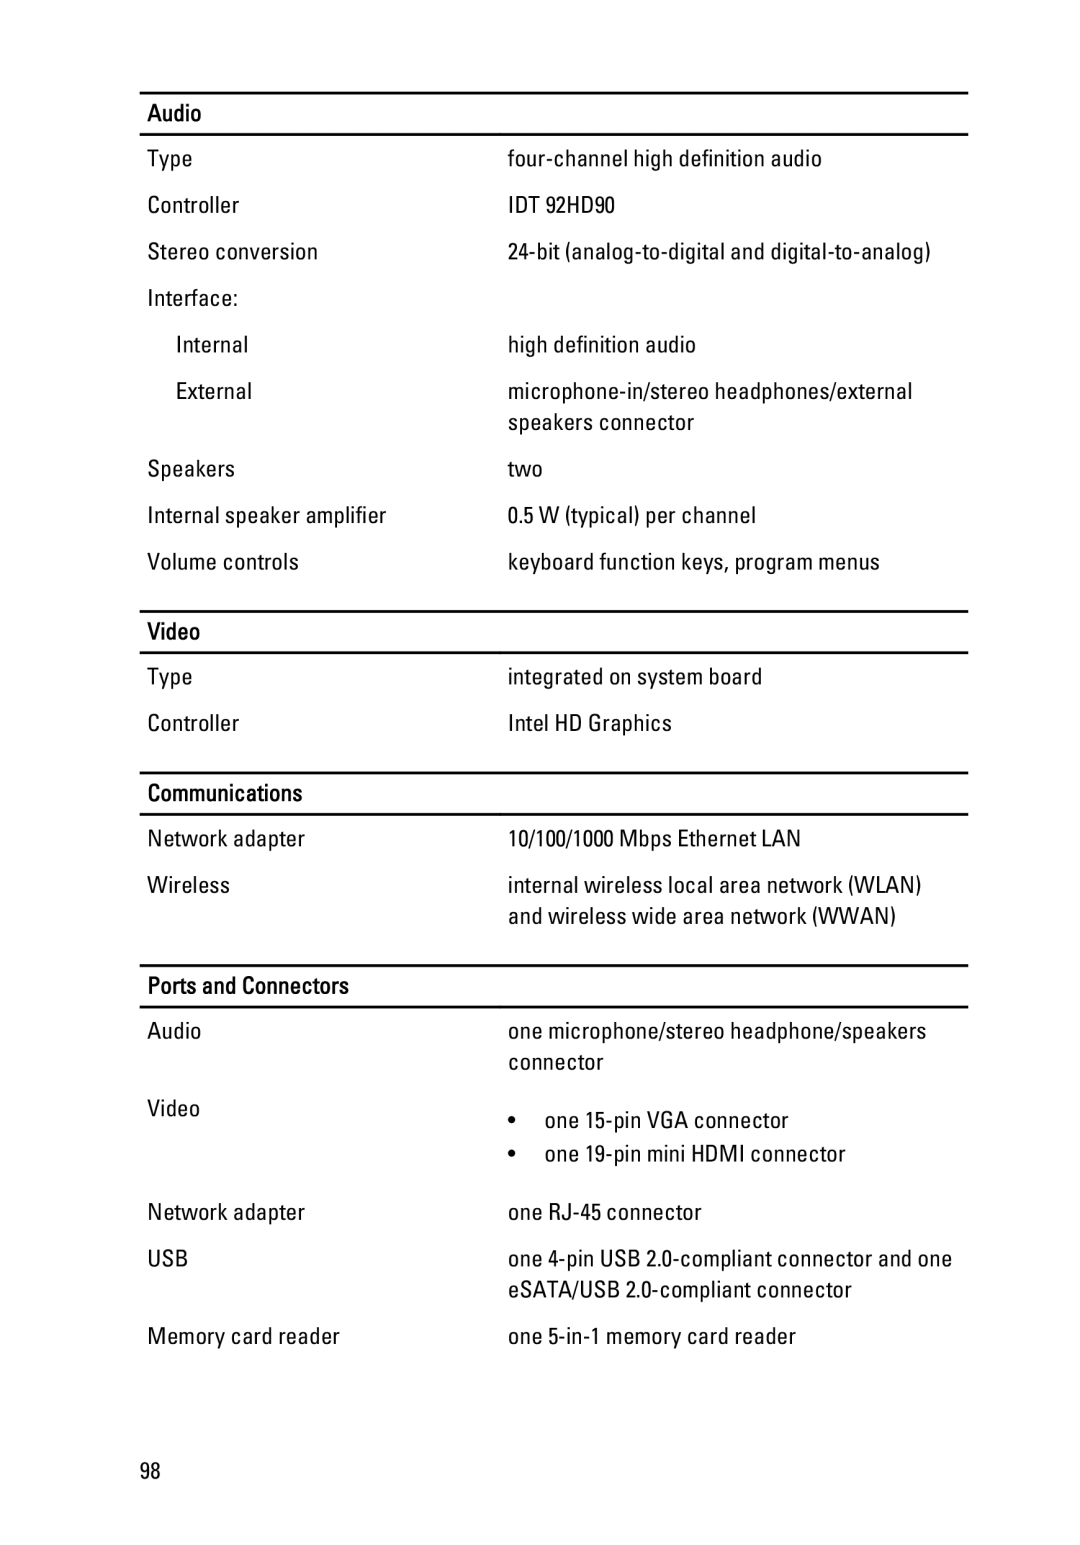
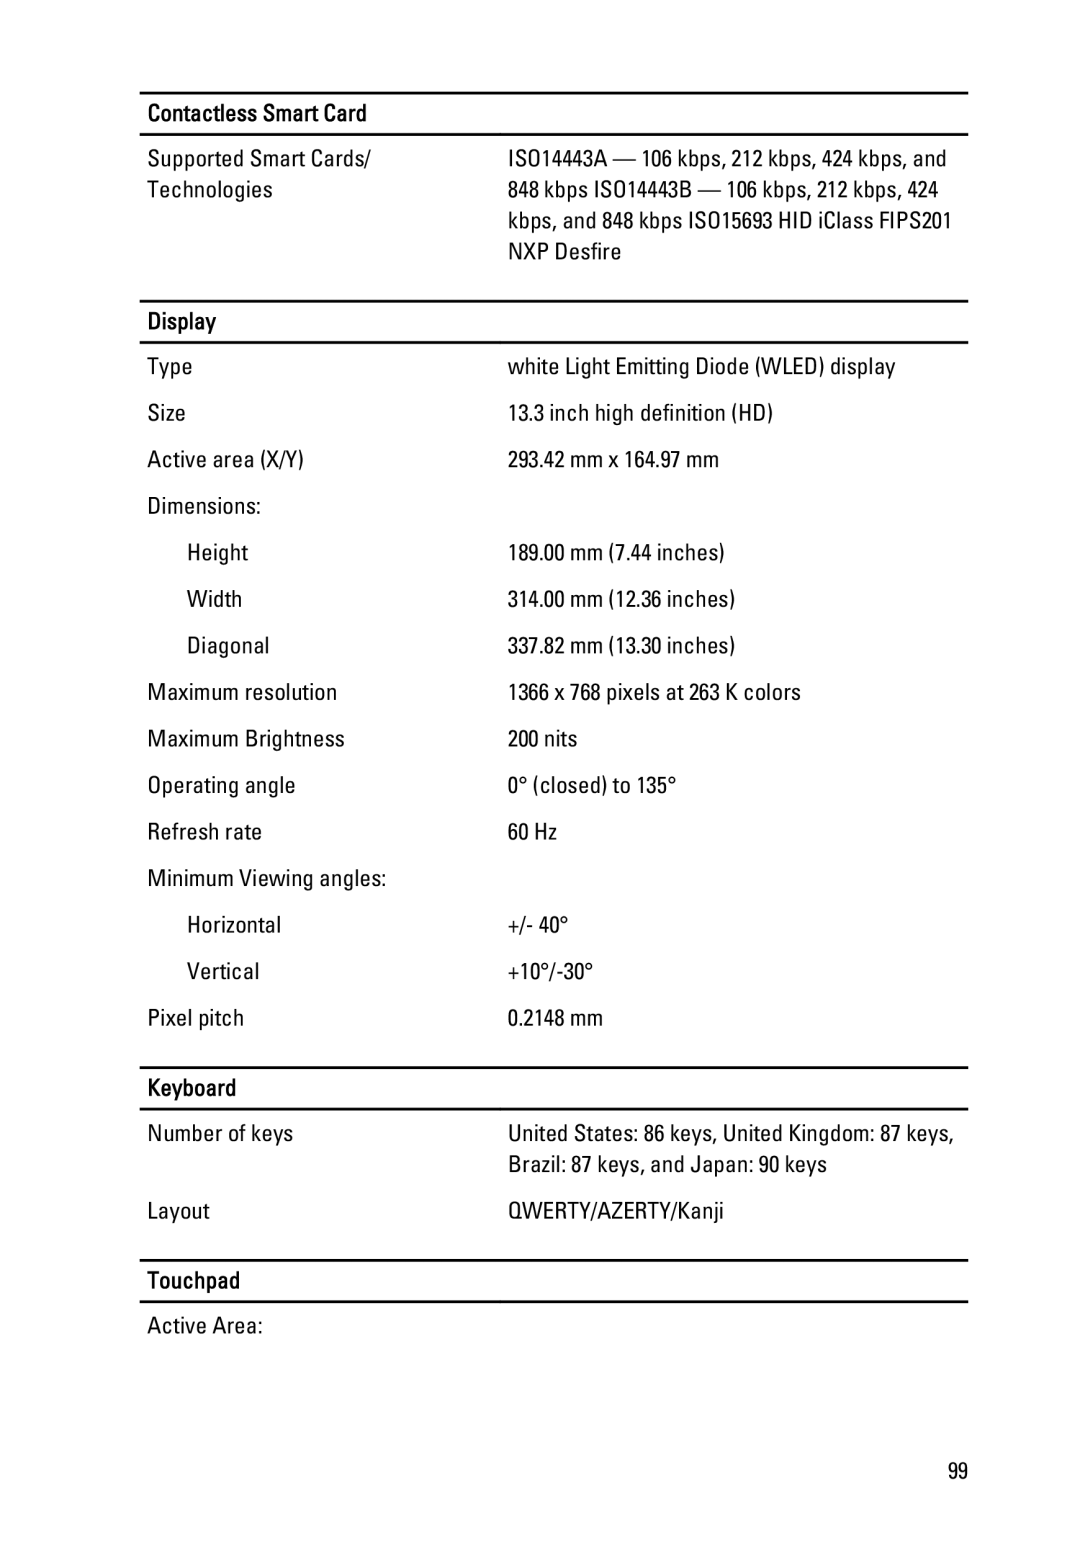
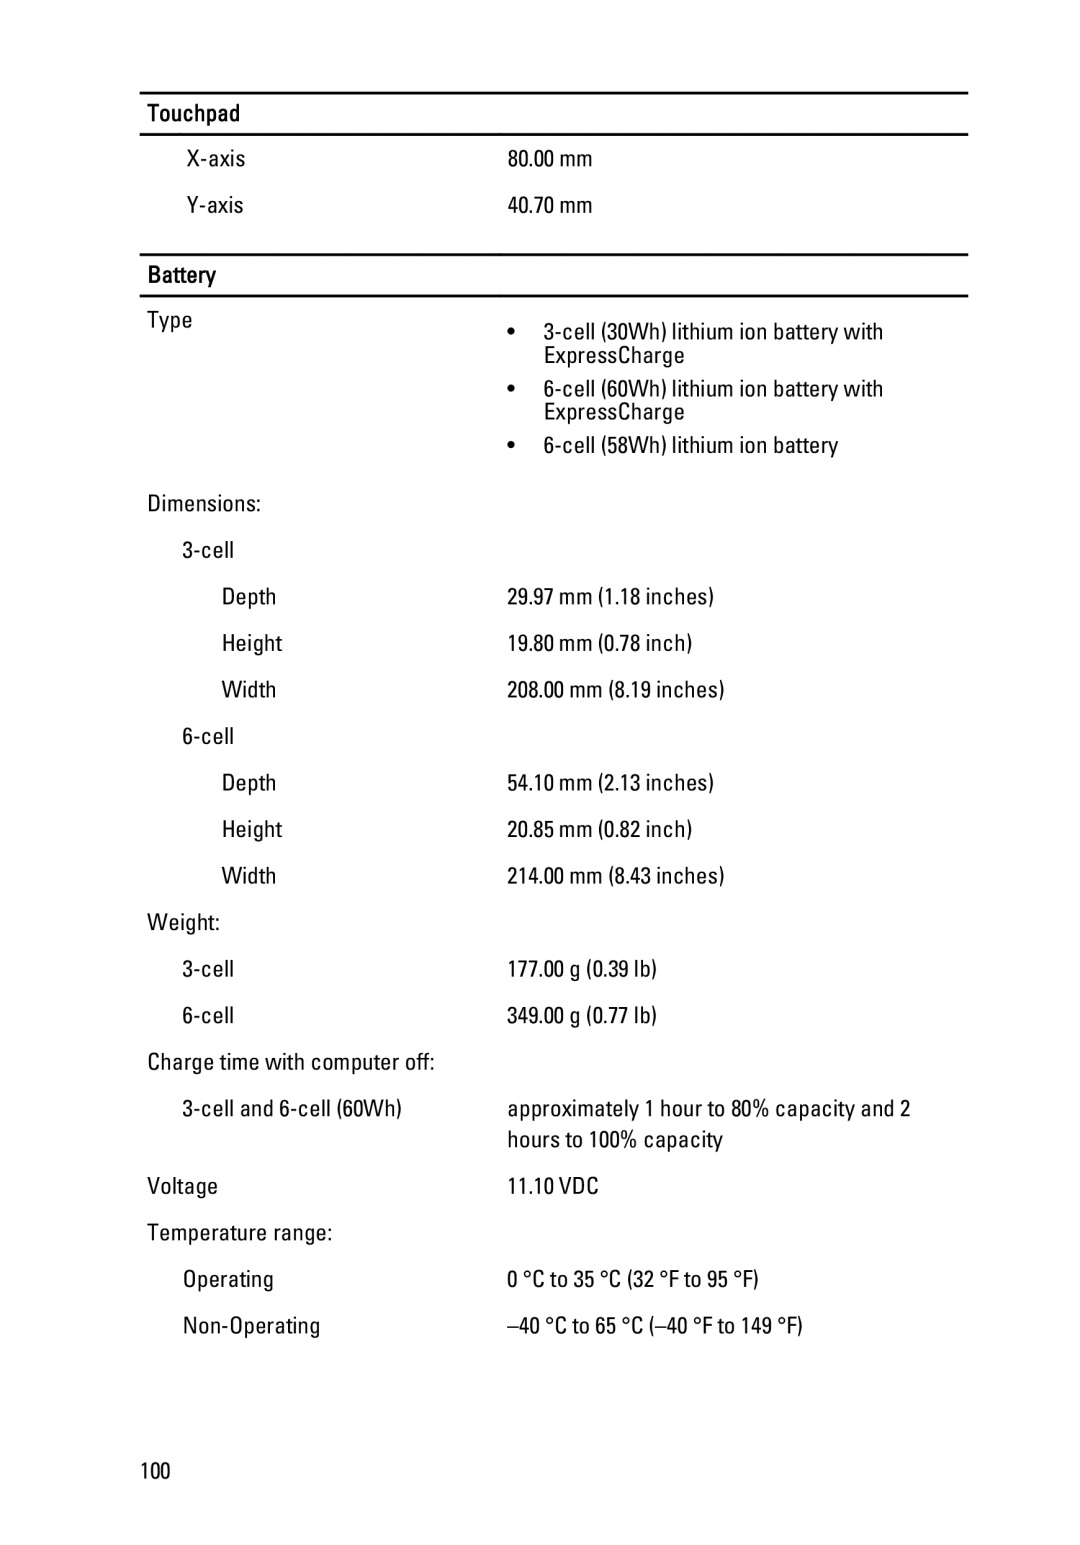
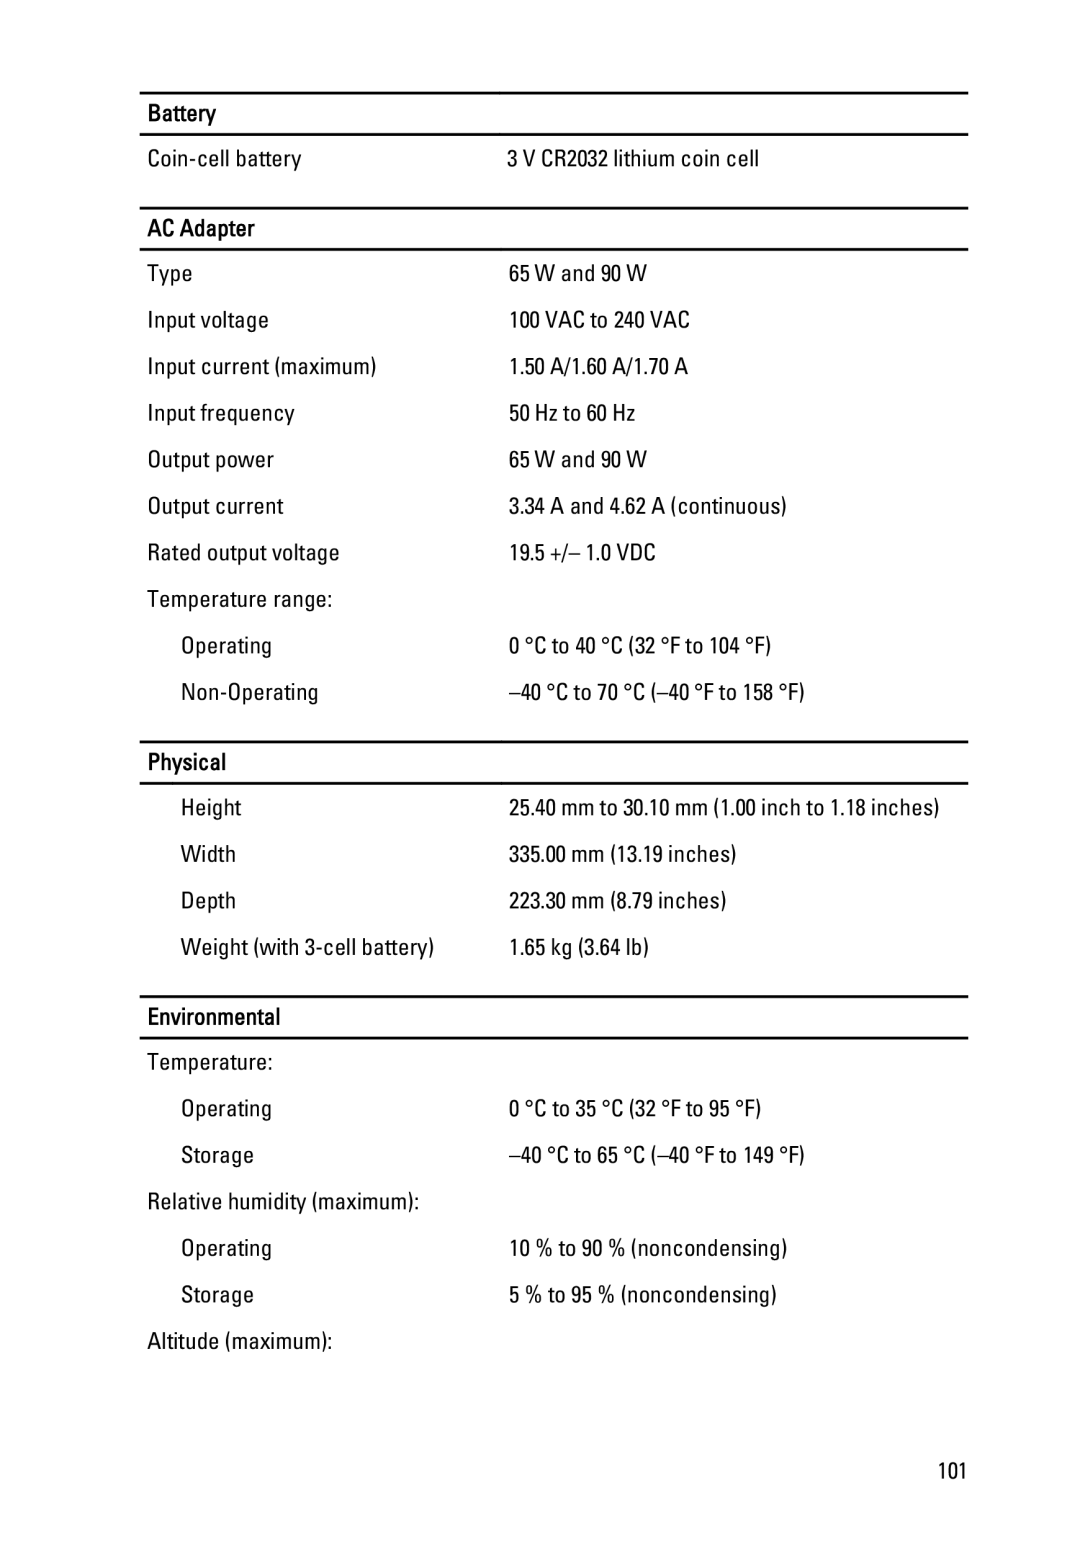
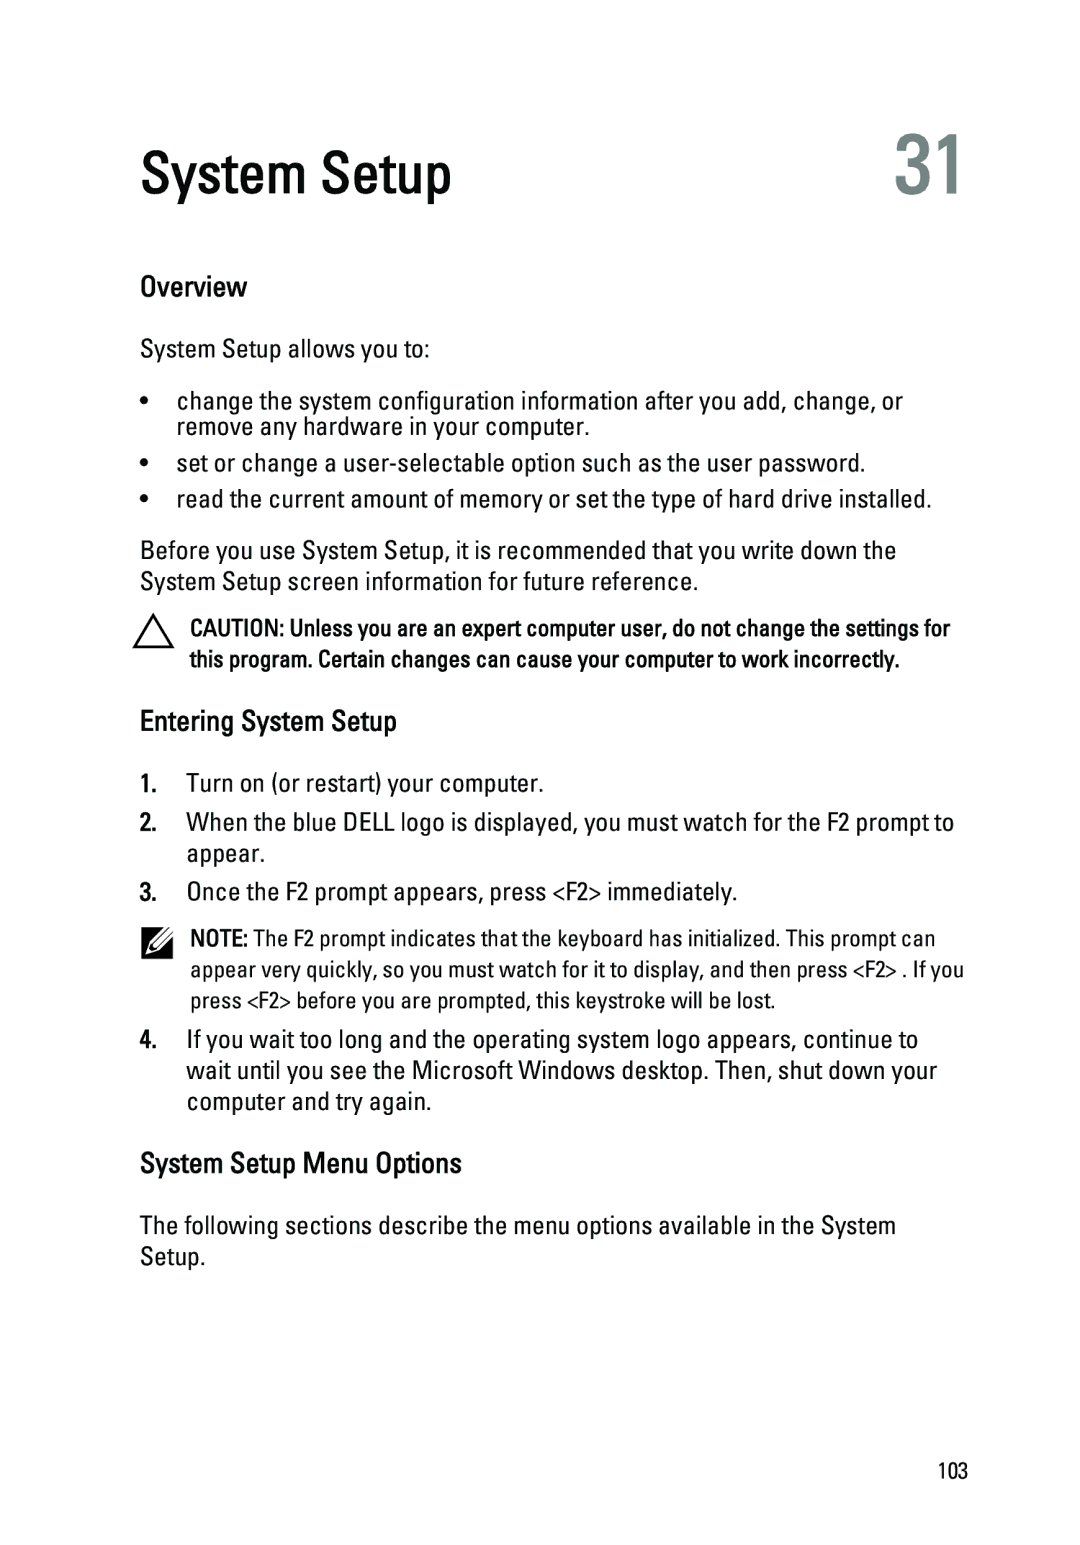
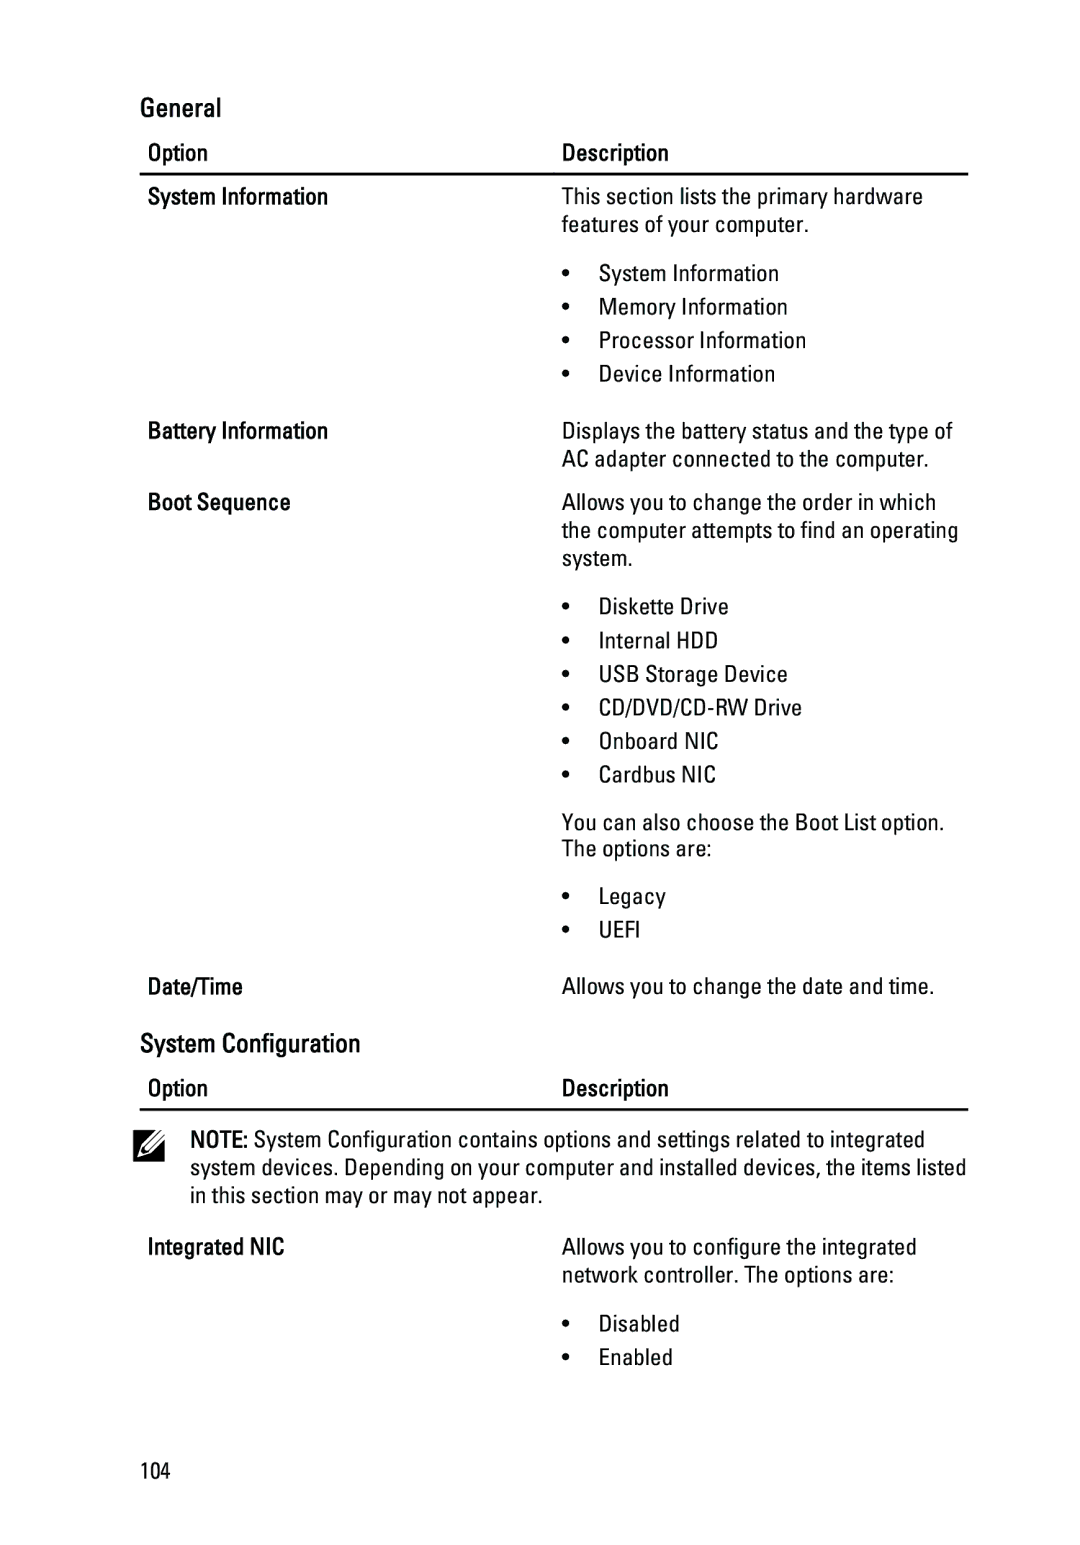
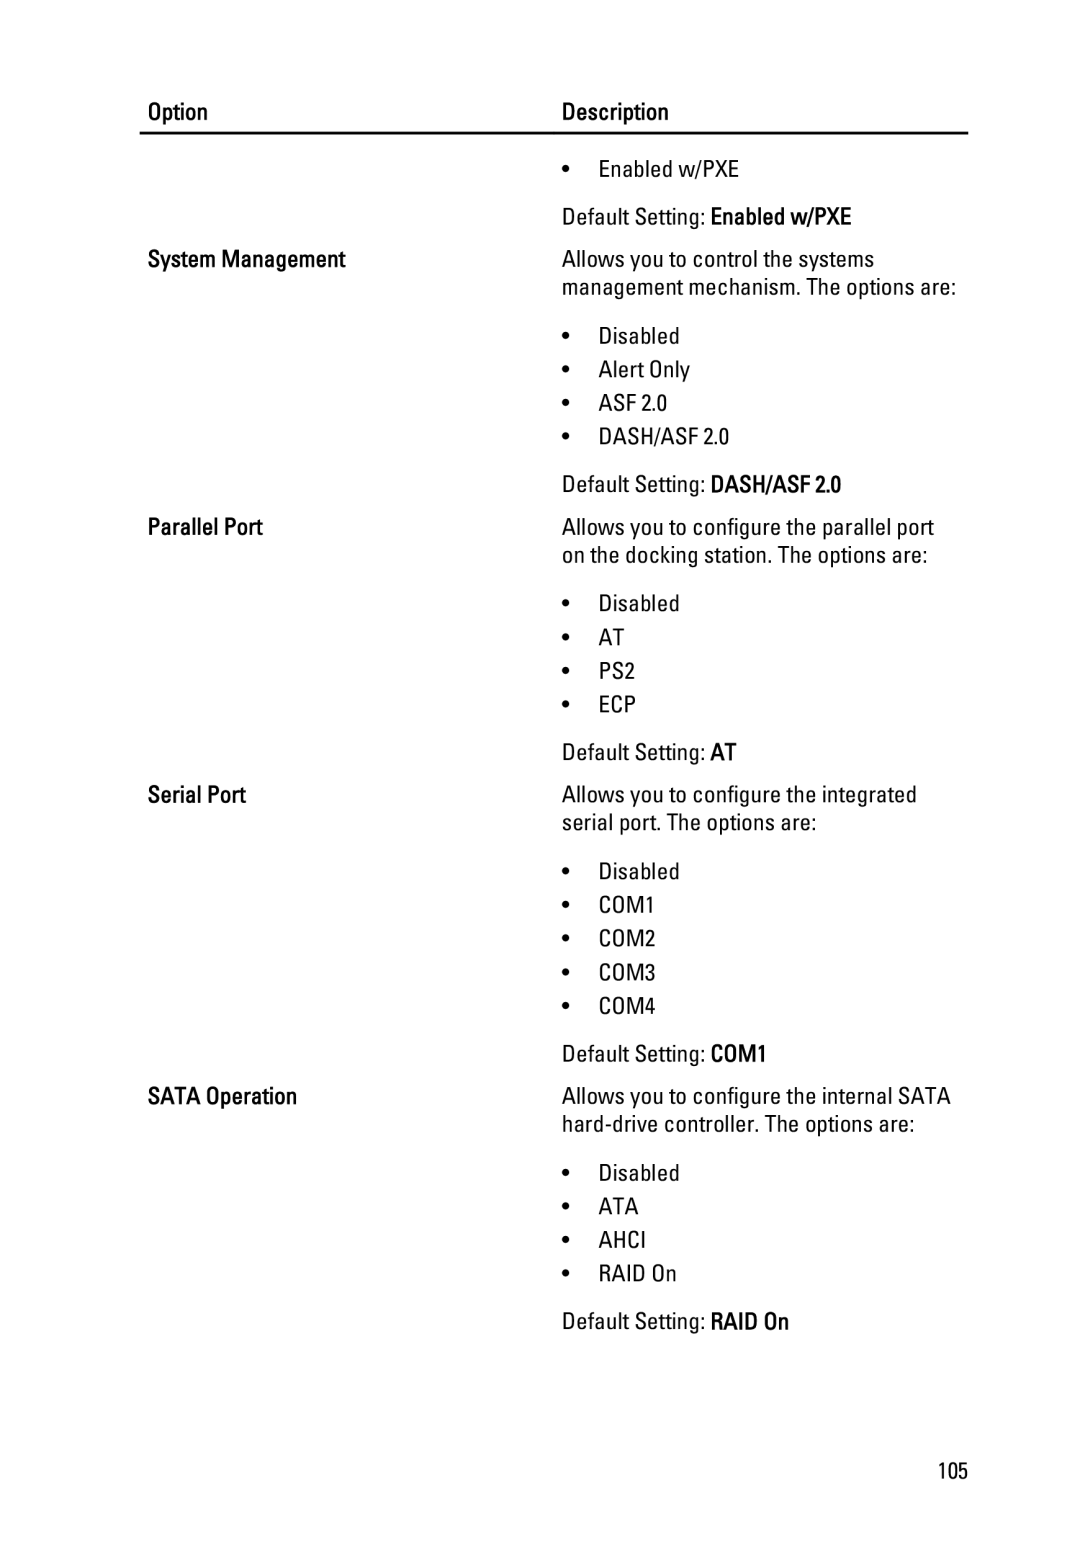
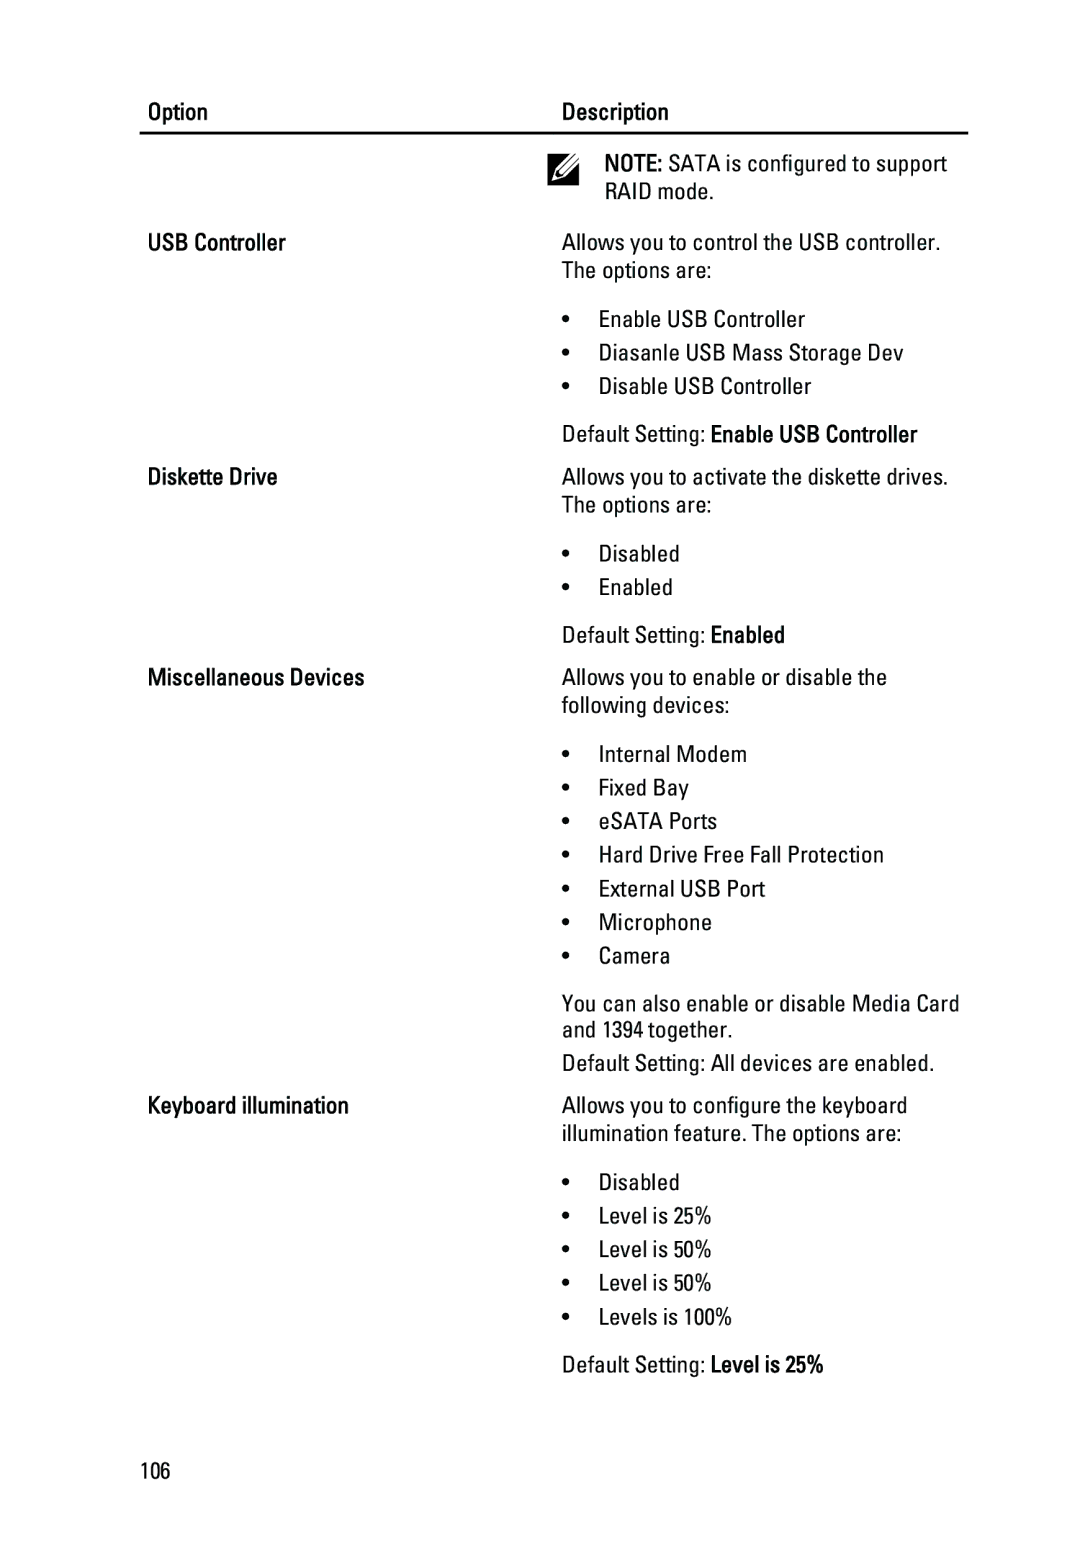
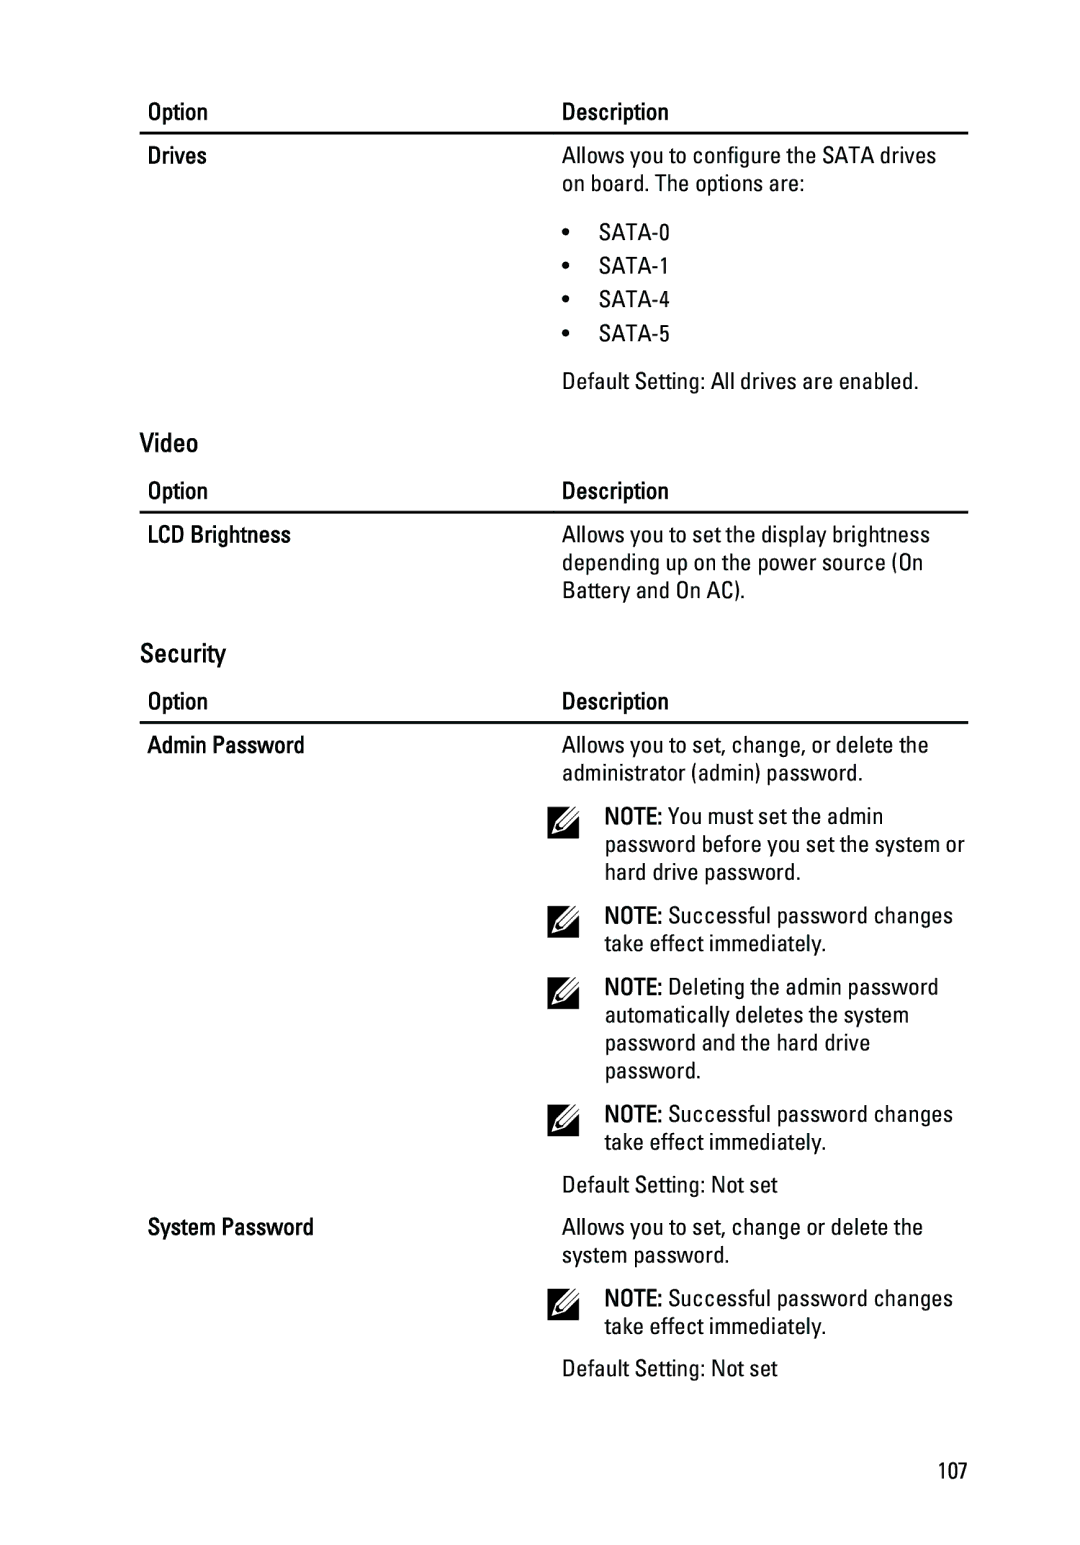
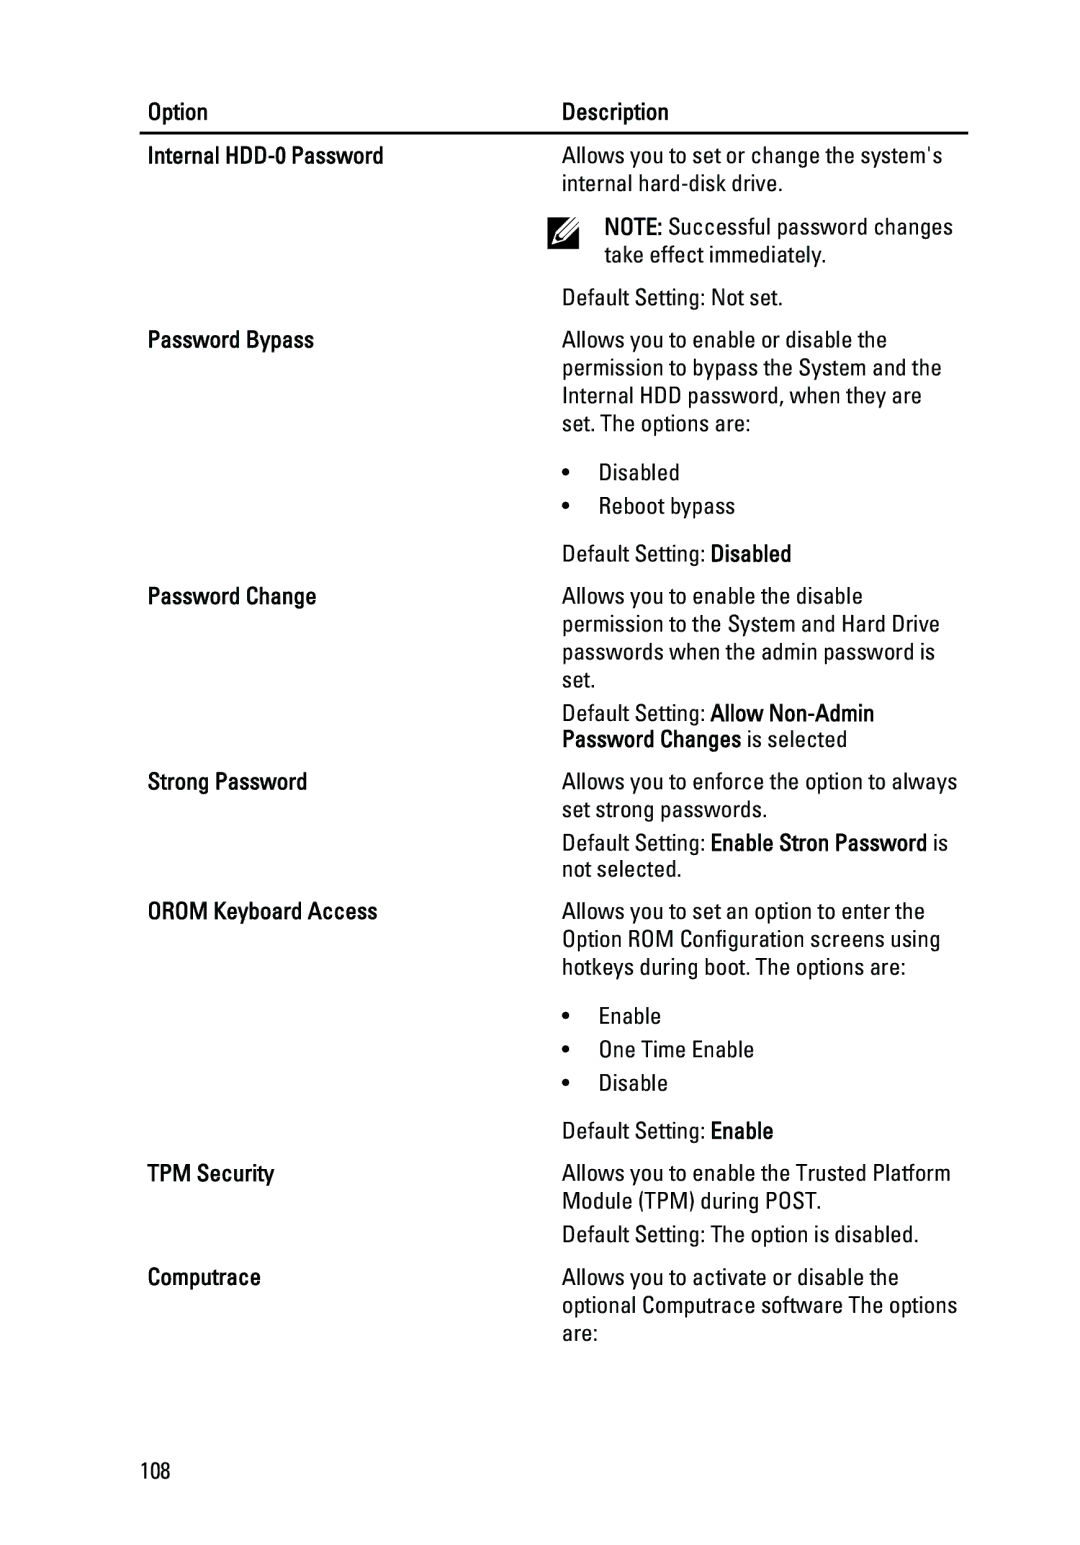
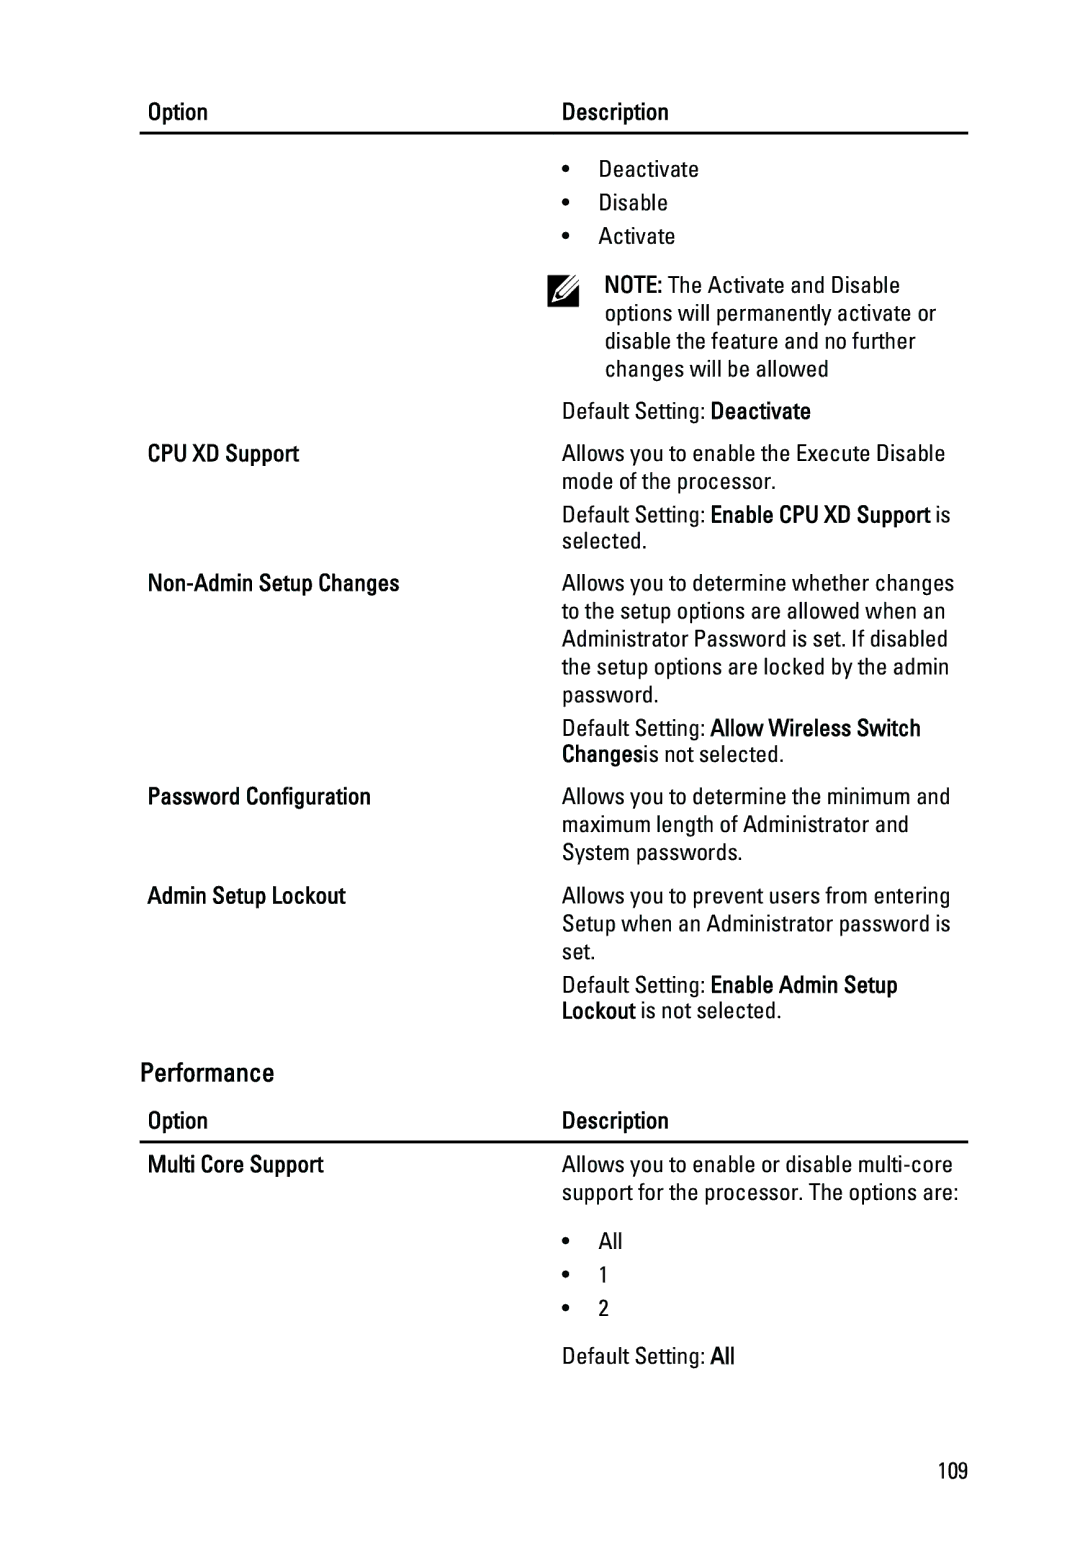
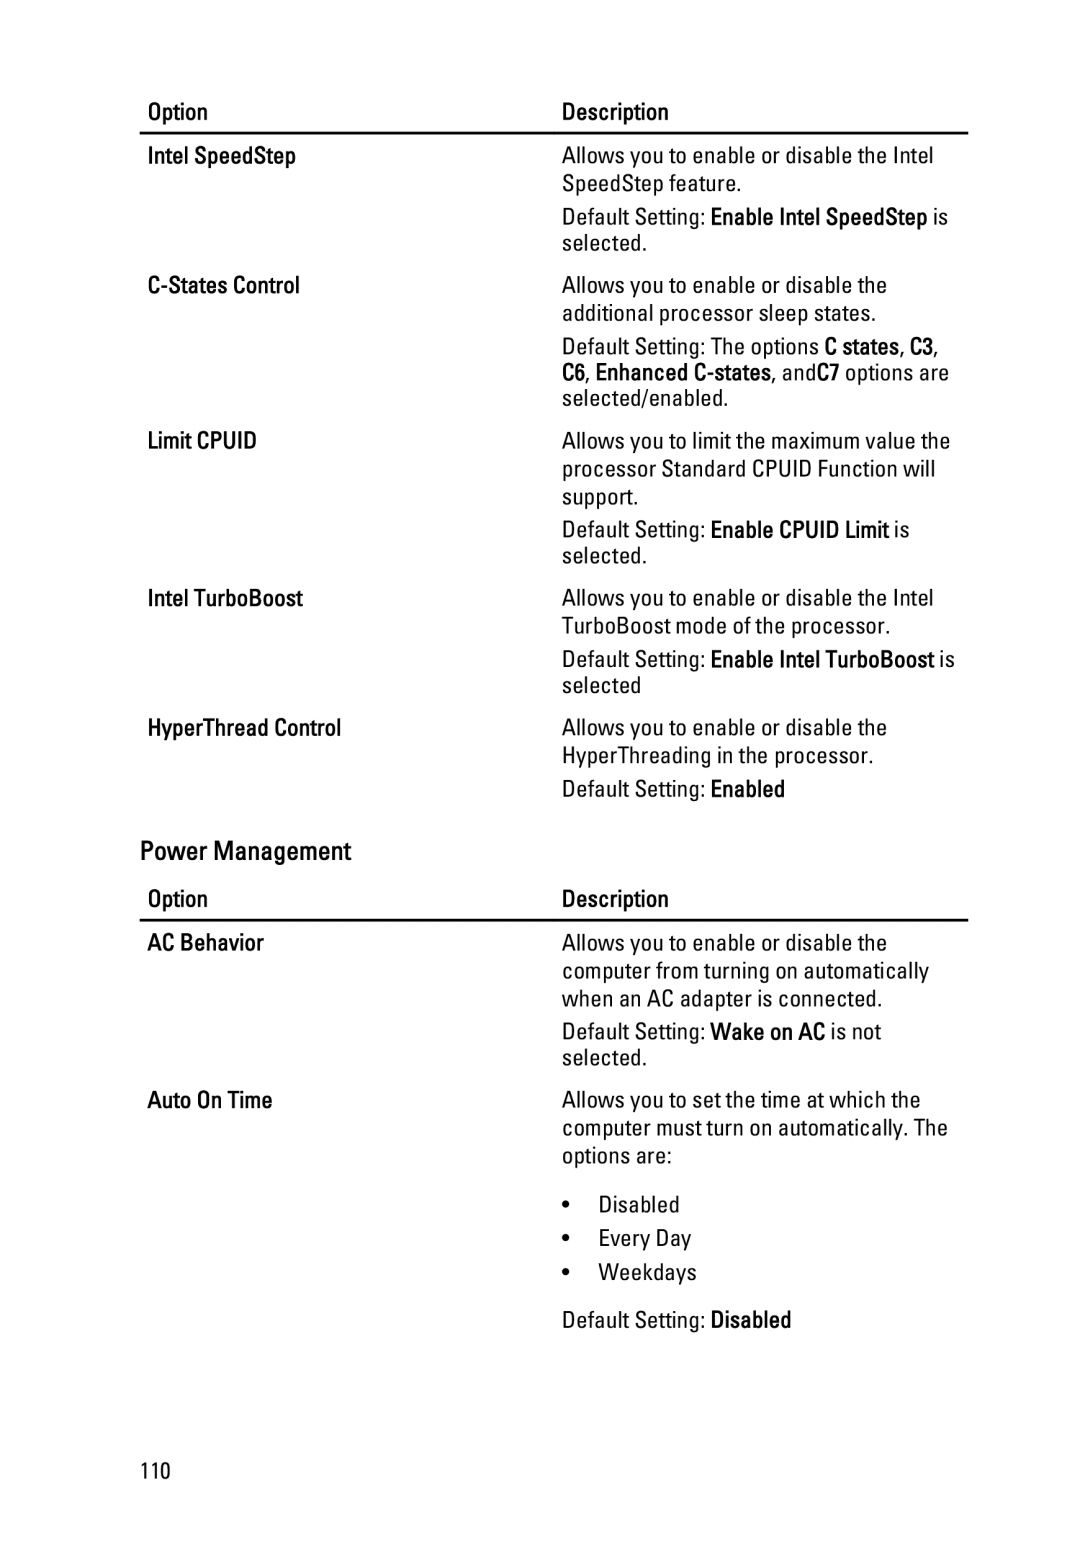
Contents Regulatory Model P12S Regulatory Type P12S001 Page Contents Base Cover Coin-Cell BatteryWireless Local Area Network Wlan Card Wireless Wide Area Network Wwan CardSmart Card Reader Bluetooth CardDisplay Assembly LED Board103 117 Page Before Working Inside Your Computer Working on Your ComputerRecommended Tools After Working Inside Your Computer Turning Off Your ComputerPage ExpressCard2 Installing the ExpressCardRemoving The ExpressCard Page Secure Digital SD Card Installing the Secure Digital SD CardRemoving The Secure Digital SD Card Page Removing The Battery BatteryInstalling The Battery Page Removing The Subscriber Identity Module SIM Card CardInstalling the Subscriber Identity Module SIM Card Removing The Hard Drive Hard DriveInstalling The Hard Drive Removing The Optical Drive Optical DrivePage Installing The Optical Drive Page Removing The Base Cover Base CoverInstalling The Base Cover Removing The Memory Memory CardInstalling The Memory Removing The Coin-Cell Battery Coin-Cell BatteryInstalling The Coin-Cell Battery Removing The Wireless Local Area Network Wlan Card Wireless Local Area Network Wlan CardInstalling The Wireless Local Area Network Wlan Card Removing The Wireless Wide Area Network Wwan Card Wireless Wide Area Network Wwan CardInstalling The Wireless Wide Area Network Wwan Card Removing The Keyboard Trim Keyboard TrimInstalling The Keyboard Trim Removing The Keyboard Keyboard14Page Installing The Keyboard Page Palm Rest Removing The Palmrest AssemblyPage Installing The Palmrest Assembly Page Removing The Bluetooth Card Bluetooth CardInstall the palmrest assembly Installing The Bluetooth CardRemoving The LED Board LED BoardRemove the LED board from the palm rest assembly Installing The LED Board Page Removing The Smart Card Reader Smart Card ReaderLift and remove the smart card reader from the computer Installing The Smart Card Reader Page Removing The Media Board Media BoardRemove the media board from the computer Installing The Media Board Page Removing The Display Hinge Covers Display HingesInstalling The Display Hinge Covers Removing The Display Assembly Display AssemblyPage Page Remove the display assembly from the computer Installing The Display Assembly Page Removing The System Board System BoardPage Page Installing The System Board Install the Secure Digital SD card Page Heat Sink Removing The Heat-Sink AssemblyPage Installing The Heat-Sink Assembly Page Removing The Input/Output Panel Input/Output PanelRemove the I/O panel from the computer Installing The Input/Output Panel Page Removing The Speakers Speaker25Page Installing The Speakers Page Removing The DC-In Port DC-In PortPage Installing The DC-In Port Page Removing The Display Bezel Display BezelInstalling The Display Bezel Removing The Display Panel Display PanelInstalling The Display Panel Removing The Camera Camera29Installing The Camera Processor Specifications30Technical Specifications System InformationCommunications Ports and ConnectorsAudio VideoTouchpad Contactless Smart CardDisplay KeyboardBattery Physical AC AdapterEnvironmental To 3048 m -50 ft to 10,000 ft Overview System SetupEntering System Setup System Setup Menu OptionsGeneral System ConfigurationSerial Port Option DescriptionSystem Management Parallel PortMiscellaneous Devices Default Setting Enable USB ControllerUSB Controller Diskette DriveSecurity Option Description Admin PasswordSystem Password VideoPassword Changes is selected Option Description Internal HDD-0 PasswordPassword Bypass Password ChangePerformance Power Management Post Behavior Fastboot Default Setting Touchpad/PS-2 MouseNumlock Enable Default Setting Enable F12 Boot OptionMaintenance WirelessVirtualization Support System Logs Device Status Lights Diagnostics32Battery Status Lights LED Error CodesSolid Video card error Replace the system board Blinki Contacting Dell Contacting DellVisit support.dell.com