
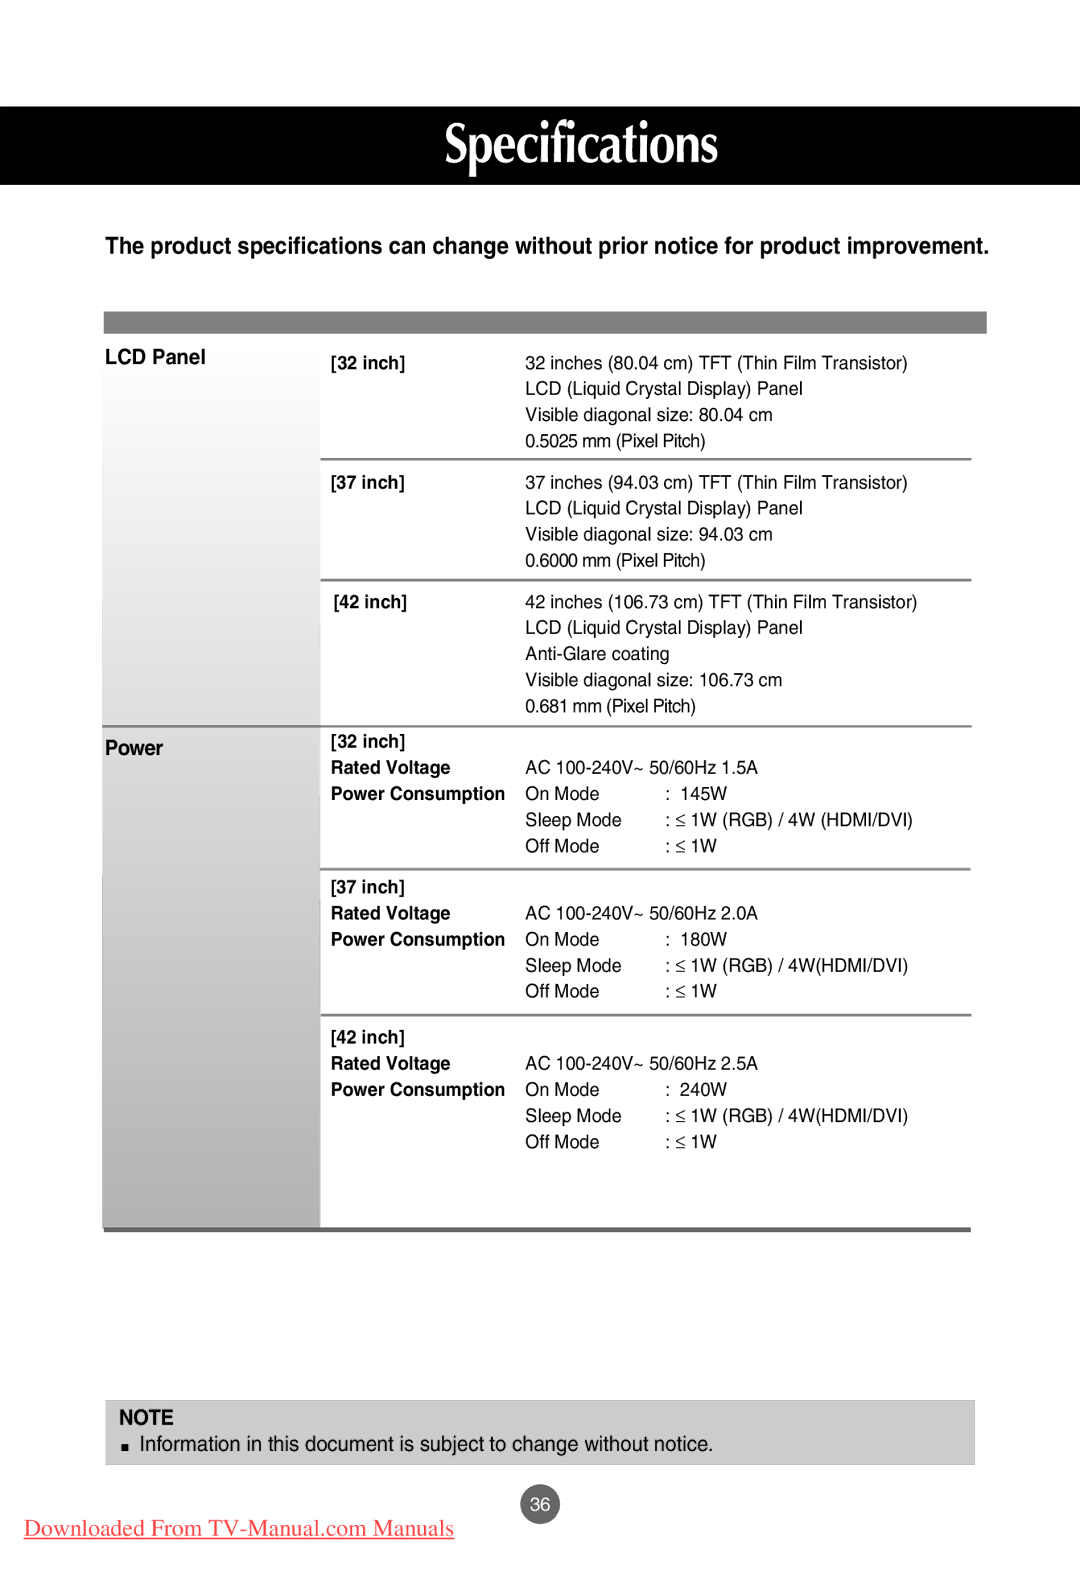


M3201C, M3701C, M4201C specifications
The LG Electronics M4201C is a cutting-edge display solution that caters to a variety of commercial and professional applications. This model epitomizes LG's dedication to innovation, quality, and user experience, making it a favored choice for businesses looking to enhance their visual communications.One of the standout features of the M4201C is its impressive 42-inch screen size, which offers ample workspace and visibility for audiences in various environments. The display boasts an LED backlight technology that ensures vibrant colors and deep contrasts, providing a captivating viewing experience. This is further enhanced by the full HD resolution of 1920x1080 pixels, which delivers crystal-clear images and sharp text, making it suitable for presentations, advertisements, and digital signage.
The M4201C is designed with a slim bezel, maximizing the screen real estate while maintaining an elegant aesthetic. This design element is particularly beneficial in multi-display setups, allowing seamless integration and minimal distraction from the content being displayed. Furthermore, the display supports a wide viewing angle, ensuring that content can be seen clearly from different positions without loss of quality or color accuracy.
Connectivity is a crucial aspect of the M4201C, equipping users with a range of input options such as HDMI, DVI, and USB ports. This versatility allows for easy integration with various devices, whether it be computers, media players, or other multimedia equipment. Additionally, the built-in webOS platform offers intuitive control for managing and scheduling content without the need for additional hardware.
The M4201C also features enhanced durability, built to withstand the rigors of continuous operation in demanding environments. It incorporates a fanless design that promotes silent operation, ensuring that noise distractions are minimized during presentations or events.
Moreover, the display is optimized for eco-friendliness with energy-efficient technologies that reduce power consumption, making it not only a great choice for performance but also for sustainability.
In conclusion, the LG Electronics M4201C integrates advanced features, robust technologies, and superior design, making it an ideal solution for businesses seeking to elevate their visual communications. Its combination of high-quality display performance, ease of use, and durable construction positions the M4201C as a key asset in any commercial setting, from retail spaces to corporate environments.