Manuals
/
Acer
/
Computer Equipment
/
Computer Monitor
Acer
AL2216W
installation instructions
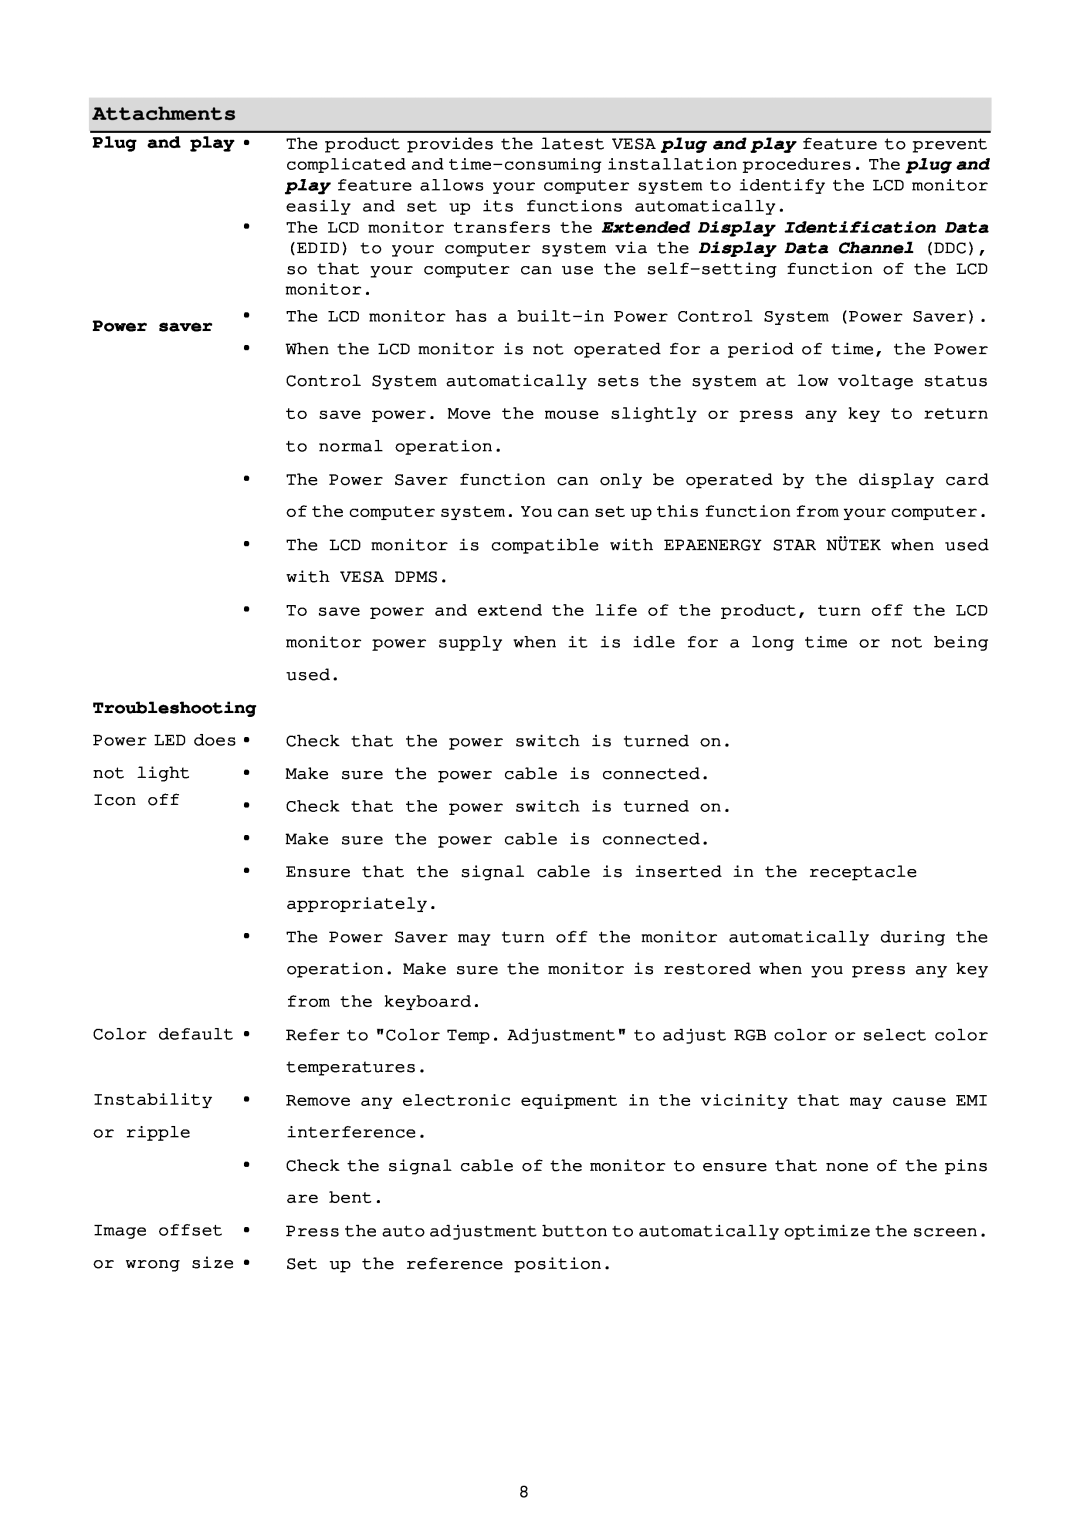
Attachments, Plug and play y, Power saver, Troubleshooting
Models:
AL2216W
1
9
11
11
Download
11 pages
25.51 Kb
4
5
6
7
8
9
10
11
Troubleshooting
Specification
Install
adjustment
Message Restore Exit
Page 9
Image 9
Page 8
Page 10
Page 9
Image 9
Page 8
Page 10
Contents
Package contents
Safety
Installation
Special notes on LCD
Electrical safety
Installation
safety
y Due to the nature of the fluorescent light, the screen may flicker during initial use. Turn off the power switch and then turn it on again to make the flicker disappear
Special notes on LCD monitors
Installation instructions
Installati Connecting the base to the monitor
Connecting the LCD monitor to a PC
External controls
3. Click the Menu again to select the function to be adjusted
Bright/Contrast Phase/Clock Pulse Horizontal/Vertical
settings to suit your personal preference, follow the steps below
Color Temp. Adjustment Language Selection OSD Setting Input Selectio
Message Restore Exit
Screen
adjustment
Function Definition
Русский
Power saver
Troubleshooting
Plug and play y
Lamp disposal
Technical specifications
65.29
59.954
146.25
Top
Page
Image
Contents