29


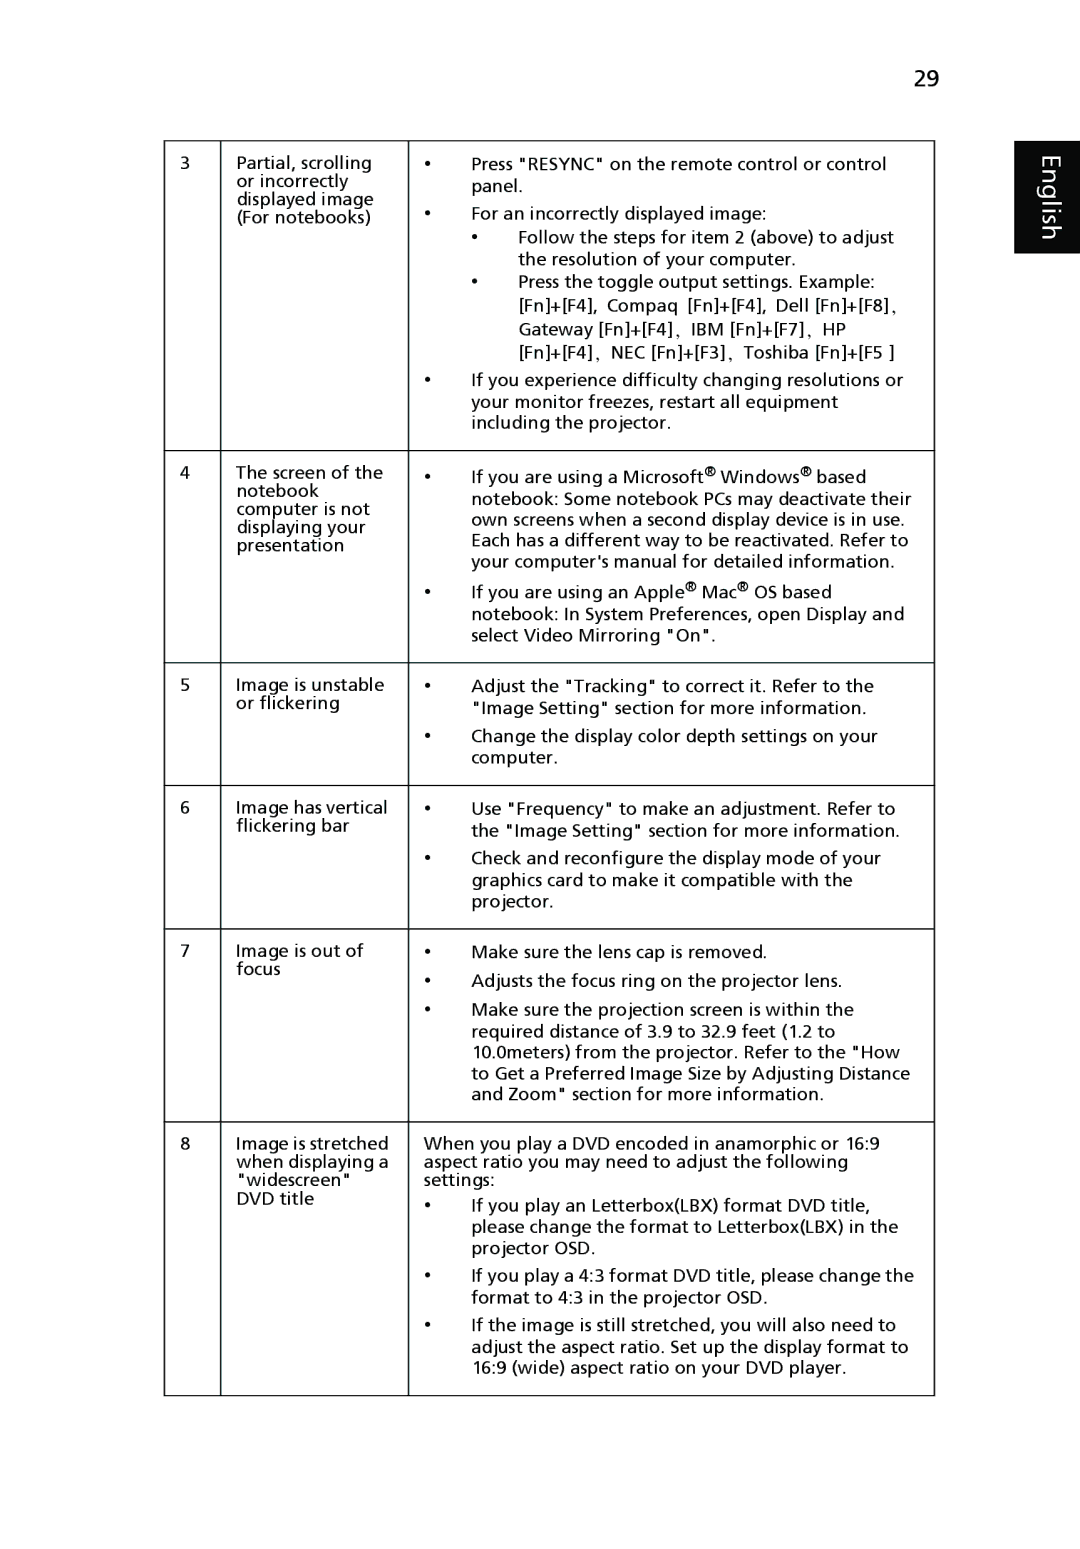
3

Partial, scrolling

Press "RESYNC" on the remote control or control


English


or incorrectly


panel.


displayed image

For an incorrectly displayed image:


(For notebooks)


Follow the steps for item 2 (above) to adjust


the resolution of your computer.


Press the toggle output settings. Example:


[Fn]+[F4], Compaq [Fn]+[F4], Dell [Fn]+[F8],


Gateway [Fn]+[F4], IBM [Fn]+[F7], HP


[Fn]+[F4], NEC [Fn]+[F3], Toshiba [Fn]+[F5 ]


If you experience difficulty changing resolutions or


your monitor freezes, restart all equipment


including the projector.


4

The screen of the

If you are using a Microsoft® Windows® based


notebook


notebook: Some notebook PCs may deactivate their


computer is not


own screens when a second display device is in use.


displaying your


Each has a different way to be reactivated. Refer to


presentation


your computer's manual for detailed information.


If you are using an Apple® Mac® OS based


notebook: In System Preferences, open Display and


select Video Mirroring "On".


5

Image is unstable

Adjust the "Tracking" to correct it. Refer to the


or flickering


"Image Setting" section for more information.


Change the display color depth settings on your


computer.


6

Image has vertical

Use "Frequency" to make an adjustment. Refer to


flickering bar


the "Image Setting" section for more information.


Check and reconfigure the display mode of your


graphics card to make it compatible with the


projector.


7

Image is out of

Make sure the lens cap is removed.


focus

Adjusts the focus ring on the projector lens.


Make sure the projection screen is within the


required distance of 3.9 to 32.9 feet (1.2 to


10.0meters) from the projector. Refer to the "How


to Get a Preferred Image Size by Adjusting Distance


and Zoom" section for more information.


8

Image is stretched

When you play a DVD encoded in anamorphic or 16:9


when displaying a

aspect ratio you may need to adjust the following


"widescreen"

settings:


DVD title

If you play an Letterbox(LBX) format DVD title,


please change the format to Letterbox(LBX) in the


projector OSD.


If you play a 4:3 format DVD title, please change the


format to 4:3 in the projector OSD.


If the image is still stretched, you will also need to


adjust the aspect ratio. Set up the display format to


16:9 (wide) aspect ratio on your DVD player.


Page 41
Image 41
Acer P7280I manual English

P7280I specifications

The Acer P7280I is a powerful and versatile projector designed for professional and educational environments. With its high brightness, impressive resolution, and advanced connectivity options, the P7280I delivers clear and vivid images that captivate audiences.

At the heart of the Acer P7280I is a high-performance 4,000 ANSI lumens lamp that ensures bright and vibrant images even in well-lit rooms. The projector supports a native resolution of 1920 x 1200 pixels (WUXGA), making it suitable for presenting detailed images, data, and graphics. With a contrast ratio of up to 10,000:1, this projector produces deep blacks and bright whites, resulting in exceptional picture quality.

One of the standout features of the P7280I is its advanced 3D capabilities. It supports various 3D formats, allowing users to present content with an immersive visual experience. This is particularly beneficial for educational institutions where 3D models and simulations can enhance the learning experience.

The Acer P7280I also boasts a range of connectivity options, making it easy to connect to multiple devices. It includes HDMI ports, VGA inputs, and USB connections, enabling users to connect laptops, Blu-ray players, and other multimedia devices seamlessly. The inclusion of built-in wireless capabilities further simplifies presentations, allowing users to connect their mobile devices without the need for physical cables.

Another notable technology incorporated into the P7280I is Acer's ColorBoost technology, which enhances color accuracy and vibrancy. This results in lifelike and dynamic visuals that make presentations more engaging. Additionally, the projector is equipped with a DynamicBlack feature, automatically adjusting the lamp brightness to ensure optimal performance during different scenes, enhancing the overall viewing experience.

Acer has also designed the P7280I with user convenience in mind. The projector features easy-to-navigate menus and remote control functionality, making it simple to adjust settings and switch between sources. Furthermore, the P7280I's lamp life is rated at up to 5,000 hours, reducing the need for frequent replacements and lowering overall operating costs.

In summary, the Acer P7280I is an impressive projector equipped with advanced features and technologies designed to deliver top-notch performance in various settings. Its bright output, high resolution, 3D capabilities, and extensive connectivity options make it an ideal choice for anyone looking to elevate their presentations.