Manuals
/
Addonics Technologies
/
Computer Equipment
/
Computer Accessories
Addonics Technologies
manual
Addonics Technologies, Model CRC4HESU, Cipher key
Models:
CRC4HESU
1
1
2
2
Download
2 pages
50.55 Kb
1
2
Page 1
Image 1
Page 1
Page 2
Page 1
Image 1
Page 1
Page 2
Contents
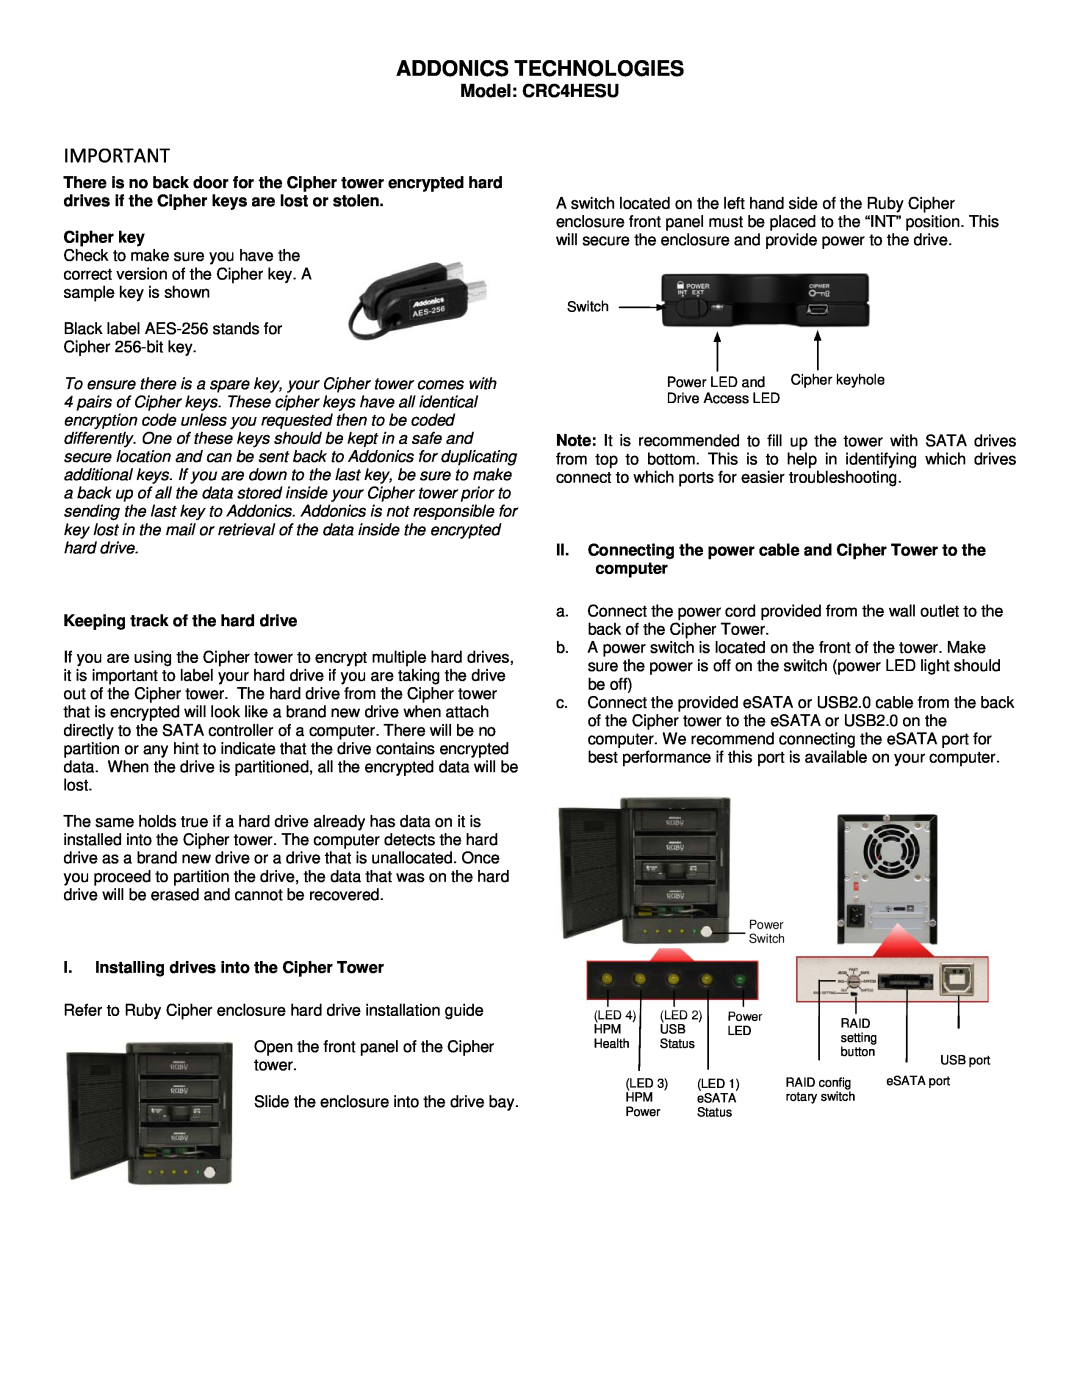
II. Connecting the power cable and Cipher Tower to the computer
I. Installing drives into the Cipher Tower
ADDONICS TECHNOLOGIES
Model CRC4HESU
VI. Verify RAID Setting on the Cipher tower
III. Initial RAID setup of the Cipher tower
IV. How to operate the Cipher tower after initial setup
LED Information
Top
Page
Image
Contents