Quick Start Guide
|
|
| For more detailed documentation, visit us online at www.adtran.com | |||||
INSTALLING THE NETVANTA 340 ROUTER |
|
|
| P/N 1200422L1 | ||||
|
|
|
|
|
|
|
|
|
|
|
|
|
|
|
|
|
|
|
|
|
|
|
|
|
|
|
|
|
|
|
|
|
|
|
|
|
|
|
|
|
|
|
|
|
CONNECT TO THE NETVANTA 340 | CONFIGURE THE ATM PVC |
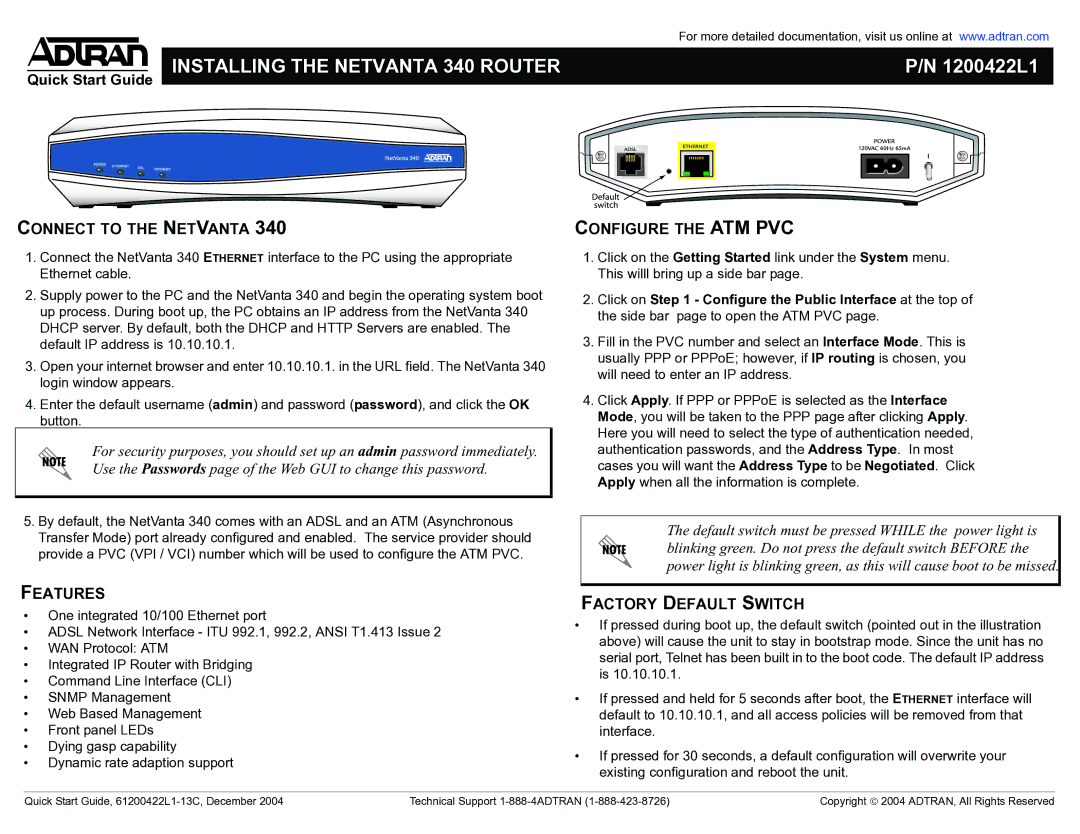
1.Connect the NetVanta 340 ETHERNET interface to the PC using the appropriate Ethernet cable.
2.Supply power to the PC and the NetVanta 340 and begin the operating system boot up process. During boot up, the PC obtains an IP address from the NetVanta 340 DHCP server. By default, both the DHCP and HTTP Servers are enabled. The default IP address is 10.10.10.1.
3.Open your internet browser and enter 10.10.10.1. in the URL field. The NetVanta 340 login window appears.
4.Enter the default username (admin) and password (password), and click the OK button.
For security purposes, you should set up an admin password immediately. Use the Passwords page of the Web GUI to change this password.
5.By default, the NetVanta 340 comes with an ADSL and an ATM (Asynchronous Transfer Mode) port already configured and enabled. The service provider should provide a PVC (VPI / VCI) number which will be used to configure the ATM PVC.
FEATURES
•One integrated 10/100 Ethernet port
•ADSL Network Interface - ITU 992.1, 992.2, ANSI T1.413 Issue 2
•WAN Protocol: ATM
•Integrated IP Router with Bridging
•Command Line Interface (CLI)
•SNMP Management
•Web Based Management
•Front panel LEDs
•Dying gasp capability
•Dynamic rate adaption support
1.Click on the Getting Started link under the System menu. This willl bring up a side bar page.
2.Click on Step 1 - Configure the Public Interface at the top of the side bar page to open the ATM PVC page.
3.Fill in the PVC number and select an Interface Mode. This is usually PPP or PPPoE; however, if IP routing is chosen, you will need to enter an IP address.
4.Click Apply. If PPP or PPPoE is selected as the Interface Mode, you will be taken to the PPP page after clicking Apply. Here you will need to select the type of authentication needed, authentication passwords, and the Address Type. In most cases you will want the Address Type to be Negotiated. Click Apply when all the information is complete.
The default switch must be pressed WHILE the power light is blinking green. Do not press the default switch BEFORE the power light is blinking green, as this will cause boot to be missed.
FACTORY DEFAULT SWITCH
•If pressed during boot up, the default switch (pointed out in the illustration above) will cause the unit to stay in bootstrap mode. Since the unit has no serial port, Telnet has been built in to the boot code. The default IP address is 10.10.10.1.
•If pressed and held for 5 seconds after boot, the ETHERNET interface will default to 10.10.10.1, and all access policies will be removed from that interface.
•If pressed for 30 seconds, a default configuration will overwrite your existing configuration and reboot the unit.
Quick Start Guide, | Technical Support | Copyright © 2004 ADTRAN, All Rights Reserved |
