POC-195 specifications
The Advantech POC-195 is a robust, compact industrial computer designed for various applications including factory automation, smart retail, and outdoor displays. With its impressive blend of performance and versatility, the POC-195 stands out as a reliable solution for businesses seeking reliable computing capabilities in challenging environments.One of the primary features of the POC-195 is its powerful processing capabilities. It is equipped with Intel's latest generation of processors, permitting swift processing speeds and efficient multitasking. The system supports a wide range of processor models, ensuring that users can select the configuration that best suits their specific operational requirements. This flexibility makes it ideal for processing-intensive tasks, including data analysis, machine vision, and real-time monitoring.
The POC-195 also boasts an impressive array of connectivity options. It integrates multiple I/O ports, including USB, HDMI, and Ethernet, enabling seamless integration with various peripherals and external devices. This robust connectivity ensures that the POC-195 can easily connect with sensors, cameras, and other industrial equipment, facilitating streamlined communication and data exchange across the network.
In terms of design, the POC-195 adopts a fanless architecture, which not only enhances its durability but also reduces noise levels, making it perfectly suited for environments that require discrete operations. The compact form factor maximizes space efficiency, enabling installation in tight areas without compromising on functionality. Its rugged construction ensures that the device can withstand extreme temperatures, vibrations, and dust, making it a reliable choice for industrial and outdoor applications.
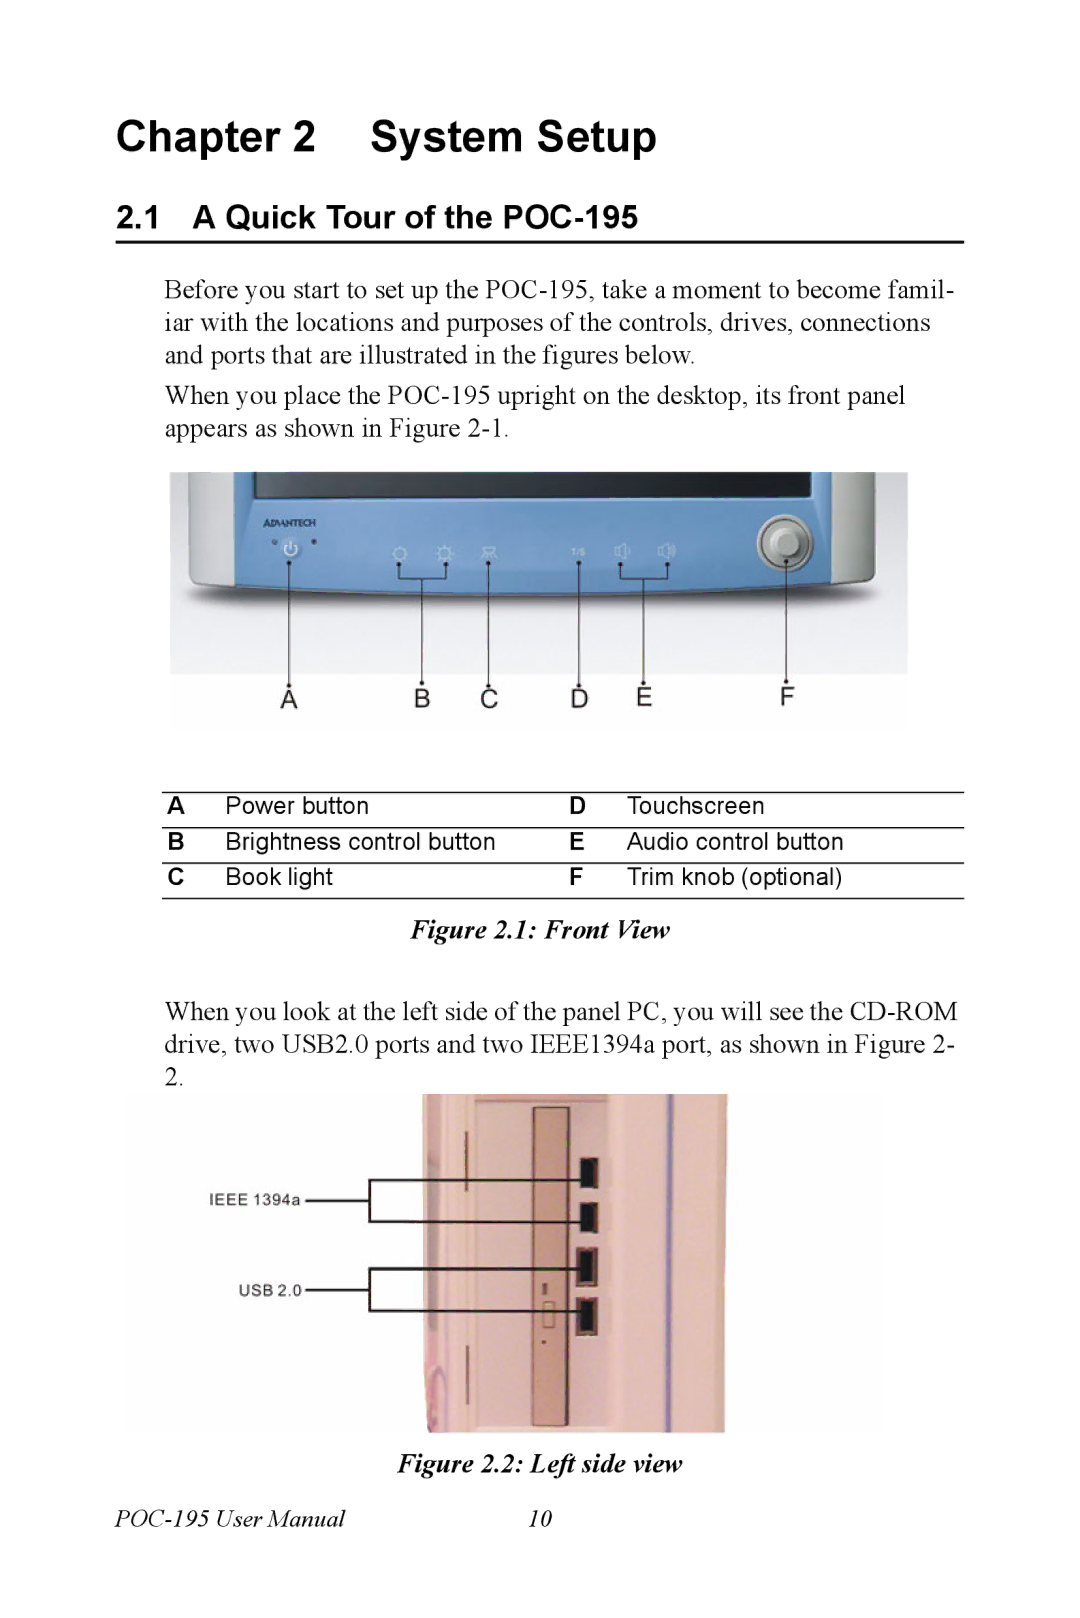
Another key characteristic of the POC-195 is its user-friendly interface. The device features a touchscreen display that supports multi-touch functionality, enhancing user engagement and operational efficiency. This intuitive interface allows for easy navigation, making it accessible for operators of all skill levels. Furthermore, pre-installed software solutions allow for rapid deployment, reducing the time required to get systems up and running.
In conclusion, the Advantech POC-195 combines powerful processing capabilities, extensive connectivity, rugged design, and user-friendly features, making it a leading choice for industrial computing solutions. Whether for data collection, automation, or smart applications, the POC-195 stands as a testament to Advantech's commitment to innovation and quality in the realm of industrial technology.

