Installing the Overhead Monitor
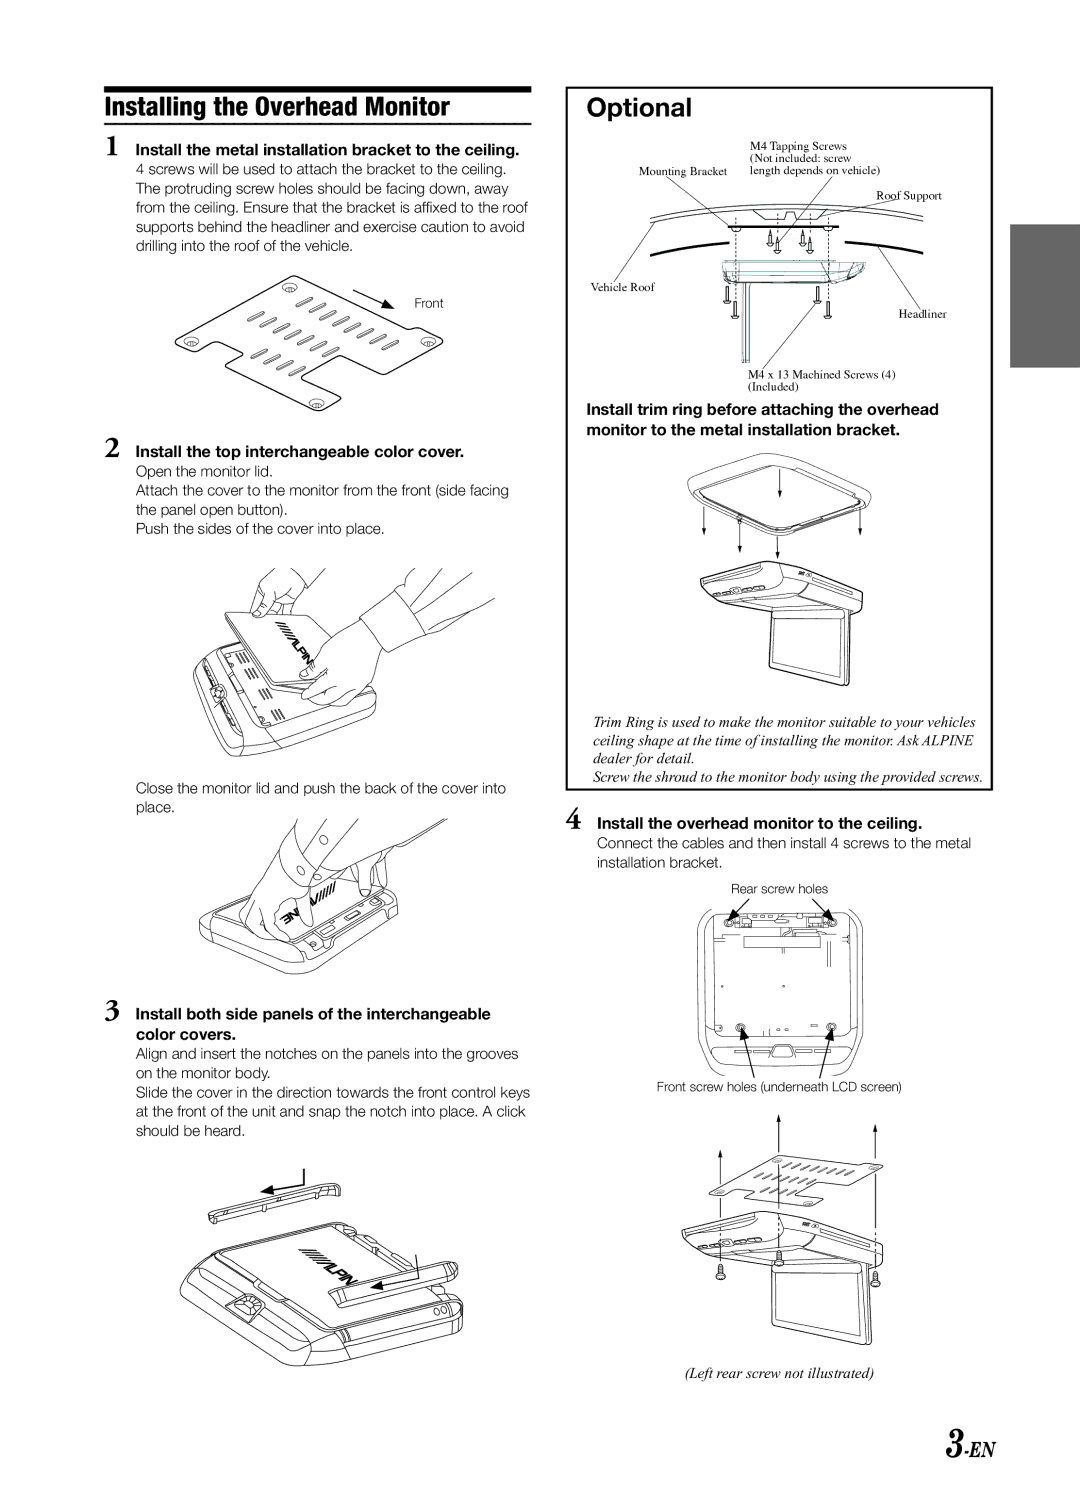
1 Install the metal installation bracket to the ceiling.
4 screws will be used to attach the bracket to the ceiling. The protruding screw holes should be facing down, away from the ceiling. Ensure that the bracket is affixed to the roof supports behind the headliner and exercise caution to avoid drilling into the roof of the vehicle.
Front
Optional
Mounting Bracket
Vehicle Roof
M4 Tapping Screws (Not included: screw length depends on vehicle)
Roof Support
Headliner
M4 x 13 Machined Screws (4) (Included)
2 Install the top interchangeable color cover.
Open the monitor lid.
Attach the cover to the monitor from the front (side facing the panel open button).
Push the sides of the cover into place.
Close the monitor lid and push the back of the cover into place.
3 Install both side panels of the interchangeable color covers.
Align and insert the notches on the panels into the grooves on the monitor body.
Slide the cover in the direction towards the front control keys at the front of the unit and snap the notch into place. A click should be heard.
Install trim ring before attaching the overhead monitor to the metal installation bracket.
Trim Ring is used to make the monitor suitable to your vehicles ceiling shape at the time of installing the monitor. Ask ALPINE dealer for detail.
Screw the shroud to the monitor body using the provided screws.
4 Install the overhead monitor to the ceiling.
Connect the cables and then install 4 screws to the metal installation bracket.
Rear screw holes
Front screw holes (underneath LCD screen)
(Left rear screw not illustrated)