Bakeware
The bakeware material affects cooking results. Follow manufacturer’s recommendations and use the bakeware size recommended in the recipe. Use the following chart as a guide.
BAKEWARE/ | RECOMMENDATIONS |
RESULTS |
|
|
|
Light colored | ■ Use temperature and time |
aluminum | recommended in recipe. |
■Light golden crusts
■Even browning
Dark aluminum and | ■ | May need to reduce baking | |
other bakeware with |
| temperatures slightly. | |
dark, dull and/or | ■ | Use suggested baking time. | |
nonstick finish | |||
■ For pies, breads and casseroles, | |||
■ Brown, crisp | |||
| use temperature recommended in | ||
crusts |
| ||
| recipe. | ||
|
| ||
| ■ Place rack in center of oven. | ||
|
|
| |
Insulated cookie | ■ | Place in the bottom third of oven. | |
sheets or baking | ■ | May need to increase baking time. | |
pans | |||
|
| ||
■Little or no bottom browning
Stainless steel | ■ May need to increase baking time. |
■Light, golden crusts
■Uneven browning
Stoneware/Baking | ■ Follow manufacturer’s instructions. | |
stone |
| |
■ | Crisp crusts |
|
|
| |
Ovenproof | ■ May need to reduce baking | |
glassware, ceramic | temperatures slightly. | |
glass or ceramic |
| |
■ | Brown, crisp |
|
| crusts |
|
Oven Vent
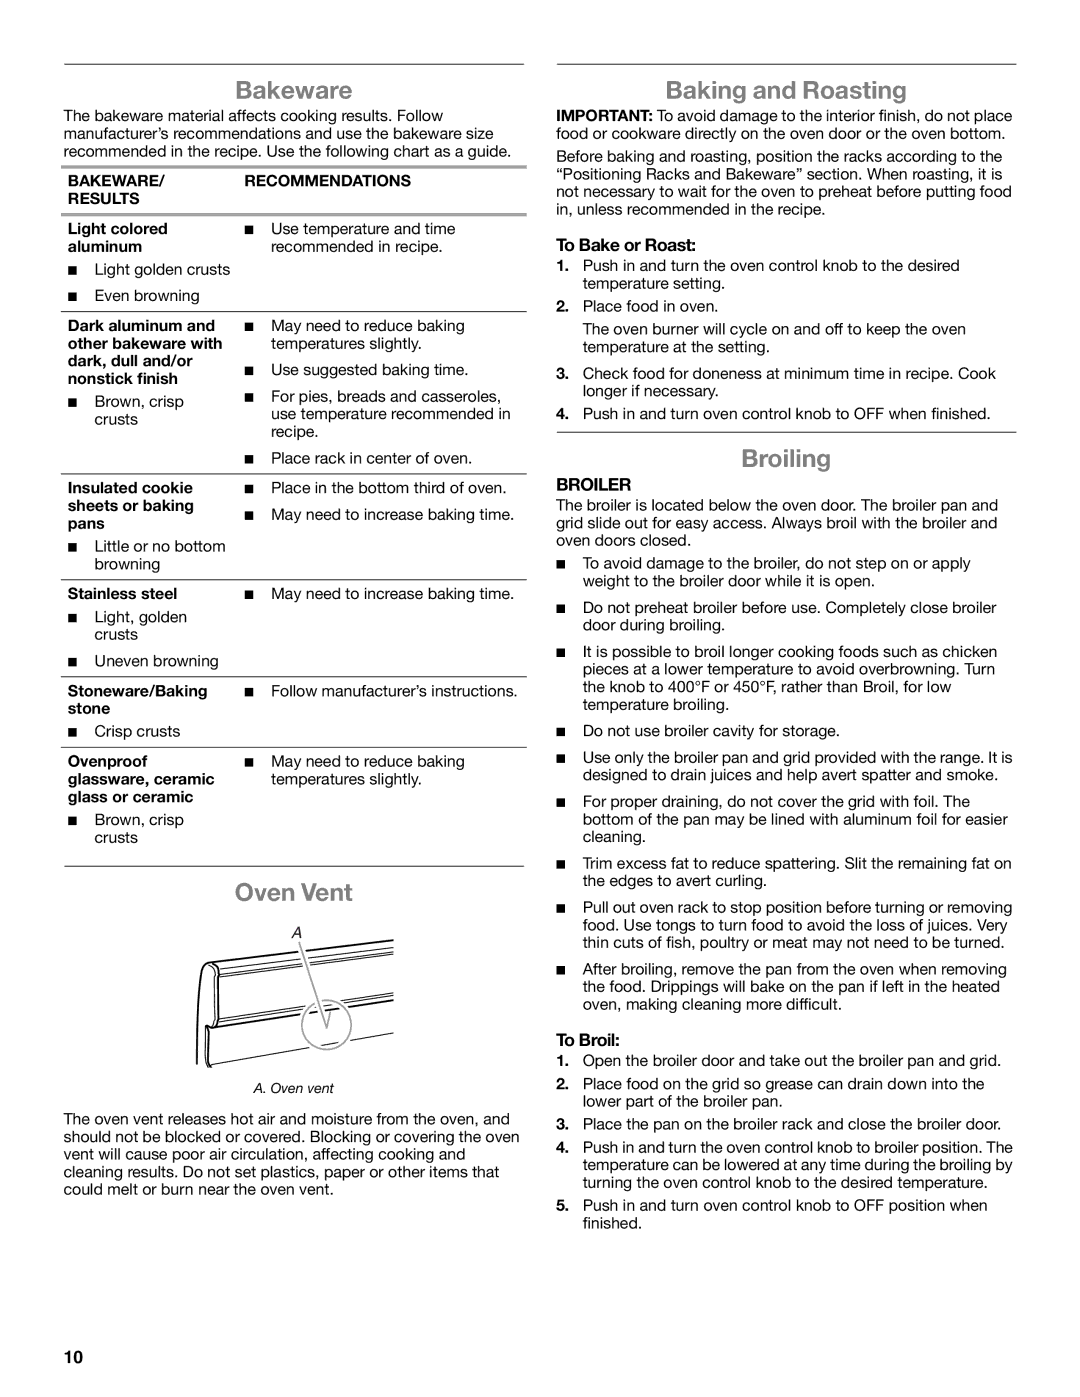
A
A. Oven vent
The oven vent releases hot air and moisture from the oven, and should not be blocked or covered. Blocking or covering the oven vent will cause poor air circulation, affecting cooking and cleaning results. Do not set plastics, paper or other items that could melt or burn near the oven vent.
Baking and Roasting
IMPORTANT: To avoid damage to the interior finish, do not place food or cookware directly on the oven door or the oven bottom.
Before baking and roasting, position the racks according to the “Positioning Racks and Bakeware” section. When roasting, it is not necessary to wait for the oven to preheat before putting food in, unless recommended in the recipe.
To Bake or Roast:
1.Push in and turn the oven control knob to the desired temperature setting.
2.Place food in oven.
The oven burner will cycle on and off to keep the oven temperature at the setting.
3.Check food for doneness at minimum time in recipe. Cook longer if necessary.
4.Push in and turn oven control knob to OFF when finished.
Broiling
BROILER
The broiler is located below the oven door. The broiler pan and grid slide out for easy access. Always broil with the broiler and oven doors closed.
■To avoid damage to the broiler, do not step on or apply weight to the broiler door while it is open.
■Do not preheat broiler before use. Completely close broiler door during broiling.
■It is possible to broil longer cooking foods such as chicken pieces at a lower temperature to avoid overbrowning. Turn the knob to 400°F or 450°F, rather than Broil, for low temperature broiling.
■Do not use broiler cavity for storage.
■Use only the broiler pan and grid provided with the range. It is designed to drain juices and help avert spatter and smoke.
■For proper draining, do not cover the grid with foil. The bottom of the pan may be lined with aluminum foil for easier cleaning.
■Trim excess fat to reduce spattering. Slit the remaining fat on the edges to avert curling.
■Pull out oven rack to stop position before turning or removing food. Use tongs to turn food to avoid the loss of juices. Very thin cuts of fish, poultry or meat may not need to be turned.
■After broiling, remove the pan from the oven when removing the food. Drippings will bake on the pan if left in the heated oven, making cleaning more difficult.
To Broil:
1.Open the broiler door and take out the broiler pan and grid.
2.Place food on the grid so grease can drain down into the lower part of the broiler pan.
3.Place the pan on the broiler rack and close the broiler door.
4.Push in and turn the oven control knob to broiler position. The temperature can be lowered at any time during the broiling by turning the oven control knob to the desired temperature.
5.Push in and turn oven control knob to OFF position when finished.
10
