American DJ®
User Instructions
Caution: Please read and follow all instruction before attempting to operate this or any other electrical unit.
Technical Specifications:
Model: H2O™
Lamp: | JCR/H5 15V, 150W |
Voltage: | 110~120v |
Dimensions: | 13.75" x 5.75" x 13.75" |
Colors | 9 + White |
Weight: | 19 Lbs |
Fuse: | 2Amp GMA |
Duty Cycle: | 15min on/off |
H2O -
 Introduction
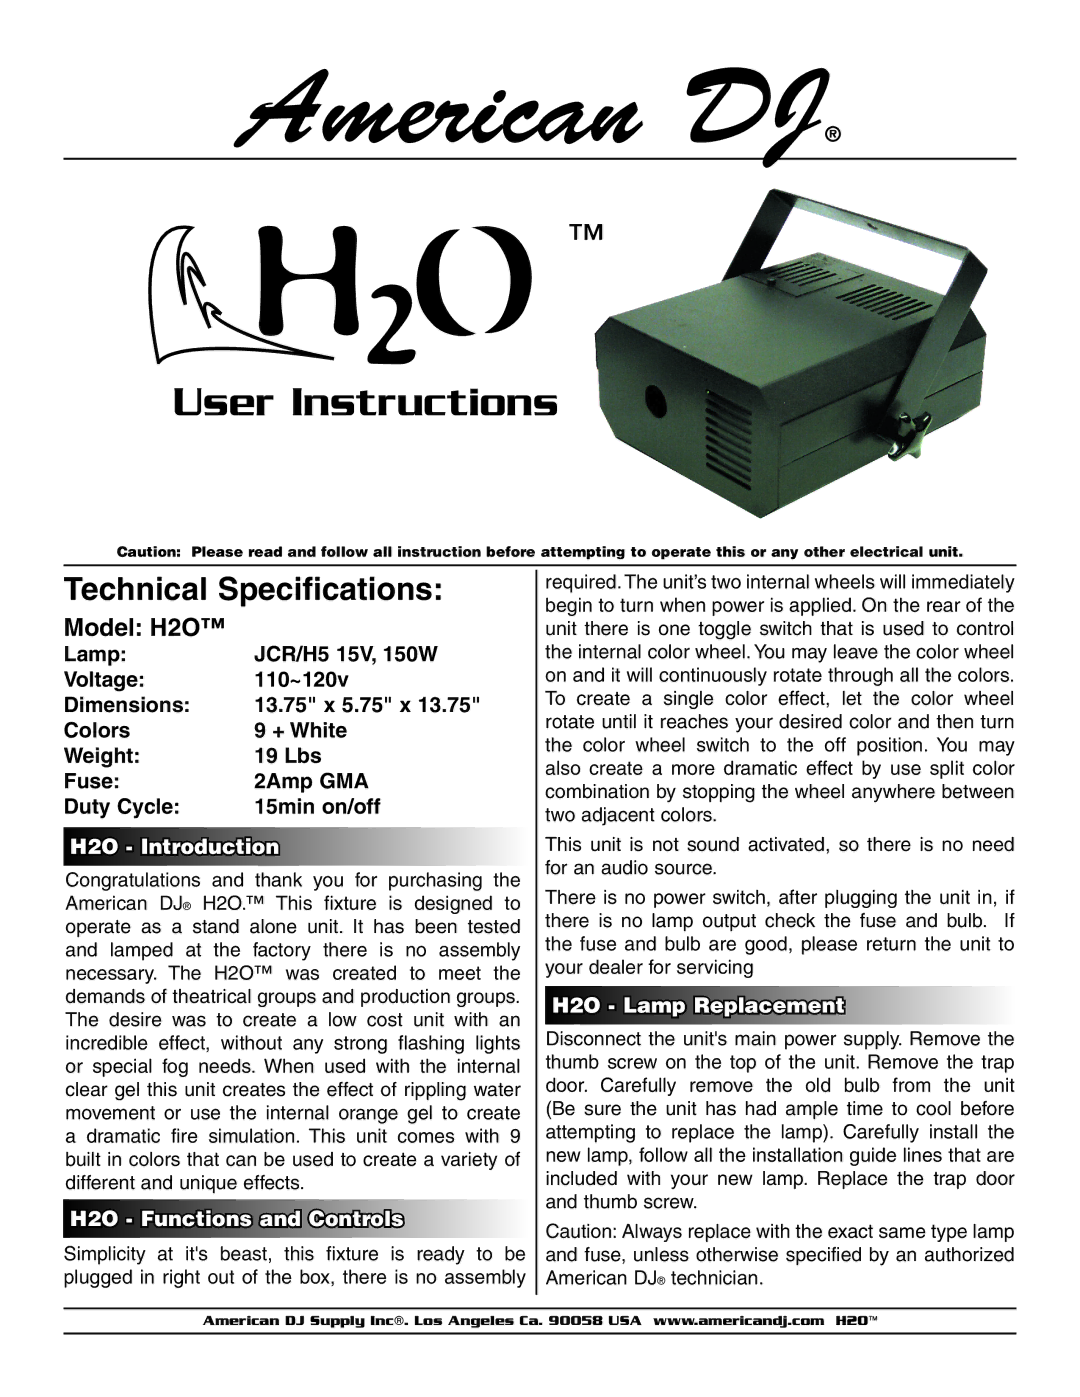
Congratulations and thank you for purchasing the American DJ® H2O.™ This fixture is designed to operate as a stand alone unit. It has been tested and lamped at the factory there is no assembly necessary. The H2O™ was created to meet the demands of theatrical groups and production groups. The desire was to create a low cost unit with an incredible effect, without any strong flashing lights or special fog needs. When used with the internal clear gel this unit creates the effect of rippling water movement or use the internal orange gel to create a dramatic fire simulation. This unit comes with 9 built in colors that can be used to create a variety of different and unique effects.
H2O -
 Functions
 and Controls
Simplicity at it's beast, this fixture is ready to be plugged in right out of the box, there is no assembly
required. The unit’s two internal wheels will immediately begin to turn when power is applied. On the rear of the unit there is one toggle switch that is used to control the internal color wheel. You may leave the color wheel on and it will continuously rotate through all the colors. To create a single color effect, let the color wheel rotate until it reaches your desired color and then turn the color wheel switch to the off position. You may also create a more dramatic effect by use split color combination by stopping the wheel anywhere between two adjacent colors.
This unit is not sound activated, so there is no need for an audio source.
There is no power switch, after plugging the unit in, if there is no lamp output check the fuse and bulb. If the fuse and bulb are good, please return the unit to your dealer for servicing
H2O -
 Lamp
Lamp Replacement
Disconnect the unit's main power supply. Remove the thumb screw on the top of the unit. Remove the trap door. Carefully remove the old bulb from the unit (Be sure the unit has had ample time to cool before attempting to replace the lamp). Carefully install the new lamp, follow all the installation guide lines that are included with your new lamp. Replace the trap door and thumb screw.
Caution: Always replace with the exact same type lamp and fuse, unless otherwise specified by an authorized American DJ® technician.
American DJ Supply Inc®. Los Angeles Ca. 90058 USA www.americandj.com H2O™
