AT1800 Series specifications
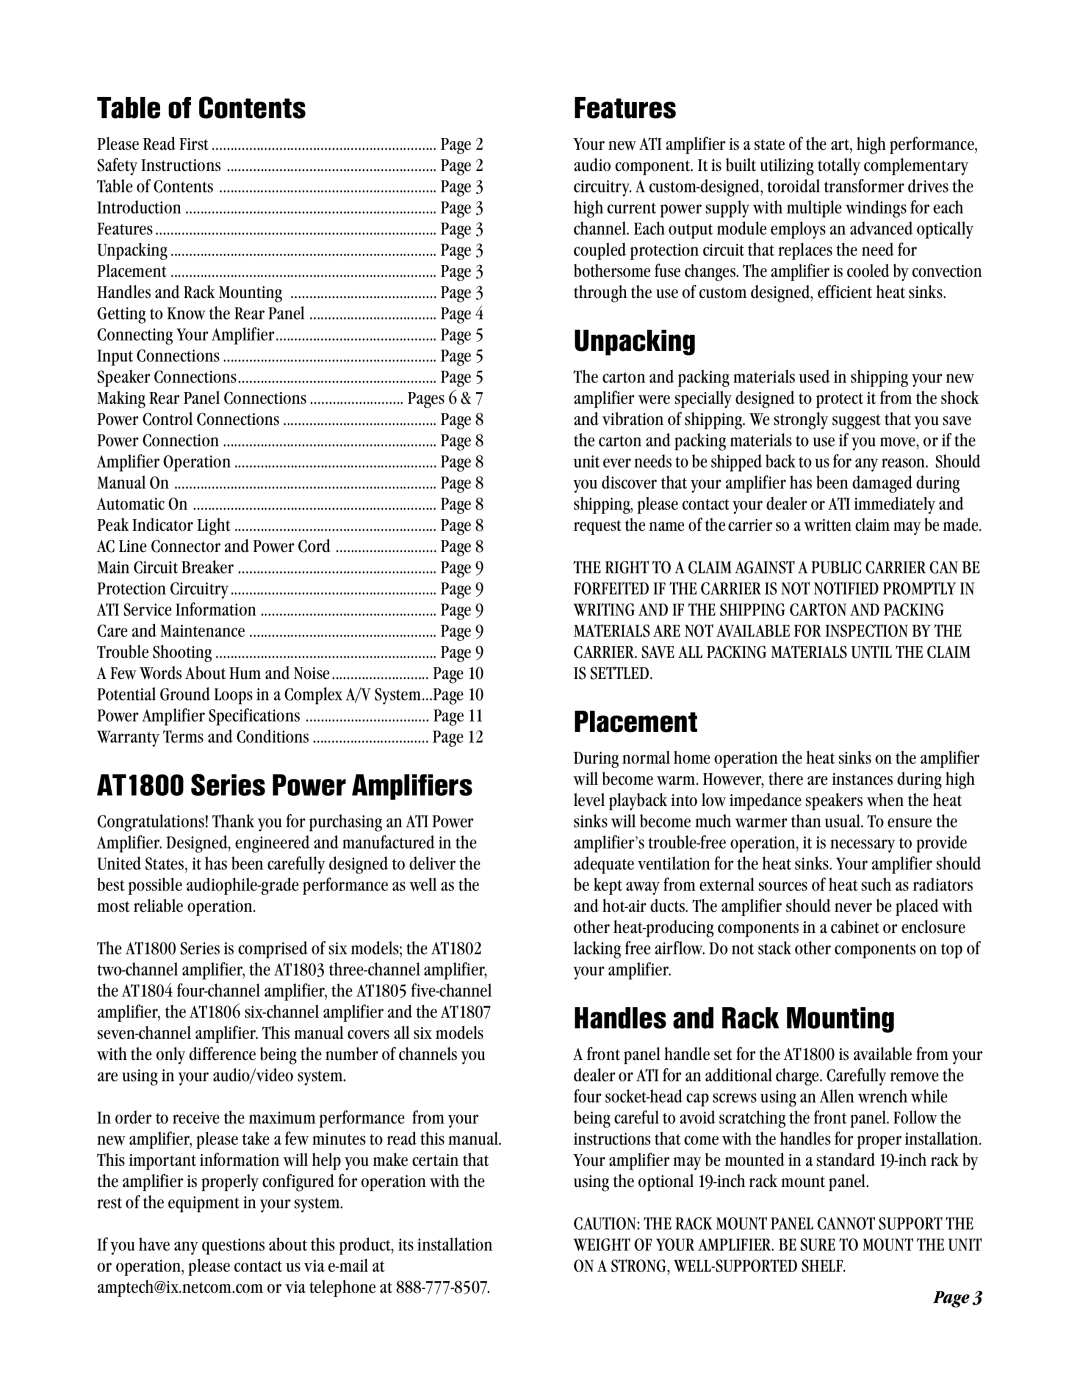
The Amplifier Tech AT1800 Series is a groundbreaking line of high-performance audio amplifiers designed for both professional and consumer applications. Renowned for their exceptional sound quality and robust build, these amplifiers have become a staple in various audio environments, including live sound, installations, and studio settings.One of the standout features of the AT1800 Series is its advanced Class D amplification technology. This ensures not only high efficiency but also reduced heat generation, allowing these amplifiers to run cooler compared to traditional Class A or AB amplifiers. This efficiency translates to less power consumption, making the AT1800 Series an environmentally friendly choice while still delivering an impressive amount of power. With power ratings typically ranging from 1800 watts to 2400 watts, the AT1800 Series is capable of driving large speaker systems with ease.
Another significant characteristic of the AT1800 Series is its impressive signal-to-noise ratio, which results in clear, distortion-free sound even at high volumes. The amplifiers are equipped with high-quality components such as toroidal transformers and high-grade capacitors, which contribute to the overall audio fidelity. Users can expect crisp highs, detailed mids, and powerful lows, making these amplifiers suitable for a variety of musical genres and audio content.
The user-friendly interface of the AT1800 Series includes intuitive controls and LED indicators that provide real-time feedback on performance. The amplifiers also feature built-in protection circuitry, which safeguards against overload, short circuits, and thermal issues, ensuring reliable operation throughout extended use.
Connectivity options on the AT1800 Series are extensive, featuring both balanced and unbalanced inputs, making integration with existing audio systems seamless. The series is also equipped with output connections capable of accommodating a wide range of speaker configurations, allowing for flexibility in setup.
Moreover, the rugged chassis of the AT1800 amplifiers is designed for durability. Its lightweight yet sturdy construction ensures that the amplifiers can withstand the rigors of transport and installation while still being aesthetically pleasing for front-of-house setups or permanent installations.
In summary, the Amplifier Tech AT1800 Series combines innovative technology with superior sound quality and durability, making it an excellent choice for professionals and audiophiles alike. Its blend of efficiency, high performance, and versatile connectivity options solidifies its position as a leading player in the audio amplifier market.
