Installation Guide
Solecis AVB-DA-RGBHV-0104
Overview
The Solecis
The terminated inputs and 75 ohm driven outputs make the
The
Certifications: | • CE |
| • UL |
| • FCC class B, part 15 |
| • RoHS/WEEE compliant |
|
|
Safety Instructions
Please read these instructions before using your AMX Solecis device. Failure to comply with these instructions could result in fire, electrical shock, personal injury, death, or damage to the equipment.
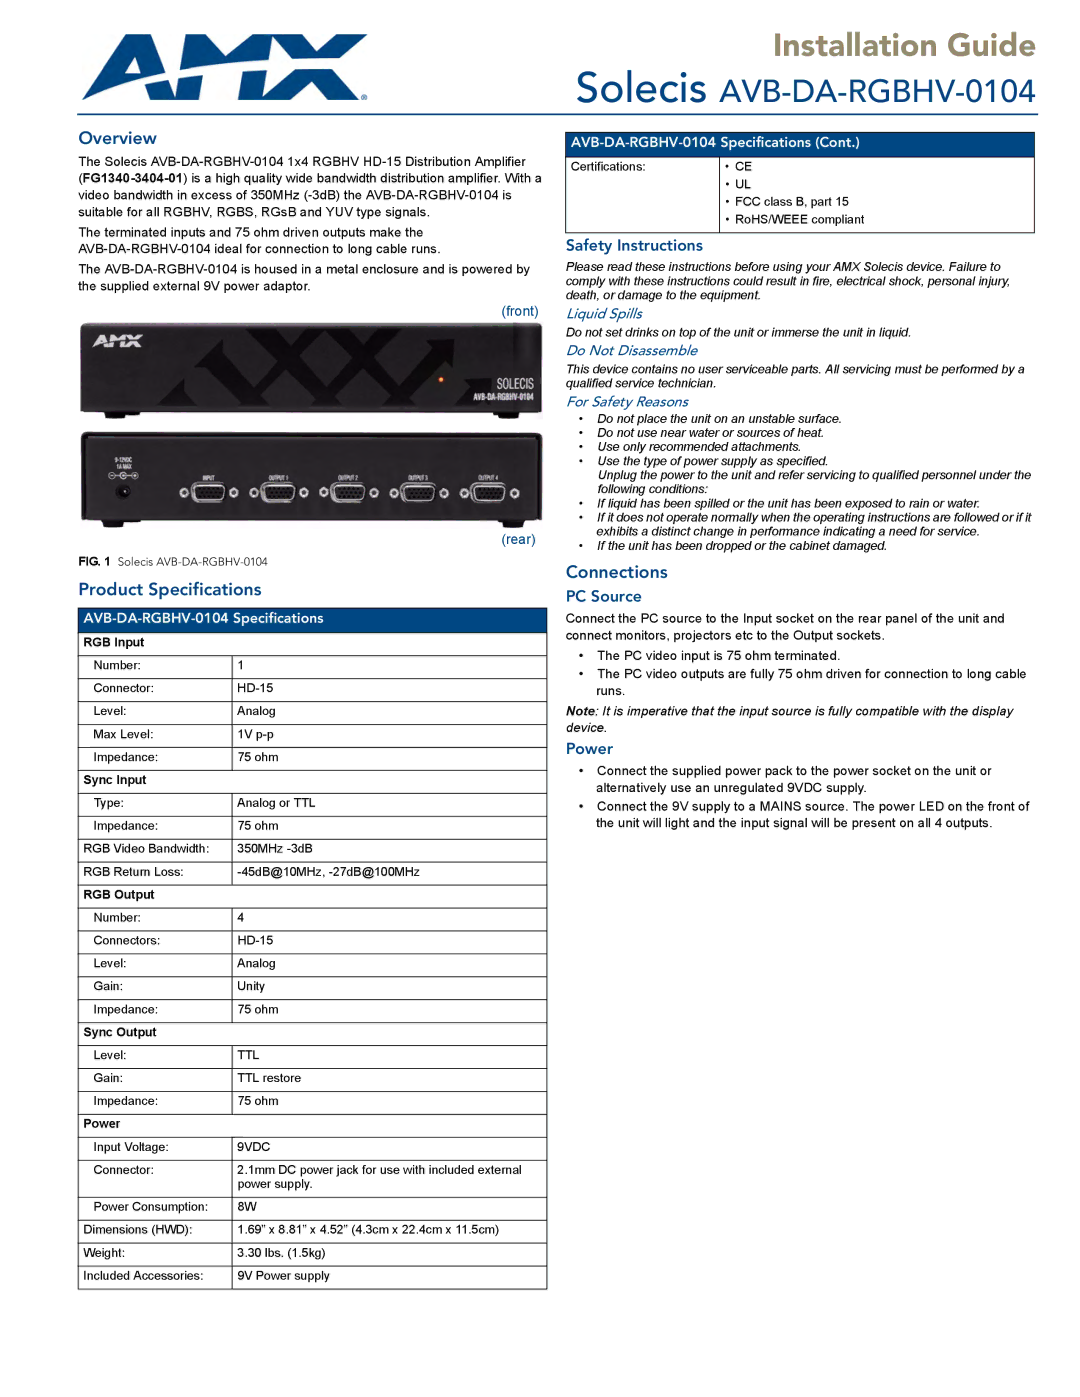
(front)
(rear)
FIG. 1 Solecis AVB-DA-RGBHV-0104
Product Specifications
RGB Input
Number: | 1 |
|
|
Connector: | |
|
|
Level: | Analog |
|
|
Max Level: | 1V |
|
|
Impedance: | 75 ohm |
|
|
Sync Input |
|
|
|
Type: | Analog or TTL |
|
|
Impedance: | 75 ohm |
|
|
RGB Video Bandwidth: | 350MHz |
|
|
RGB Return Loss: | |
|
|
RGB Output |
|
|
|
Number: | 4 |
|
|
Connectors: | |
|
|
Level: | Analog |
|
|
Gain: | Unity |
|
|
Impedance: | 75 ohm |
|
|
Sync Output |
|
|
|
Level: | TTL |
|
|
Gain: | TTL restore |
|
|
Impedance: | 75 ohm |
|
|
Power |
|
|
|
Input Voltage: | 9VDC |
|
|
Connector: | 2.1mm DC power jack for use with included external |
| power supply. |
|
|
Power Consumption: | 8W |
|
|
Dimensions (HWD): | 1.69” x 8.81” x 4.52” (4.3cm x 22.4cm x 11.5cm) |
|
|
Weight: | 3.30 lbs. (1.5kg) |
|
|
Included Accessories: | 9V Power supply |
|
|
Liquid Spills
Do not set drinks on top of the unit or immerse the unit in liquid.
Do Not Disassemble
This device contains no user serviceable parts. All servicing must be performed by a qualified service technician.
For Safety Reasons
•Do not place the unit on an unstable surface.
•Do not use near water or sources of heat.
•Use only recommended attachments.
•Use the type of power supply as specified.
Unplug the power to the unit and refer servicing to qualified personnel under the following conditions:
•If liquid has been spilled or the unit has been exposed to rain or water.
•If it does not operate normally when the operating instructions are followed or if it exhibits a distinct change in performance indicating a need for service.
•If the unit has been dropped or the cabinet damaged.
Connections
PC Source
Connect the PC source to the Input socket on the rear panel of the unit and connect monitors, projectors etc to the Output sockets.
•The PC video input is 75 ohm terminated.
•The PC video outputs are fully 75 ohm driven for connection to long cable runs.
Note: It is imperative that the input source is fully compatible with the display device.
Power
•Connect the supplied power pack to the power socket on the unit or alternatively use an unregulated 9VDC supply.
•Connect the 9V supply to a MAINS source. The power LED on the front of the unit will light and the input signal will be present on all 4 outputs.