HARDWARE INSTALLATION GUIDE
2.1SETTING UP
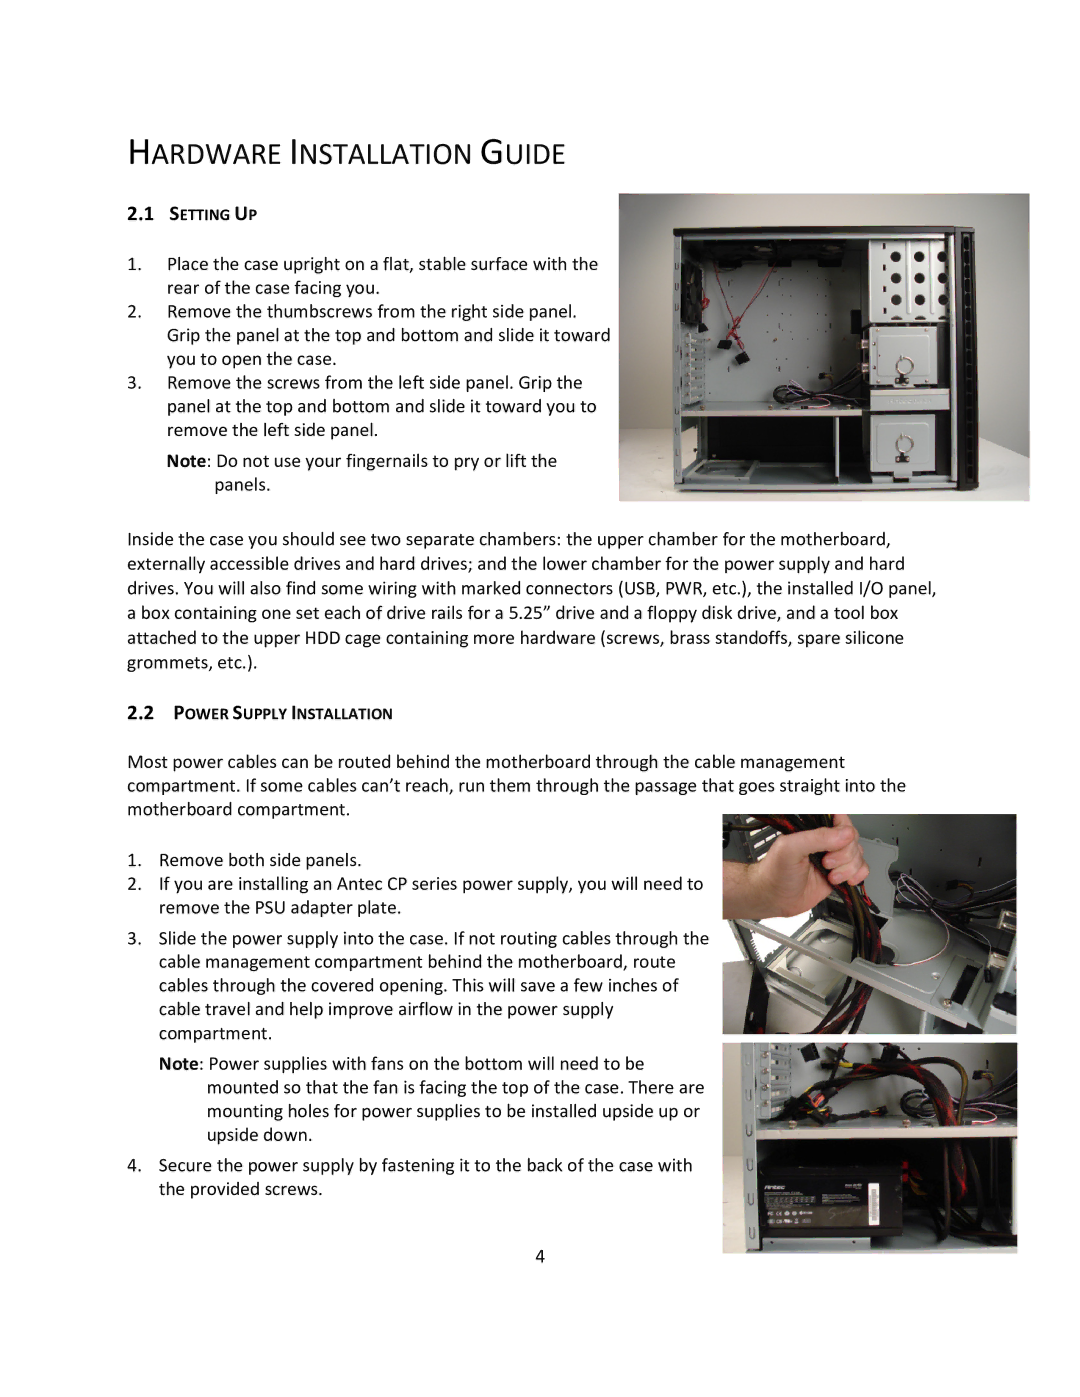
1.Place the case upright on a flat, stable surface with the rear of the case facing you.
2.Remove the thumbscrews from the right side panel. Grip the panel at the top and bottom and slide it toward you to open the case.
3.Remove the screws from the left side panel. Grip the panel at the top and bottom and slide it toward you to remove the left side panel.
Note: Do not use your fingernails to pry or lift the panels.
Inside the case you should see two separate chambers: the upper chamber for the motherboard, externally accessible drives and hard drives; and the lower chamber for the power supply and hard drives. You will also find some wiring with marked connectors (USB, PWR, etc.), the installed I/O panel, a box containing one set each of drive rails for a 5.25” drive and a floppy disk drive, and a tool box attached to the upper HDD cage containing more hardware (screws, brass standoffs, spare silicone grommets, etc.).
2.2POWER SUPPLY INSTALLATION
Most power cables can be routed behind the motherboard through the cable management compartment. If some cables can’t reach, run them through the passage that goes straight into the motherboard compartment.
1.Remove both side panels.
2.If you are installing an Antec CP series power supply, you will need to remove the PSU adapter plate.
3.Slide the power supply into the case. If not routing cables through the cable management compartment behind the motherboard, route cables through the covered opening. This will save a few inches of cable travel and help improve airflow in the power supply compartment.
Note: Power supplies with fans on the bottom will need to be mounted so that the fan is facing the top of the case. There are mounting holes for power supplies to be installed upside up or upside down.
4.Secure the power supply by fastening it to the back of the case with the provided screws.
4
