2.9INTERNAL 2.5” DEVICE INSTALLATION
Your case has two HDD trays in the upper HDD cage that can each support one 2.5” device. Note that installing a 2.5” device in one of these trays will make it unavailable for 3.5” device use.
1.Remove the thumbscrew holding the upper HDD cage.
2.Pop the
3.There are two HDD trays inside the cage. Squeeze the metal clips on each side of a tray and slide the tray out.
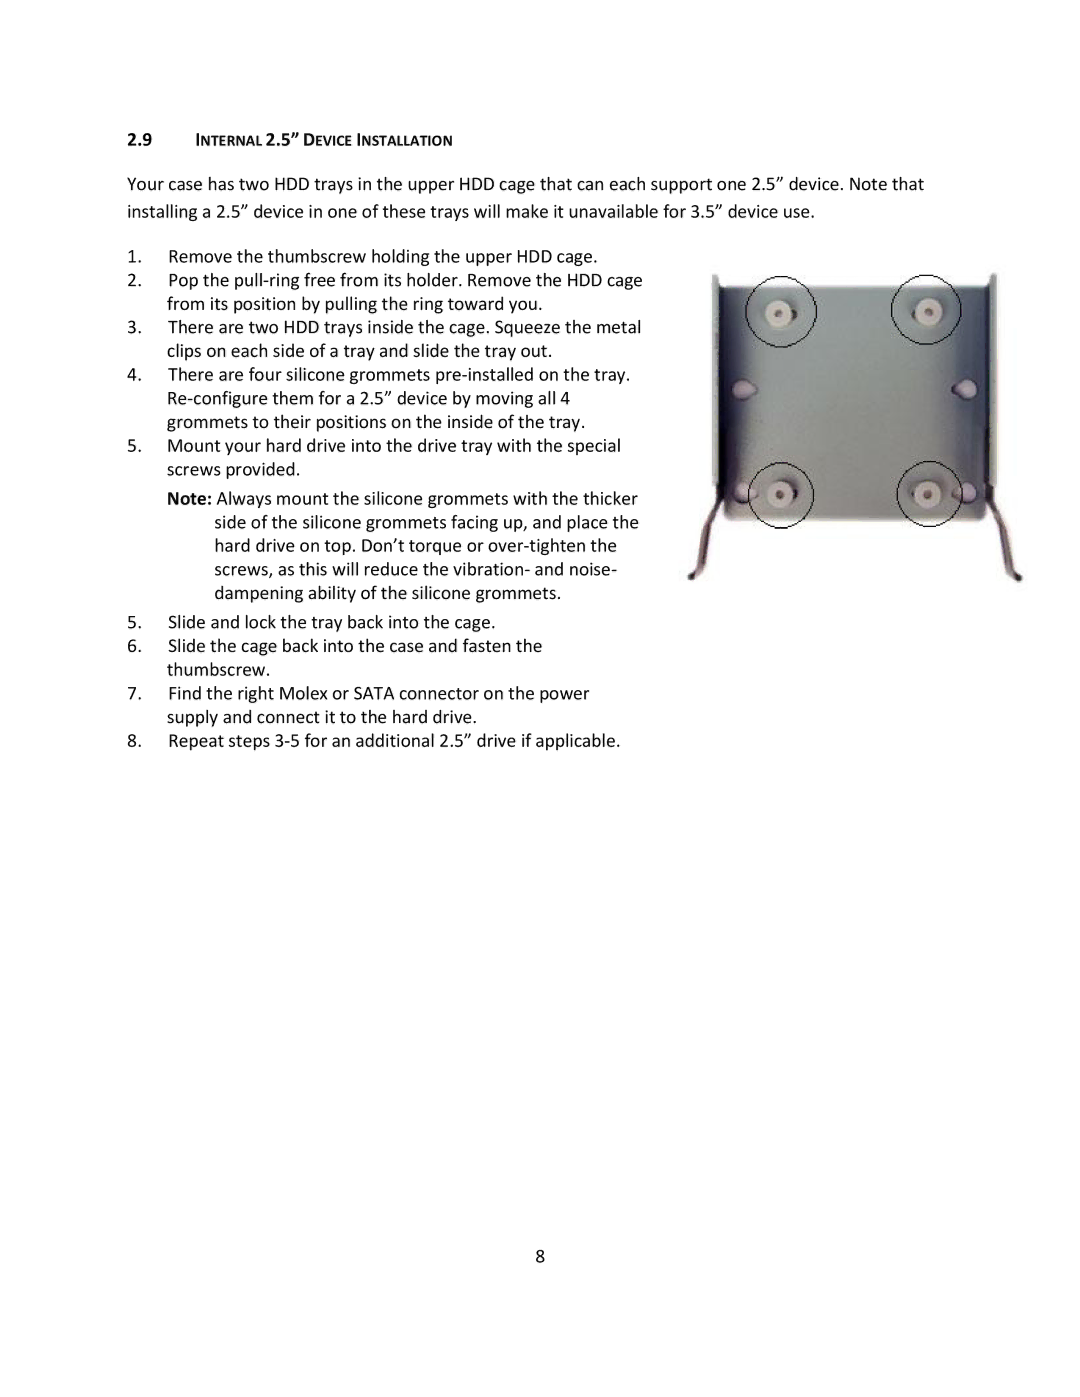
4.There are four silicone grommets
5.Mount your hard drive into the drive tray with the special screws provided.
Note: Always mount the silicone grommets with the thicker side of the silicone grommets facing up, and place the hard drive on top. Don’t torque or
5.Slide and lock the tray back into the cage.
6.Slide the cage back into the case and fasten the thumbscrew.
7.Find the right Molex or SATA connector on the power supply and connect it to the hard drive.
8.Repeat steps
8