LINE CORD SAFETY TIPS
1.Never pull or yank on the cord or the appliance.
2.To insert plug, grasp it firmly and guide it into outlet.
3.To disconnect appliance, grasp plug and remove it from outlet.
4.Before each use, inspect the line cord for cuts and/or abrasion marks. If any are found, this indicates that the appliance should be serviced and the line cord replaced.
5.Never wrap the cord tightly around the appliance, as this could place undue stress on the cord where it enters the appliance and cause
it to fray and break.
DO NOT OPERATE APPLIANCE IF THE LINE CORD SHOWS ANY DAMAGE, OR IF APPLIANCE WORKS INTERMITTENTLY OR STOPS WORKING ENTIRELY.
How to Use
This appliance is for household use.
IMPORTANT: During the first few minutes of initial use, you may notice smoke and a slight odor. This is normal and will quickly disappear.
SPECIAL ATTENTION:
•Keep unit away from contact with all skin areas.
•Do not touch iron barrel with fingertips.
•For shorter hair, place a thin plastic comb between scalp and iron barrel to avoid touching the scalp.
•Place fingers of free hand on the safety tip when more control is needed.
•Test a small section of hair to determine the heat setting for your type of hair.
PRE-HEATING
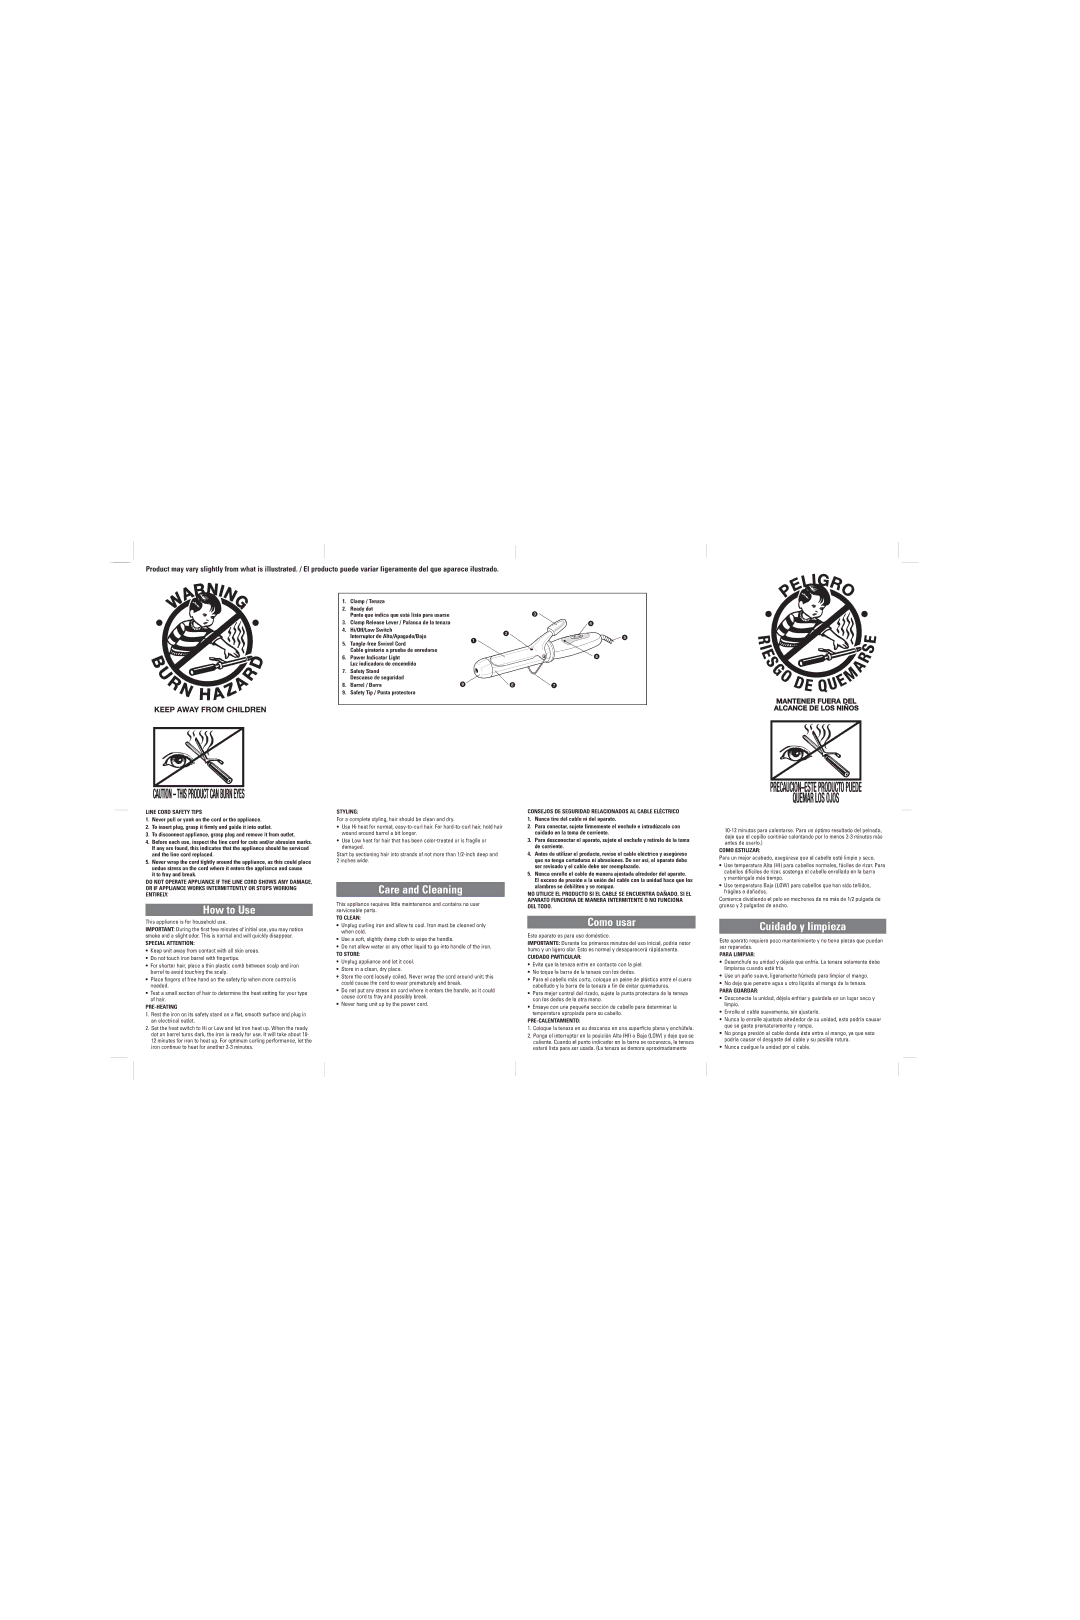
1.Rest the iron on its safety stand on a flat, smooth surface and plug in an electrical outlet.
2.Set the heat switch to Hi or Low and let iron heat up. When the ready dot on barrel turns dark, the iron is ready for use. It will take about 10- 12 minutes for iron to heat up. For optimum curling performance, let the iron continue to heat for another 2-3 minutes.
STYLING:
For a complete styling, hair should be clean and dry.
•Use Hi heat for normal, easy-to-curl hair. For hard-to-curl hair, hold hair wound around barrel a bit longer.
•Use Low heat for hair that has been color-treated or is fragile or damaged.
Start by sectioning hair into strands of not more than 1/2-inch deep and 2 inches wide.
Care and Cleaning
This appliance requires little maintenance and contains no user serviceable parts.
TO CLEAN:
•Unplug curling iron and allow to cool. Iron must be cleaned only when cold.
•Use a soft, slightly damp cloth to wipe the handle.
•Do not allow water or any other liquid to go into handle of the iron.
TO STORE:
•Unplug appliance and let it cool.
•Store in a clean, dry place.
•Store the cord loosely coiled. Never wrap the cord around unit; this could cause the cord to wear prematurely and break.
•Do not put any stress on cord where it enters the handle, as it could cause cord to fray and possibly break.
•Never hang unit up by the power cord.
CONSEJOS DE SEGURIDAD RELACIONADOS AL CABLE ELÉCTRICO
1.Nunca tire del cable ni del aparato.
2.Para conectar, sujete firmemente el enchufe e introdúzcalo con cuidado en la toma de corriente.
3.Para desconectar el aparato, sujete el enchufe y retírelo de la toma de corriente.
4.Antes de utilizar el producto, revise el cable eléctrico y asegúrese que no tenga cortaduras ni abrasiones. De ser así, el aparato debe ser revisado y el cable debe ser reemplazado.
5.Nunca enrolle el cable de manera ajustada alrededor del aparato. El exceso de presión a la unión del cable con la unidad hace que los alambres se debiliten y se rompan.
NO UTILICE EL PRODUCTO SI EL CABLE SE ENCUENTRA DAÑADO, SI EL APARATO FUNCIONA DE MANERA INTERMITENTE O NO FUNCIONA DEL TODO.
Como usar
Este aparato es para uso doméstico.
IMPORTANTE: Durante los primeros minutos del uso inicial, podria notor humo y un ligero olor. Esto es normal y desaparecerá rápidamente.
CUIDADO PARTICULAR:
•Evite que la tenaza entre en contacto con la piel.
•No toque la barra de la tenaza con los dedos.
•Para el cabello más corto, coloque un peine de plástico entre el cuero cabelludo y la barra de la tenaza a fin de evitar quemaduras.
•Para mejor control del rizado, sujete la punta protectora de la tenaza con los dedos de la otra mano.
•Ensaye con una pequeña sección de cabello para determinar la temperatura apropiada para su cabello.
PRE-CALENTAMIENTO:
1.Coloque la tenaza en su descanso en una superficie plana y enchúfela.
2.Ponga el interruptor en la posición Alta (HI) o Baja (LOW) y deje que se caliente. Cuando el punto indicador en la barra se oscurezca, la tenaza estará lista para ser usada. (La tenaza se demora aproximadamente
10-12 minutos para calentarse. Para un óptimo resultado del peinado, deje que el cepillo continúe calentando por lo menos 2-3 minutos más antes de usarlo.)
COMO ESTILIZAR:
Para un mejor acabado, asegúrese que el cabello esté limpio y seco.
•Use temperatura Alta (HI) para cabellos normales, fáciles de rizar. Para cabellos difíciles de rizar, sostenga el cabello enrollado en la barra
y manténgalo más tiempo.
•Use temperatura Baja (LOW) para cabellos que han sido teñidos, frágiles o dañados.
Comience dividiendo el pelo en mechones de no más de 1/2 pulgada de grueso y 2 pulgadas de ancho.
Cuidado y limpieza
Este aparato requiere poco mantenimiento y no tiene piezas que puedan ser reparadas.
PARA LIMPIAR:
•Desenchufe su unidad y déjela que enfríe. La tenaza solamente debe limpiarse cuando esté fría.
•Use un paño suave, ligeramente húmedo para limpiar el mango.
•No deje que penetre agua u otro líquido al mango de la tenaza.
PARA GUARDAR:
•Desconecte la unidad, déjela enfriar y guárdela en un lugar seco y limpio.
•Enrolle el cable suavemente, sin ajustarlo.
•Nunca lo enrolle ajustado alrededor de su unidad, esto podría causar que se gaste prematuramente y rompa.
•No ponga presión al cable donde éste entra al mango, ya que esto podría causar el desgaste del cable y su posible rotura.
•Nunca cuelgue la unidad por el cable.

