4.Slide excess cable back into the wire entry wall opening and fill the hole with insulation. Failure to seal the hole can cause drafts to enter the control and effect humidity (moisture level) sensing accuracy.
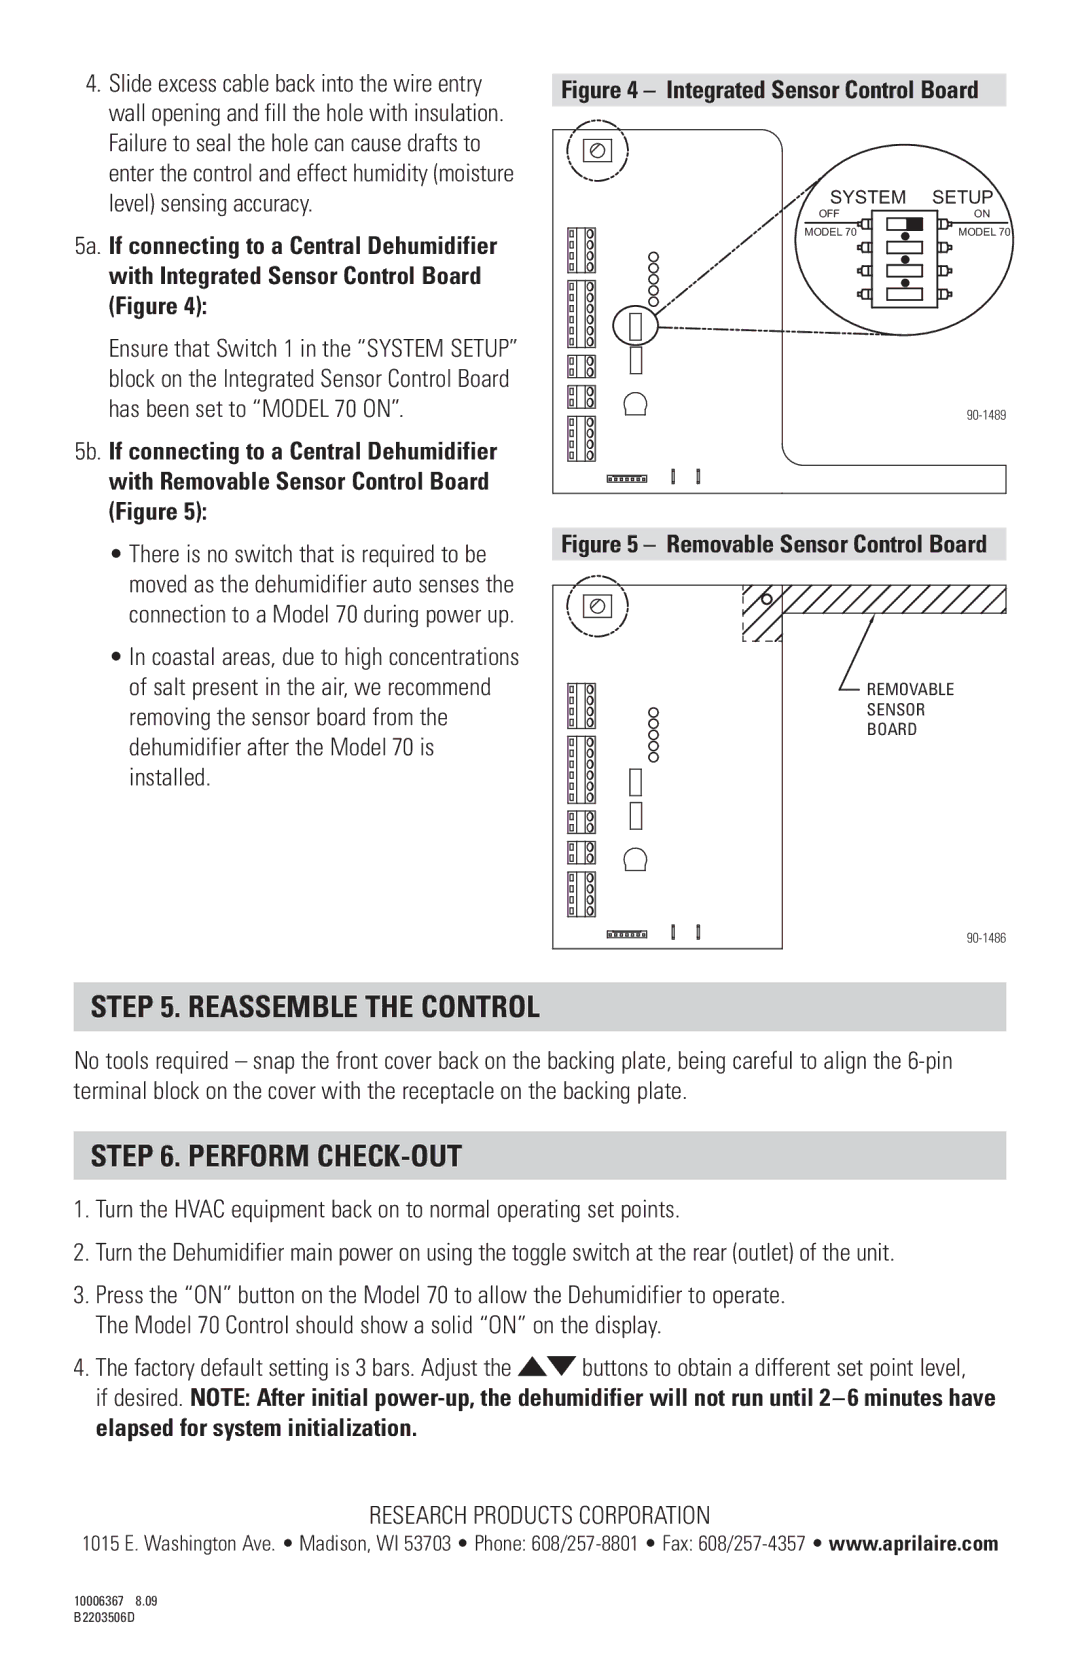
5a. If connecting to a Central Dehumidifier with Integrated Sensor Control Board (Figure 4):
Ensure that Switch 1 in the “SYSTEM SETUP” block on the Integrated Sensor Control Board has been set to “MODEL 70 ON”.
5b. If connecting to a Central Dehumidifier with Removable Sensor Control Board (Figure 5):
•There is no switch that is required to be moved as the dehumidifier auto senses the connection to a Model 70 during power up.
•In coastal areas, due to high concentrations of salt present in the air, we recommend removing the sensor board from the dehumidifier after the Model 70 is installed.
Figure 4 – Integrated Sensor Control Board
SYSTEM | SETUP |
OFF | ON |
MODEL 70 | MODEL 70 |
|
Figure 5 – Removable Sensor Control Board
REMOVABLE |
SENSOR |
BOARD |
STEP 5. REASSEMBLE THE CONTROL
No tools required – snap the front cover back on the backing plate, being careful to align the
STEP 6. PERFORM CHECK-OUT
1.Turn the HVAC equipment back on to normal operating set points.
2.Turn the Dehumidifier main power on using the toggle switch at the rear (outlet) of the unit.
3.Press the “ON” button on the Model 70 to allow the Dehumidifier to operate. The Model 70 Control should show a solid “ON” on the display.
4. The factory default setting is 3 bars. Adjust the ![]() buttons to obtain a different set point level,
buttons to obtain a different set point level,
if desired. NOTE: After initial
RESEARCH PRODUCTS CORPORATION
1015 E. Washington Ave. • Madison, WI 53703 • Phone:
10006367 8.09 B2203506D