Audio setup
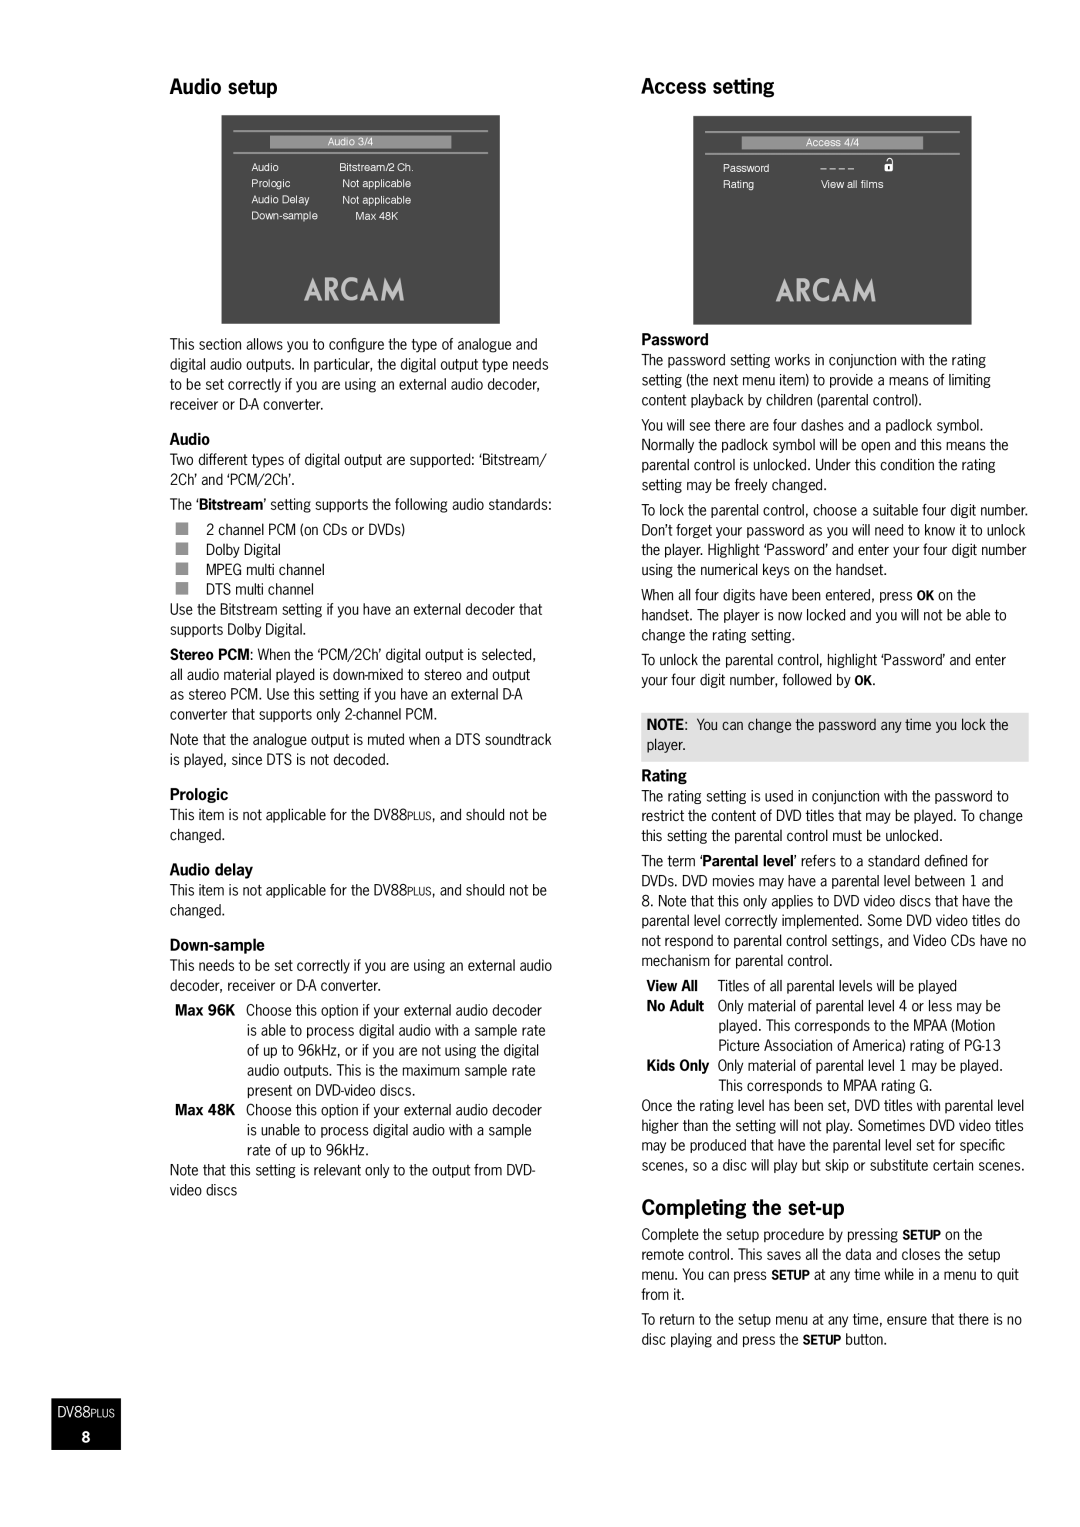
| Audio 3/4 |
Audio | Bitstream/2 Ch. |
Prologic | Not applicable |
Audio Delay | Not applicable |
Max 48K |
This section allows you to configure the type of analogue and digital audio outputs. In particular, the digital output type needs to be set correctly if you are using an external audio decoder, receiver or
Audio
Two different types of digital output are supported: ‘Bitstream/ 2Ch’ and ‘PCM/2Ch’.
The ‘Bitstream’ setting supports the following audio standards:
2 channel PCM (on CDs or DVDs)
Dolby Digital
MPEG multi channel
DTS multi channel
Use the Bitstream setting if you have an external decoder that supports Dolby Digital.
Stereo PCM: When the ‘PCM/2Ch’ digital output is selected, all audio material played is
Note that the analogue output is muted when a DTS soundtrack is played, since DTS is not decoded.
Prologic
This item is not applicable for the DV88PLUS, and should not be changed.
Audio delay
This item is not applicable for the DV88PLUS, and should not be changed.
Down-sample
This needs to be set correctly if you are using an external audio decoder, receiver or
Max 96K Choose this option if your external audio decoder is able to process digital audio with a sample rate of up to 96kHz, or if you are not using the digital audio outputs. This is the maximum sample rate present on
Max 48K Choose this option if your external audio decoder is unable to process digital audio with a sample rate of up to 96kHz.
Note that this setting is relevant only to the output from DVD- video discs
DV88PLUS
Access setting
| Access 4/4 |
|
|
Password | – – – – |
Rating | View all films |
Password
The password setting works in conjunction with the rating setting (the next menu item) to provide a means of limiting content playback by children (parental control).
You will see there are four dashes and a padlock symbol. Normally the padlock symbol will be open and this means the parental control is unlocked. Under this condition the rating setting may be freely changed.
To lock the parental control, choose a suitable four digit number. Don’t forget your password as you will need to know it to unlock the player. Highlight ‘Password’ and enter your four digit number using the numerical keys on the handset.
When all four digits have been entered, press OK on the handset. The player is now locked and you will not be able to change the rating setting.
To unlock the parental control, highlight ‘Password’ and enter your four digit number, followed by OK.
NOTE: You can change the password any time you lock the player.
Rating
The rating setting is used in conjunction with the password to restrict the content of DVD titles that may be played. To change this setting the parental control must be unlocked.
The term ‘Parental level’ refers to a standard defined for DVDs. DVD movies may have a parental level between 1 and
8.Note that this only applies to DVD video discs that have the parental level correctly implemented. Some DVD video titles do not respond to parental control settings, and Video CDs have no mechanism for parental control.
View All Titles of all parental levels will be played
No Adult Only material of parental level 4 or less may be played. This corresponds to the MPAA (Motion Picture Association of America) rating of
Kids Only Only material of parental level 1 may be played.
This corresponds to MPAA rating G.
Once the rating level has been set, DVD titles with parental level higher than the setting will not play. Sometimes DVD video titles may be produced that have the parental level set for specific scenes, so a disc will play but skip or substitute certain scenes.
Completing the set-up
Complete the setup procedure by pressing SETUP on the remote control. This saves all the data and closes the setup menu. You can press SETUP at any time while in a menu to quit from it.
To return to the setup menu at any time, ensure that there is no disc playing and press the SETUP button.
8
