
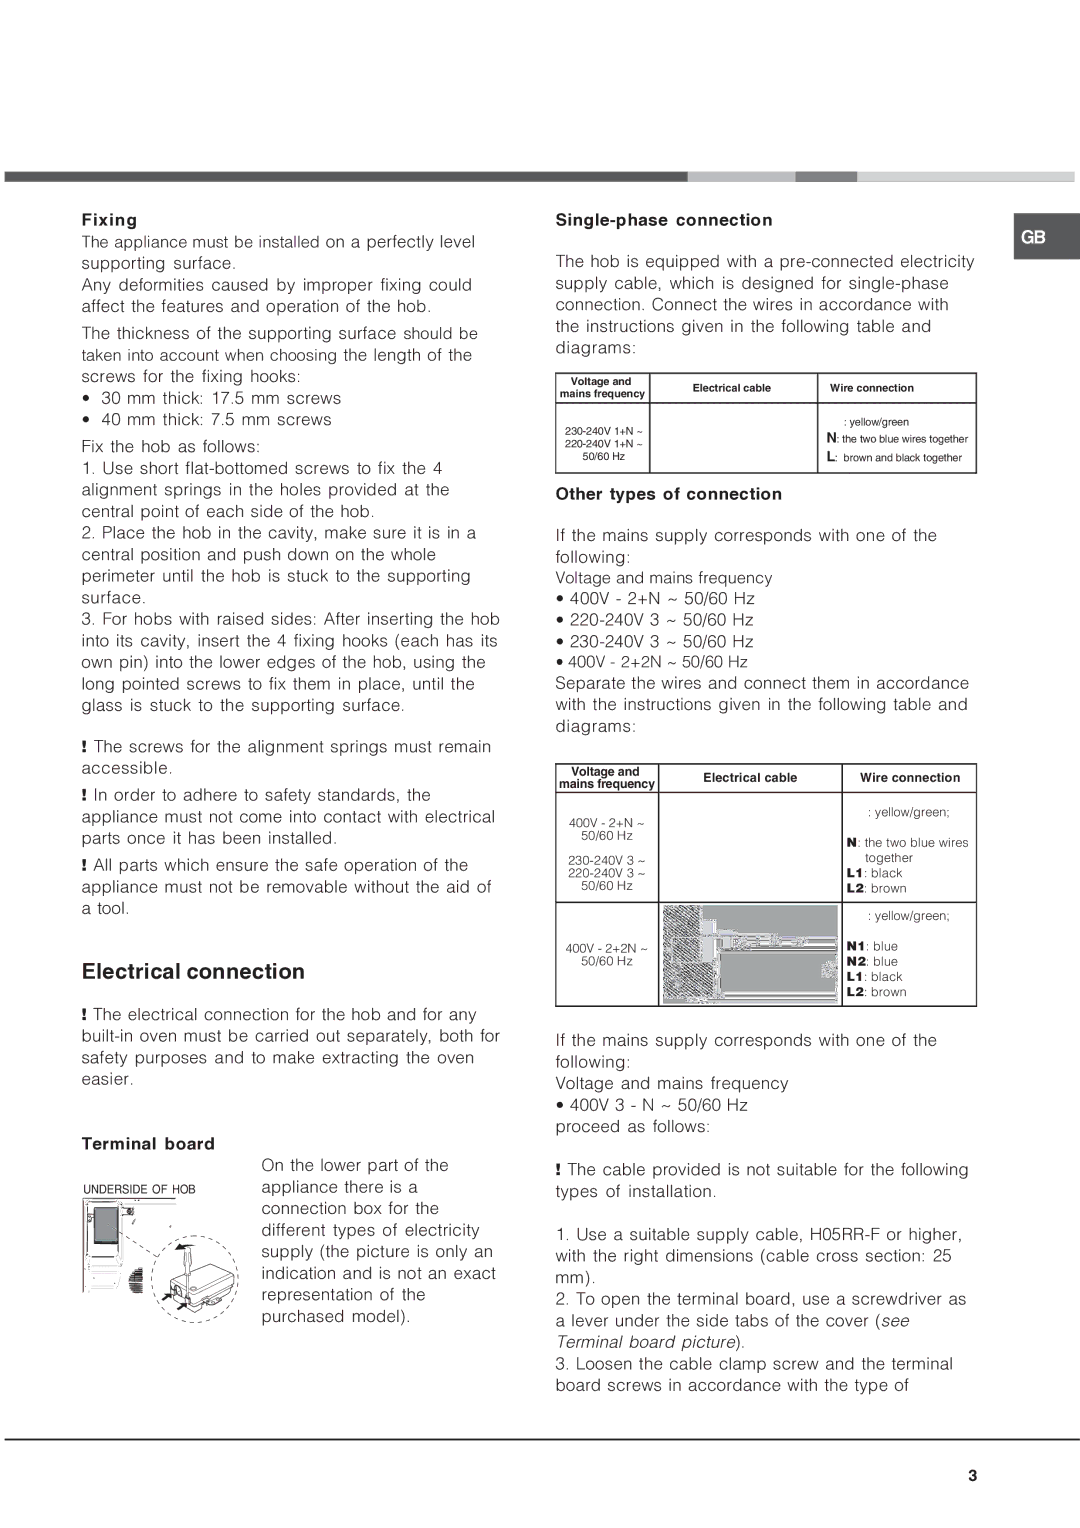
NRA 640 C AUS specifications
The Ariston NRA 640 C AUS is a premium built-in electric oven that combines advanced technology with user-friendly features to enhance your cooking experience. This model stands out for its modern design and versatile functionality, making it a perfect addition to any contemporary kitchen.One of the defining features of the NRA 640 C AUS is its spacious capacity. With a generous internal volume, it allows home cooks to prepare multiple dishes simultaneously. This is particularly beneficial for family gatherings or when you want to impress guests with a multi-course meal.
The oven boasts a variety of cooking modes, including fan-assisted cooking, conventional heating, and grill functions. This versatility empowers users to select the ideal cooking method depending on the dish they are preparing, ensuring optimal results every time. The fan-assisted cooking mode is especially noteworthy as it distributes heat evenly, reducing cooking times and improving energy efficiency.
Another highlight is the oven's intuitive digital control panel. The easy-to-read display allows users to monitor cooking times and temperatures with precision. Moreover, the integrated timer feature ensures that you can focus on preparation without worrying about burning your food, providing peace of mind during complex culinary tasks.
When it comes to cleaning, the Ariston NRA 640 C AUS incorporates innovative self-cleaning technology, utilizing the pyrolytic cleaning system. This efficient feature heats the oven to high temperatures, transforming food residues into ash that can be effortlessly wiped away, saving both time and effort in maintenance.
Energy efficiency is a crucial characteristic of this model. It is designed with eco-friendly features that comply with modern energy standards, ensuring lower electricity consumption without compromising on performance.
In terms of aesthetics, the sleek stainless steel finish adds a touch of elegance to any kitchen, while the ergonomic handle and clear glass door offer both functionality and style.
By combining an array of modern technologies and user-centric features, the Ariston NRA 640 C AUS provides a cooking experience that is both enjoyable and efficient. Whether you're an experienced chef or just starting, this oven caters to all culinary skill levels, making it a valuable asset in any kitchen.