•Press this button to enter/select the icon (function) highlighted while the
OSD is activated.
4.

 Button:
•Press this button to increase the value of the function selected or move right/up to the next function.
•This is also a hotkey for Brightness adjustment.
5.![]() Power button/power indicator
Power button/power indicator
•Press this button to turn the monitor on/off
•The color definition of the power indicator is as the below table.
Status | Description |
Blue | ON |
Amber | Standby mode |
OFF | OFF |
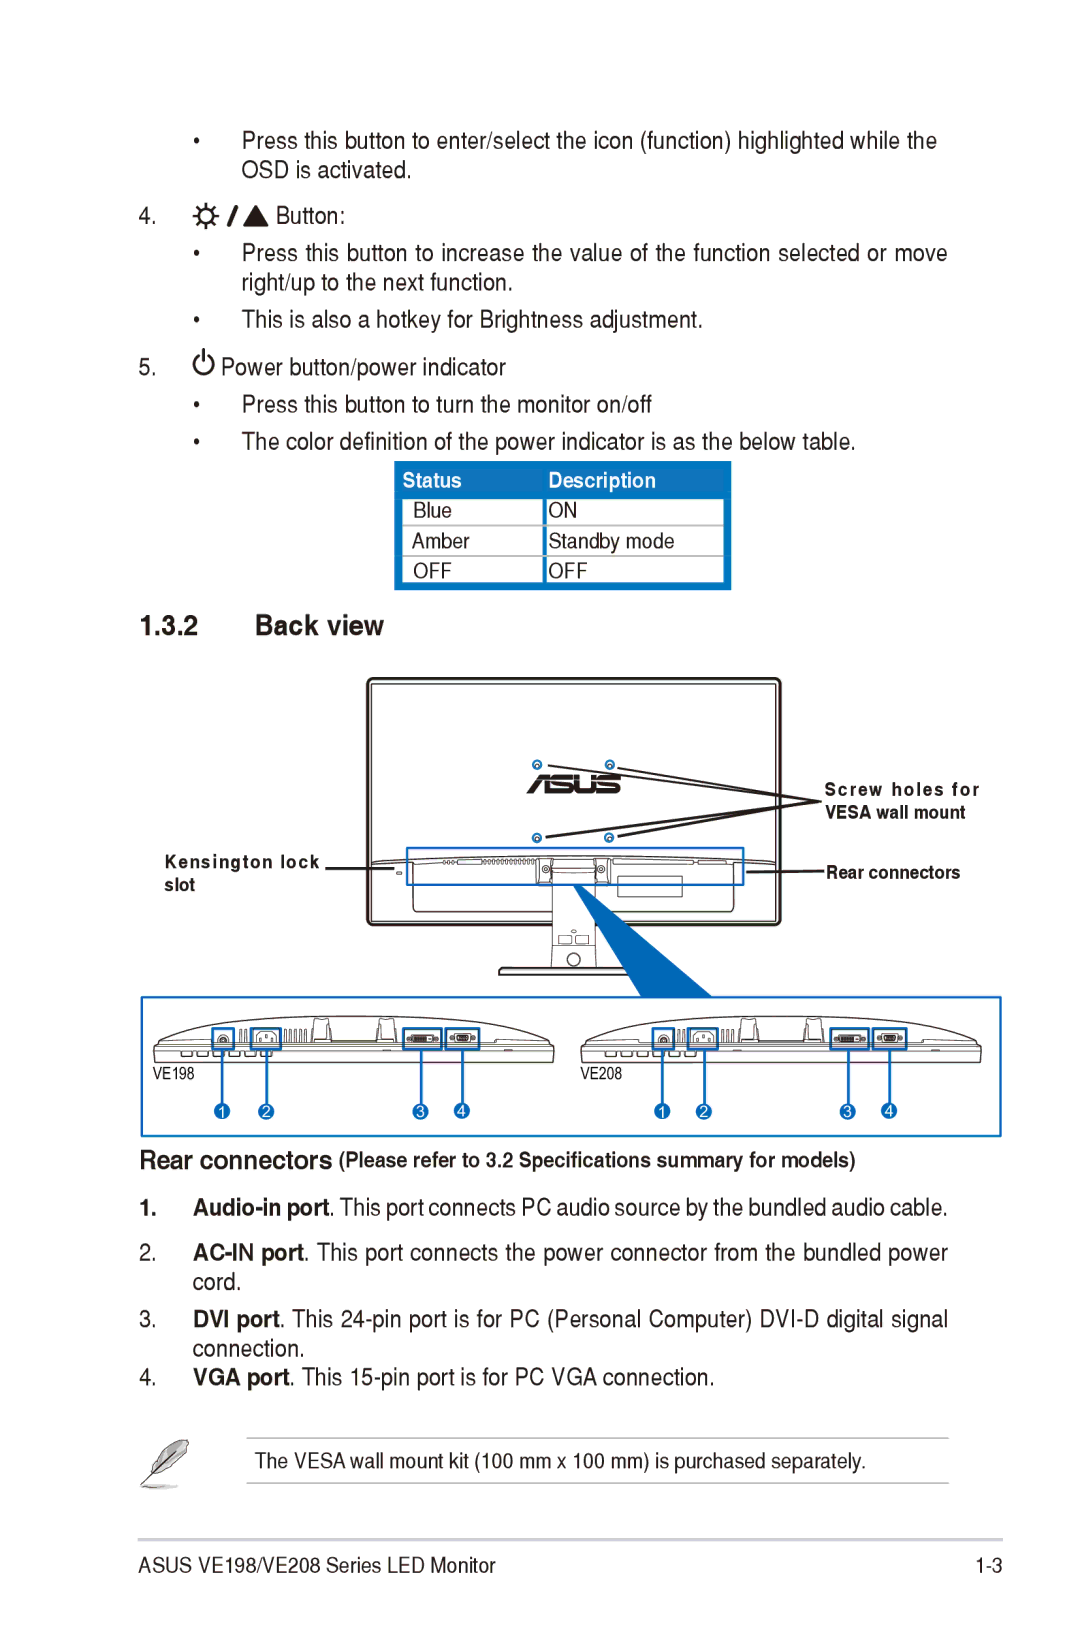
1.3.2Back view
Kensington lock slot
Screw holes for
![]() VESA wall mount
VESA wall mount ![]()
![]()
![]()
![]()
![]()
![]()
![]()
![]()
![]() Rear connectors
Rear connectors
VE198 |
|
|
| VE208 |
|
|
|
1 | 2 | 3 | 4 | 1 | 2 | 3 | 4 |
Rear connectors (Please refer to 3.2 Specifications summary for models) |
| ||||||
1.
2.
3.DVI port. This
4.VGA port. This
The VESA wall mount kit (100 mm x 100 mm) is purchased separately.
ASUS VE198/VE208 Series LED Monitor |