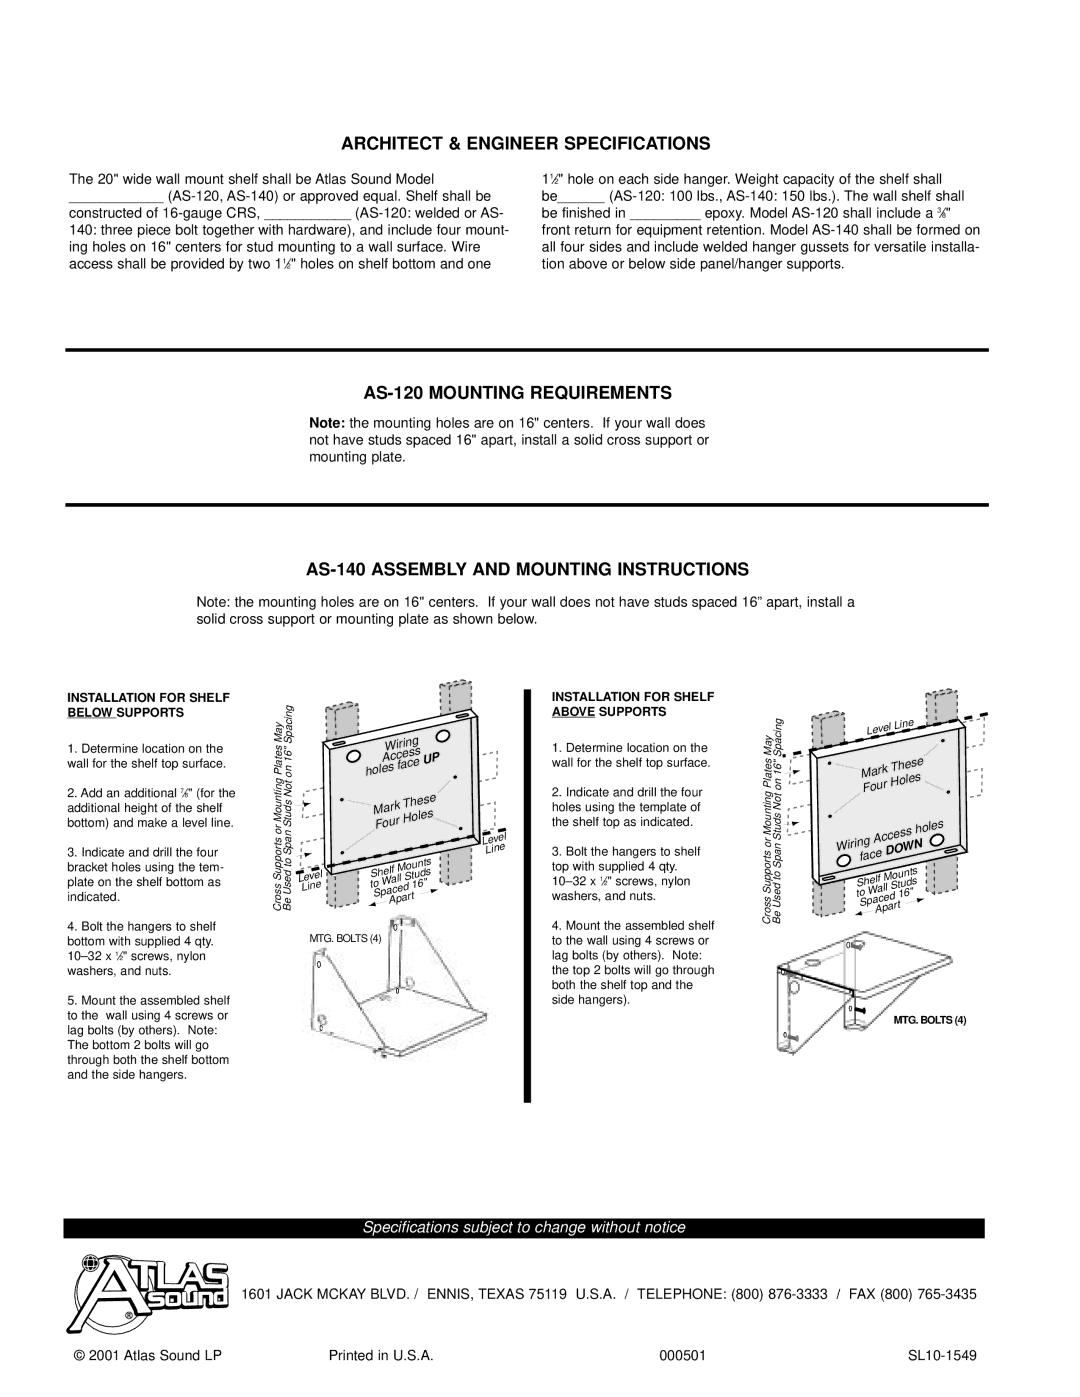
AS-120, AS-140 specifications
Atlas Sound has been a trusted name in the audio industry for years, known for producing reliable and high-performance audio solutions. Their AS-140 and AS-120 amplifiers continue this tradition, offering users exceptional sound quality and versatility for a wide range of applications.The Atlas Sound AS-140 is a sophisticated, professional-grade amplifier designed to deliver powerful amplification for demanding audio environments. It boasts a 140-watt output, ensuring that it can handle large venues without compromising sound quality. The AS-140 features advanced Class D amplification technology, which not only enhances efficiency but also minimizes heat generation, making it suitable for extended use in commercial settings.
On the other hand, the AS-120 offers slightly less power with its 120-watt output, making it an excellent choice for smaller venues or applications where space is limited. Despite its lower wattage, the AS-120 does not skimp on performance. It utilizes similar Class D technology, ensuring that users can expect clear, dynamic sound across various audio frequencies.
Both models include a variety of input options, including balanced XLR and unbalanced RCA connectors, allowing users to connect a wide array of audio sources. This flexibility makes the AS-140 and AS-120 ideal for different setups, whether it's for event spaces, schools, or retail environments. Additionally, both amplifiers come equipped with an integrated limiter that protects the system from distortion and overload, ensuring consistent sound quality and longevity of the equipment.
Another noteworthy feature of these amplifiers is their compact and lightweight design, which allows for easy installation and transport. This characteristic is particularly beneficial for mobile sound engineers and rental companies seeking efficient solutions. Furthermore, the AS-140 and AS-120 are built with durable materials, ensuring reliability and performance even in high-stress environments.
In terms of usability, both amplifiers feature intuitive controls on the front panel, including gain control and LED indicators for power and signal status, making it easy for users to monitor performance at a glance.
Overall, the Atlas Sound AS-140 and AS-120 amplifiers present a powerful combination of advanced technology, multiple connectivity options, and durability. Whether for professional audio installations or smaller venues, these amplifiers are designed to meet the needs of audio professionals seeking quality sound reinforcement. With their robust performance and thoughtful engineering, they continue to uphold the Atlas Sound reputation for excellence in the audio industry.

