
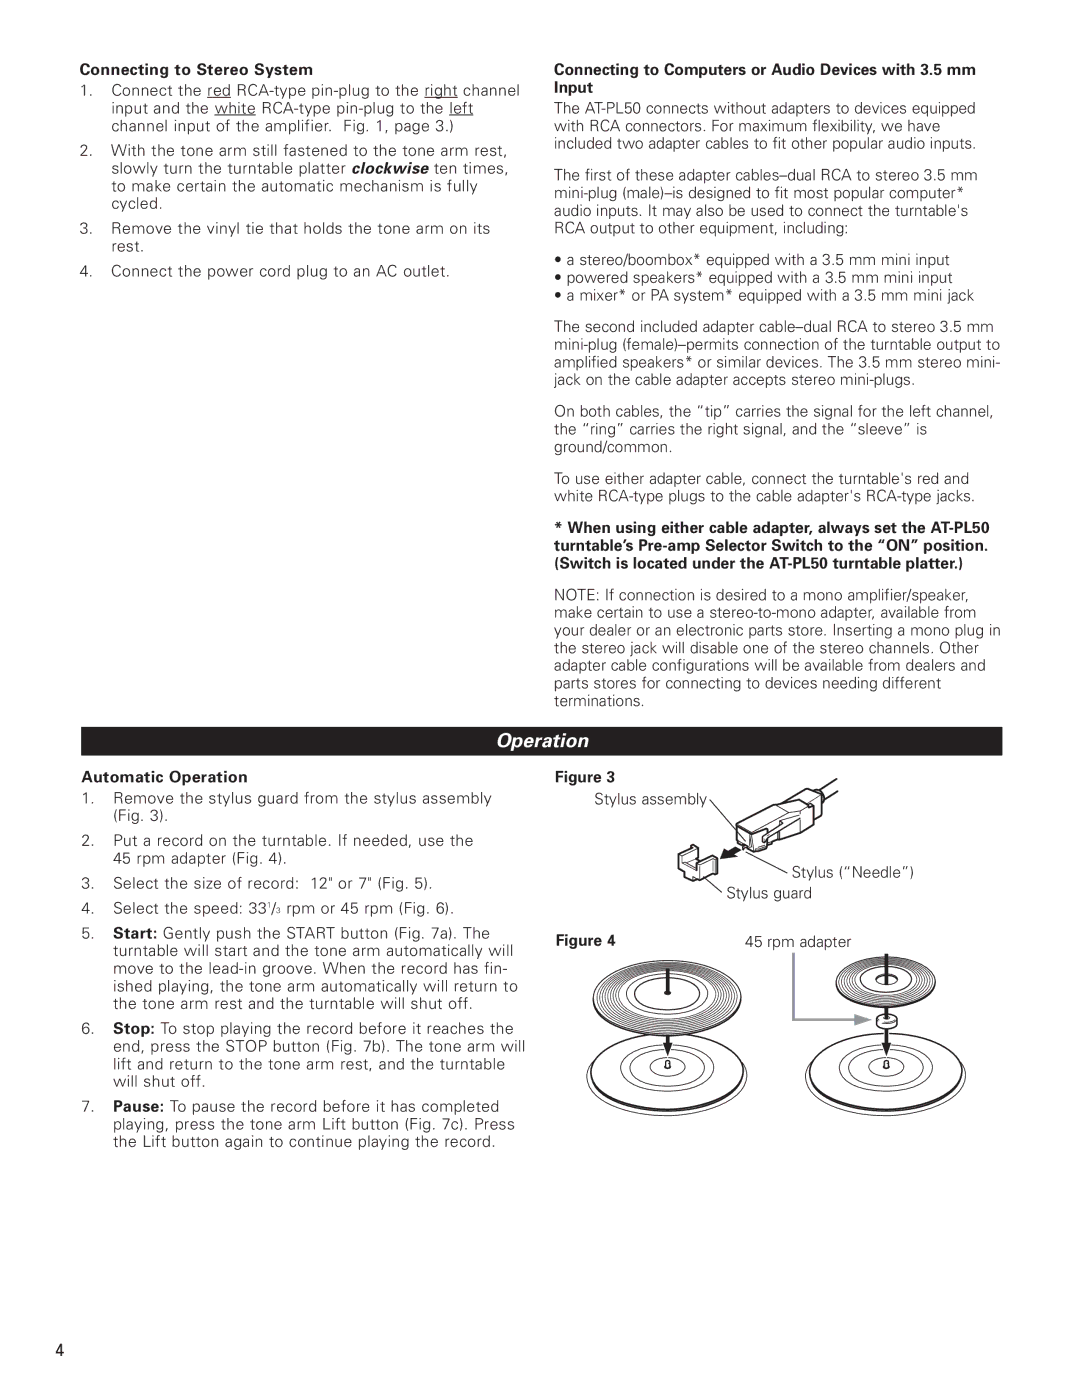
AT-PL50 specifications
The Audio-Technica AT-PL50 is a notable entry in the realm of affordable yet high-quality turntables, blending modern technology with classic analog sound. Designed for both casual listeners and audiophiles, the AT-PL50 impresses with its mixture of features, build quality, and audio performance.One of the standout characteristics of the AT-PL50 is its fully automatic operation. This means that the turntable can detect the record's size and adjust the tonearm accordingly, allowing for a hassle-free experience when playing vinyl. The automatic lift system ensures that the tonearm safely lifts when the record finishes, helping to prevent unnecessary wear on both the vinyl and the stylus.
The AT-PL50 is equipped with a high-quality dual magnet cartridge which provides precise tracking and exceptional sound quality. This cartridge allows for an accurate reproduction of music, making it suitable for a variety of genres. The user-friendly design includes a switchable phono preamp, enabling users to connect the turntable to a wide range of audio systems without the need for an additional preamp.
In terms of build quality, the Audio-Technica AT-PL50 features a sleek and minimalist aesthetic. The durable plinth minimizes vibrations, which contributes to improved sound clarity. The heavy-duty platter plays a vital role in maintaining stable playback speed, enhancing the overall listening experience. Additionally, the anti-skate adjustment feature aids in ensuring balanced and distortion-free tracking.
The AT-PL50 also embraces modern connectivity options, making it versatile for today's audio environments. With its USB output, users can digitize their vinyl collection, making it easy to enjoy their favorite records in a digital format. This feature caters to those who appreciate the warmth of vinyl but also want the convenience of digital music.
Overall, the Audio-Technica AT-PL50 stands out as a well-rounded turntable that combines stylish design with practical functionality. Its automatic features make it accessible for newcomers to vinyl, while the advanced technologies ensure that it meets the performance standards of seasoned audiophiles. Whether you're just starting your vinyl journey or looking to upgrade your system, the AT-PL50 is a compelling choice for anyone seeking quality sound and ease of use in a modern turntable.