INSTALLATION
7
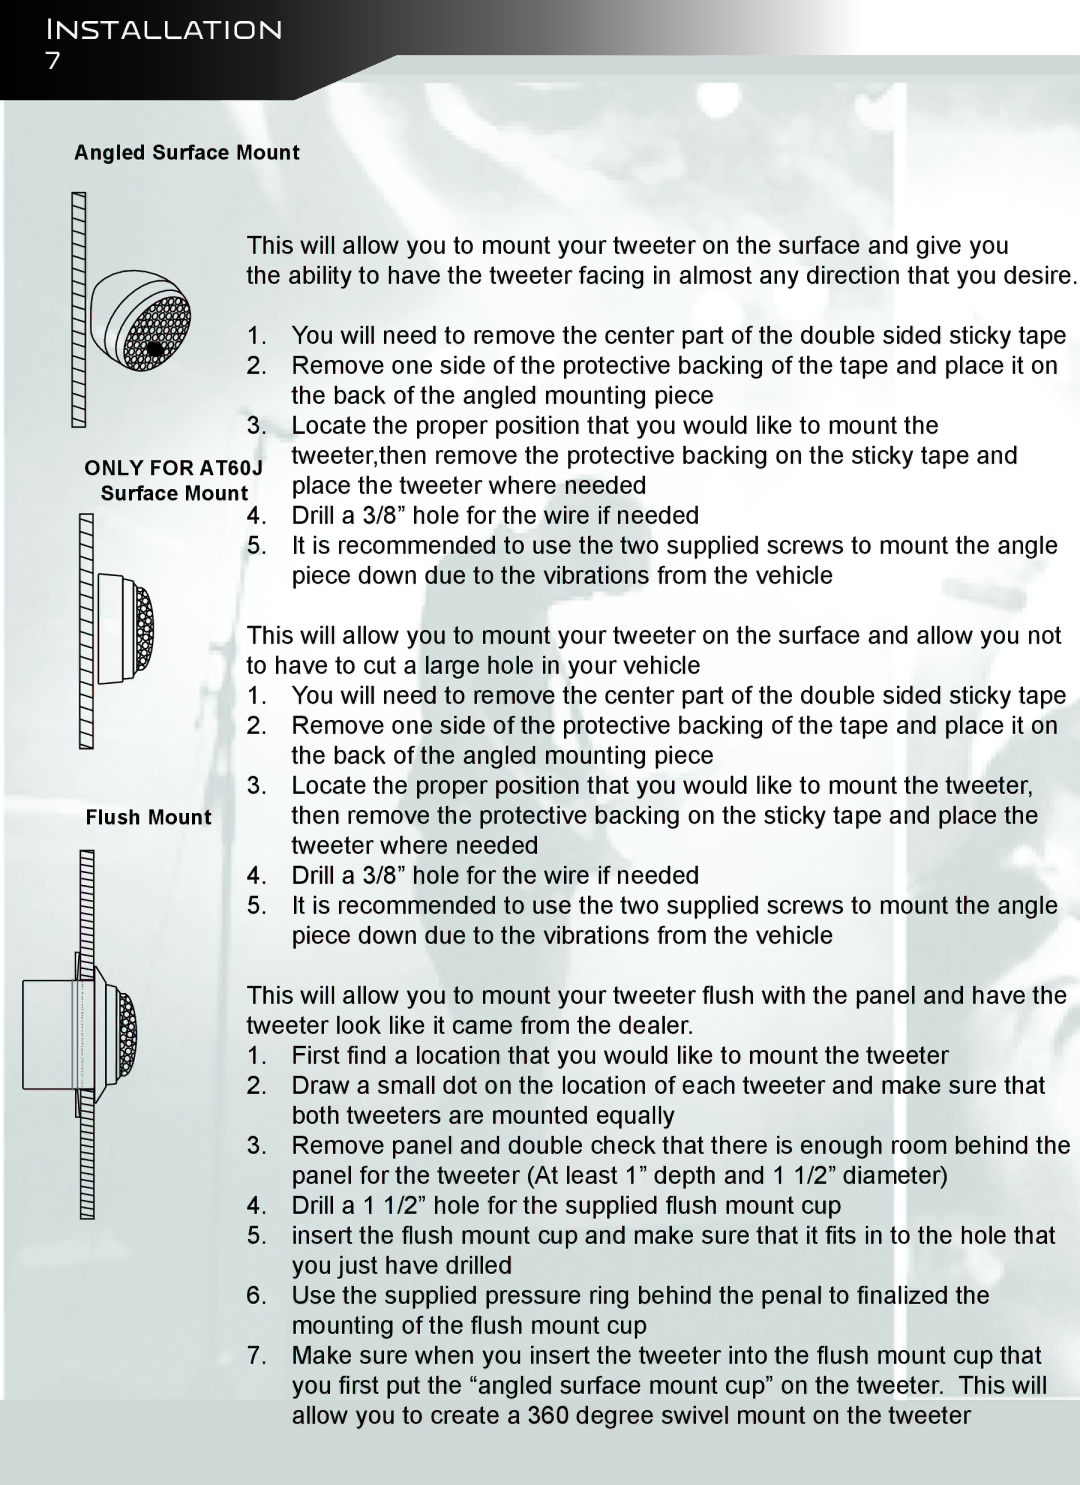
Angled Surface Mount
This will allow you to mount your tweeter on the surface and give you
the ability to have the tweeter facing in almost any direction that you desire.
1.
2.
3.
ONLY FOR AT60J Surface Mount4.
5.
You will need to remove the center part of the double sided sticky tape Remove one side of the protective backing of the tape and place it on the back of the angled mounting piece
Locate the proper position that you would like to mount the tweeter,then remove the protective backing on the sticky tape and place the tweeter where needed
Drill a 3/8” hole for the wire if needed
It is recommended to use the two supplied screws to mount the angle piece down due to the vibrations from the vehicle
This will allow you to mount your tweeter on the surface and allow you not to have to cut a large hole in your vehicle
1. You will need to remove the center part of the double sided sticky tape
2. Remove one side of the protective backing of the tape and place it on the back of the angled mounting piece
3.Locate the proper position that you would like to mount the tweeter,
Flush Mount then remove the protective backing on the sticky tape and place the tweeter where needed
4. Drill a 3/8” hole for the wire if needed
5. It is recommended to use the two supplied screws to mount the angle piece down due to the vibrations from the vehicle
S e a n W i l s o n a n d R e g i n w o r k a t A u d i o b a h n 2 0 0 3 W e a l l r o c k
This will allow you to mount your tweeter flush with the panel and have the tweeter look like it came from the dealer.
1.First find a location that you would like to mount the tweeter
2.Draw a small dot on the location of each tweeter and make sure that both tweeters are mounted equally
3.Remove panel and double check that there is enough room behind the panel for the tweeter (At least 1” depth and 1 1/2” diameter)
4.Drill a 1 1/2” hole for the supplied flush mount cup
5.insert the flush mount cup and make sure that it fits in to the hole that you just have drilled
6.Use the supplied pressure ring behind the penal to finalized the mounting of the flush mount cup
7.Make sure when you insert the tweeter into the flush mount cup that you first put the “angled surface mount cup” on the tweeter. This will allow you to create a 360 degree swivel mount on the tweeter