OPERATION
2 | 1 | 2 | 3 |
|
HIGH LEVEL | LOW INPUT | FUSE | POWER | SPEAKER OUTPUT |
| BATT | REM | GND | |
| PWR |
|
|
|
MIN | MAX | MIN MAX |
|
|
GAIN | GAIN |
|
| |
After initial
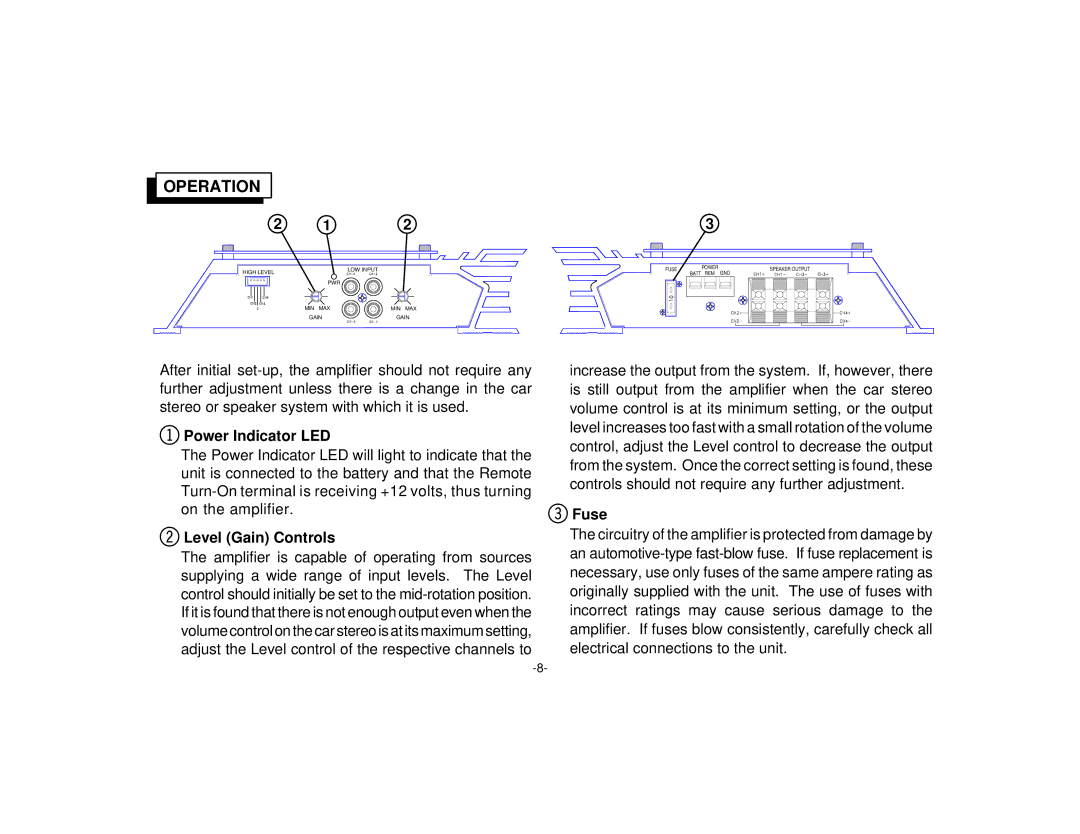
1Power Indicator LED
The Power Indicator LED will light to indicate that the unit is connected to the battery and that the Remote
2Level (Gain) Controls
The amplifier is capable of operating from sources supplying a wide range of input levels. The Level control should initially be set to the
increase the output from the system. If, however, there is still output from the amplifier when the car stereo volume control is at its minimum setting, or the output level increases too fast with a small rotation of the volume control, adjust the Level control to decrease the output from the system. Once the correct setting is found, these controls should not require any further adjustment.
3Fuse
The circuitry of the amplifier is protected from damage by an