VM8022 specifications
The Audiovox VM8022 is a highly regarded mobile entertainment system that caters to the needs of both drivers and passengers, offering a plethora of features aimed at enhancing the in-car experience. This device is designed to deliver high-quality audio and video playback while ensuring user-friendly operation.One of the standout features of the Audiovox VM8022 is its large 8-inch touchscreen display, providing a vibrant and clear view for all your multimedia needs. The touchscreen interface is intuitive, allowing for easy navigation through songs, videos, and other applications. The screen’s resolution ensures the visuals are sharp and detailed, making it perfect for watching movies or viewing photos during long journeys.
The VM8022 supports a wide range of media formats. Whether you're playing CDs, DVDs, or digital files, the device is compatible with various formats, including MP3, MPEG-4, and JPEG. Multimedia options are further extended via USB and SD card slots, giving users the flexibility to enjoy their favorite content directly from external drives or memory cards.
In terms of audio performance, the Audiovox VM8022 is equipped with a powerful built-in amplifier and high-quality speakers, ensuring rich and immersive sound. The device also includes an equalizer with multiple presets, allowing users to customize their audio experience according to their personal preferences.
Another key technology within the VM8022 is its Bluetooth connectivity, which enables hands-free calling and wireless audio streaming from smartphones and other Bluetooth-enabled devices. This feature significantly enhances safety by allowing drivers to maintain focus on the road while staying connected.
The system also includes AV inputs and outputs, facilitating integration with additional external devices such as gaming consoles and rear-seat entertainment systems. Video output capabilities mean that you can connect the VM8022 to larger displays in the car, enhancing the viewing experience for passengers in the rear.
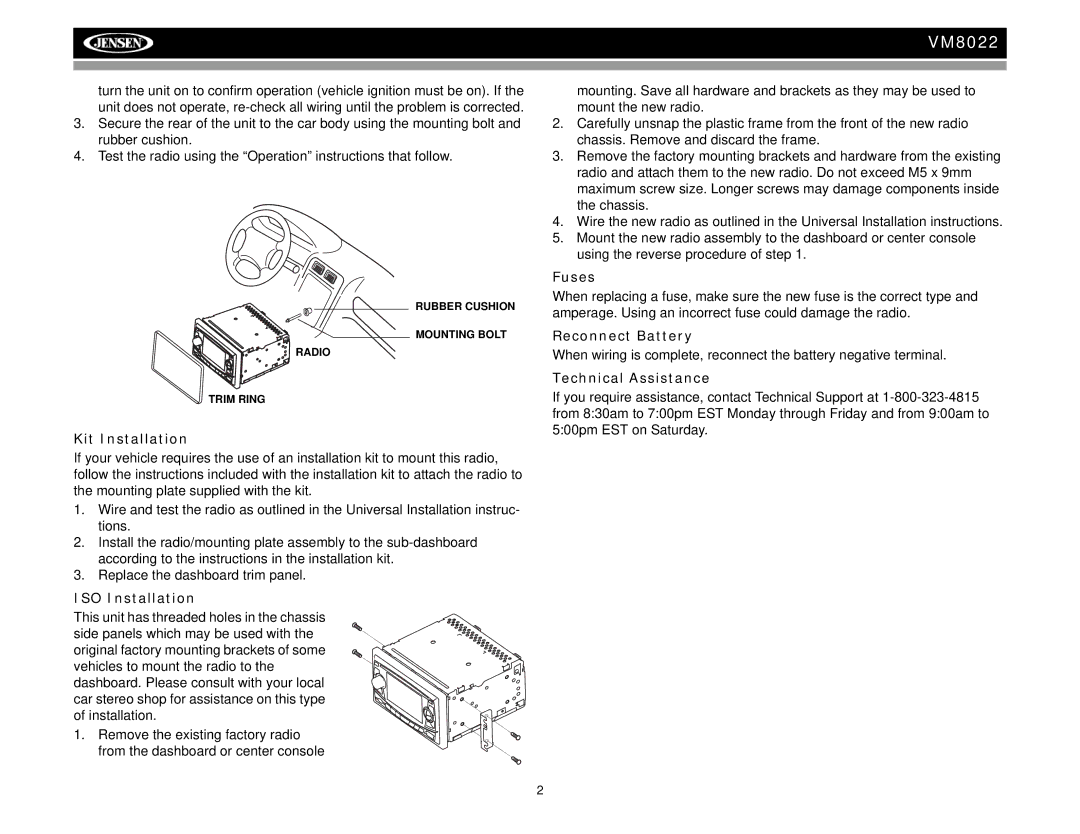
Durability and design are also worth mentioning, as the VM8022 features a sleek, modern aesthetic that seamlessly fits into a variety of vehicle interiors. The thoughtful design is coupled with ease of installation, making it accessible for both professional installers and DIY enthusiasts.
In conclusion, the Audiovox VM8022 stands out in the realm of mobile entertainment systems with its impressive display, versatile media compatibility, superior audio quality, and connectivity options. It is an ideal choice for those seeking to transform their vehicle into a mobile entertainment hub.

