Manuals
/
Audiovox
/
Computer Equipment
/
Microcassette Recorder
Audiovox
VR5320R, VR5330R
warranty
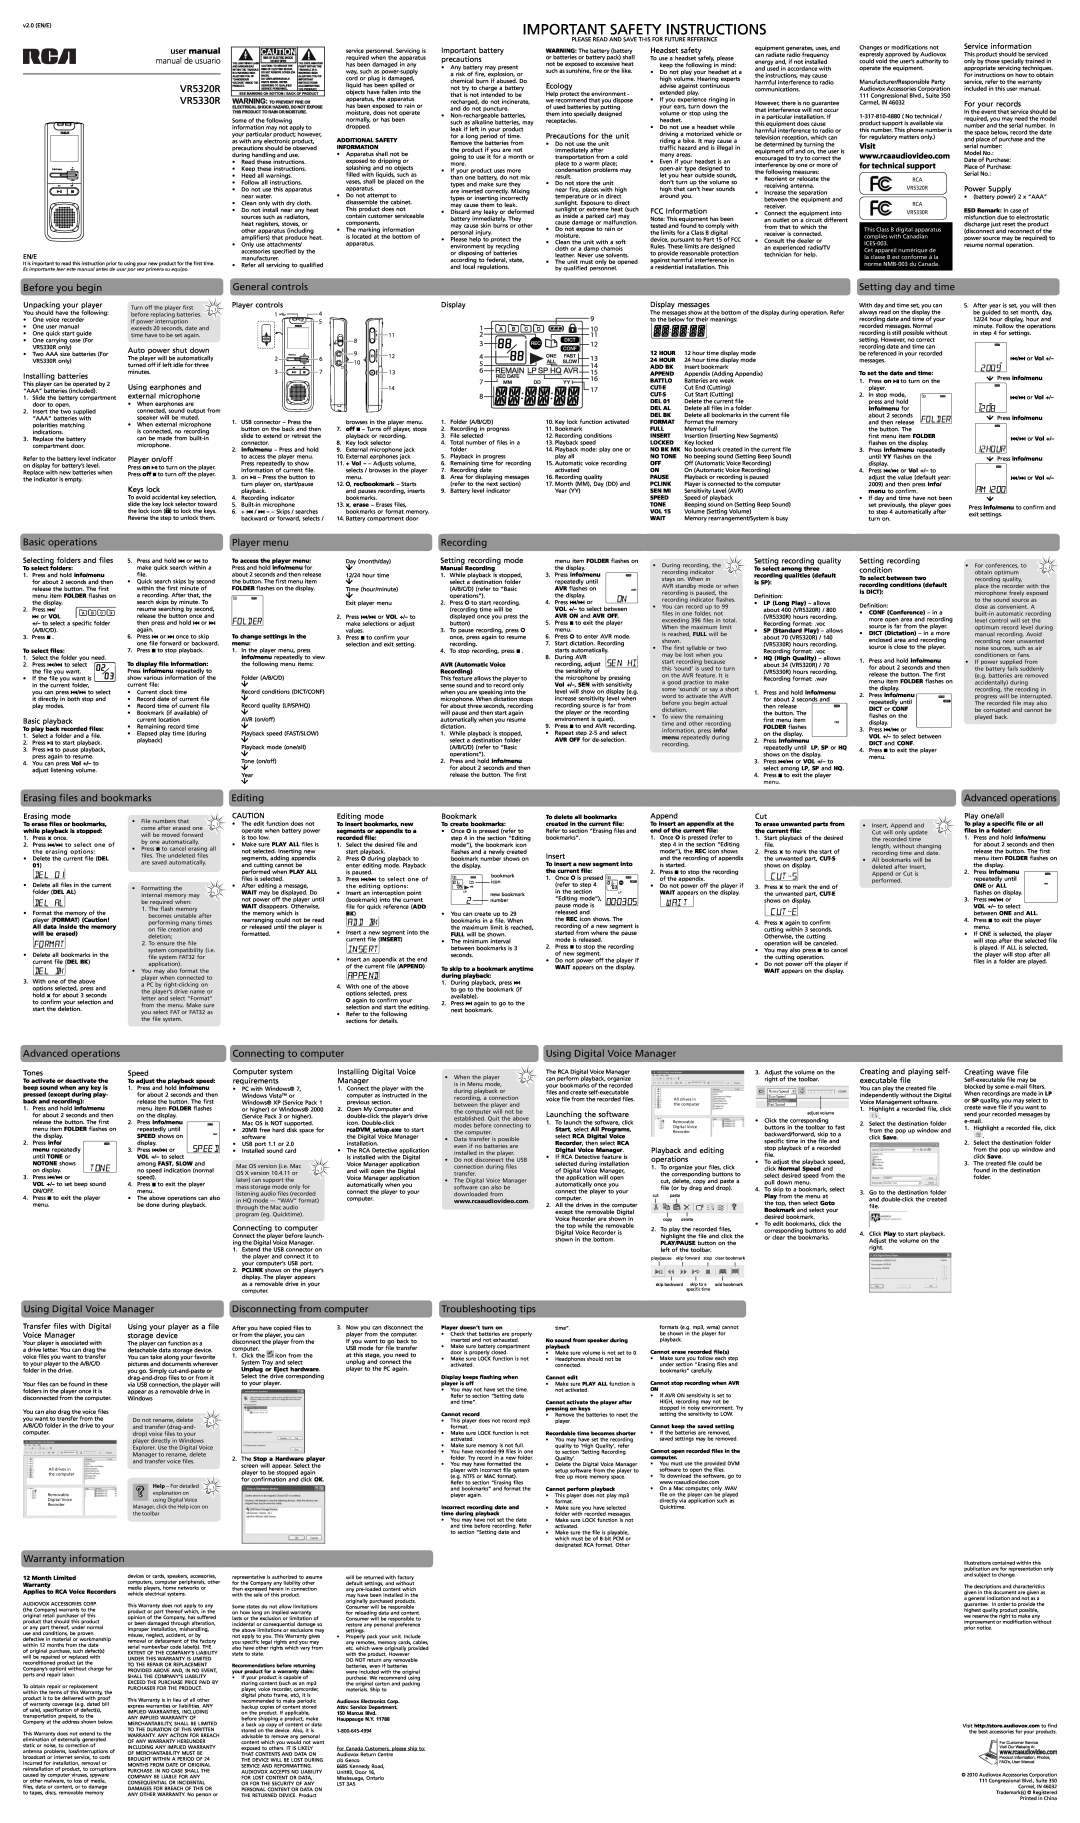
Important Safety Instructions, user manual manual de usuario
Models:
VR5330R
VR5320R
1
1
1
Download
1 pages
8.8 Kb
1
Safety
Page 1
Image 1
Page 1
Page 1
Page 1
Image 1
Page 1
Page 1
Contents
user manual manual de usuario
IMPORTANT SAFETY INSTRUCTIONS
Top
Page
Image
Contents