Other General Suggestions
1.When treating the front and side walls, try using a mirror to ascertain where reflections are coming from.
Simply have a friend move a mirror around the walls and ceiling while you are sitting at the listening position. Anywhere you can see your speakers in the reflection is a likely surface to treat with an Auralex DST panel!
2.Do not worry about placing treatments below approximately 18” on the walls-use them at ear level and on the ceiling for best results. The number of panels and placement on each surface can vary given your specific situation. Spread the Studiofoam out to maximize acoustical benefits. If you wish, you can cut the Studiofoam into smaller pieces/shapes using an electric carving knife and a steady hand. E.g. cutting 2’x4’s into 2’x2’s is quite popular. Try to avoid using the same pattern on parallel walls unless you shift the pattern over. Try to avoid large amounts of untreated space opposite untreated space.
3.Remember that these are only guidelines. If you have furniture or gear in the way, simply work around it
as best you can. Auralex acoustic control products are very forgiving. Placement on the walls is not an exact science. Just having DST-LENRDs, DST-Studiofoam and T’Fusor 3D Sound Diffusors in the room will improve your mixing, recording or listening environment.
4.Other less permanent methods, such as our Vel-X Mounting Kit, nails, pins, screws, etc. can be used to mount the DST-LENRDs or DST-Studiofoam panels for easy removal later. Also, adhering the treatment to pegboard or light plywood and mounting these panels with mechanical fasteners can be an easy, temporary way to mount the products to the wall and ceiling surfaces.
5.Align the panels however you choose—tests have shown that there is no discernable, acoustical difference between the different alignments of the panels (i.e., horizontal, vertical, or diagonal wedges will all be equally effective).
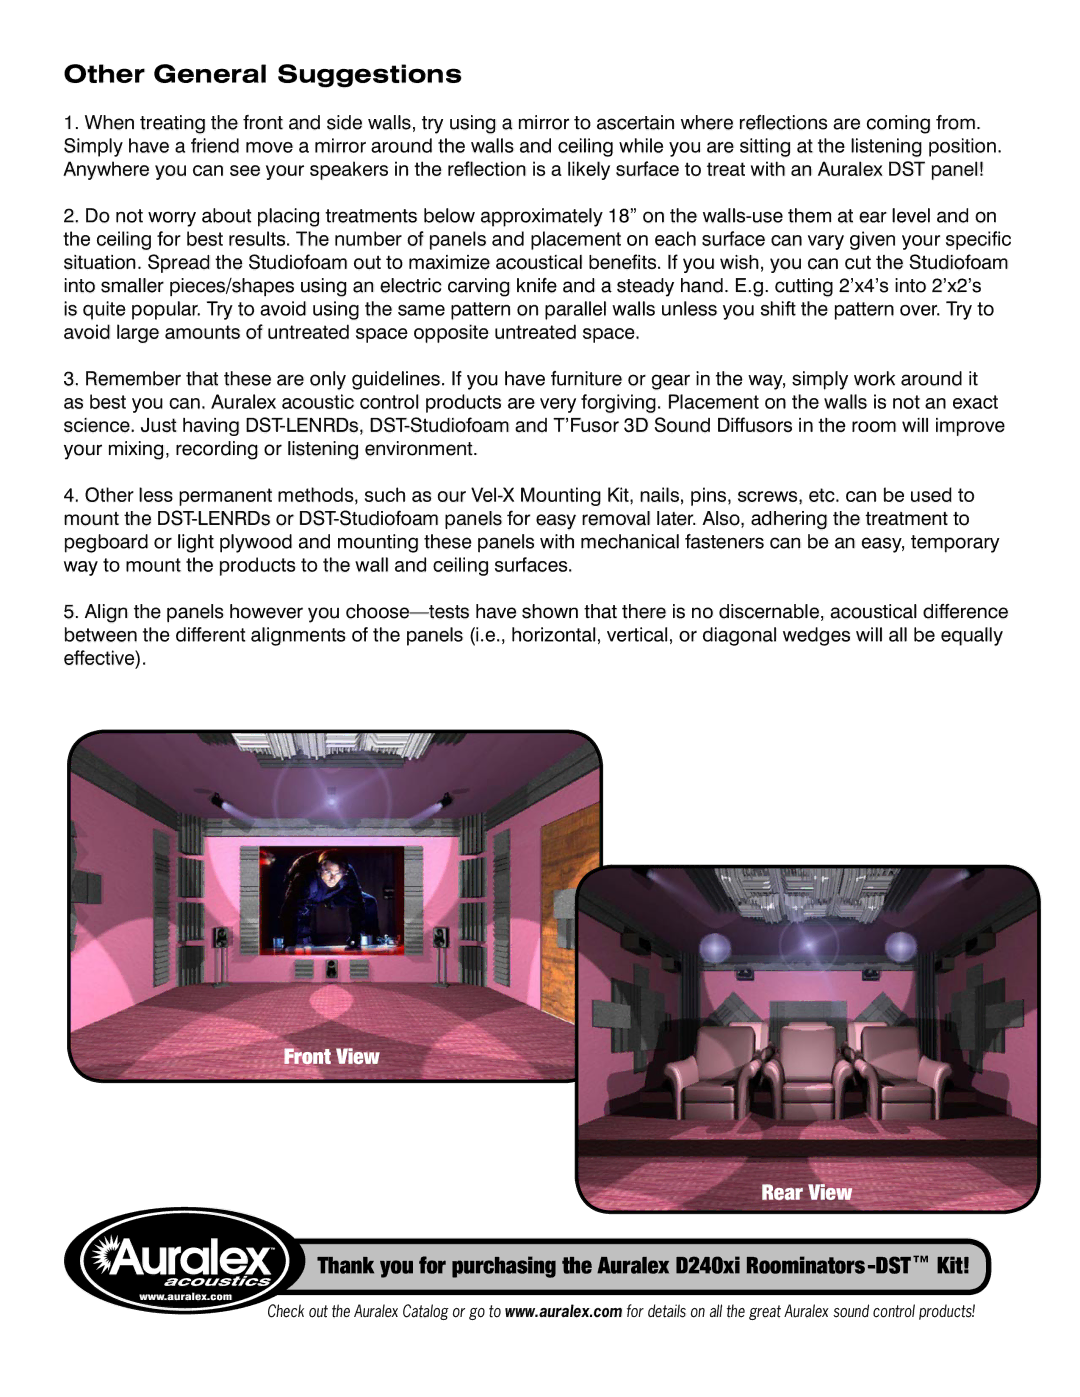
Front View
Rear View
Thank you for purchasing the Auralex D240xi Roominators -DST™ Kit!