1.7Before Installation
∙Put the product in an even and stable location. If the product falls down or drops, it may cause an injury or malfunction.
∙Don’t place the product in too high temperature (over 50°C), too low temperature (under 0°C) or high humidity.
∙Use the DC power adapter with correct specifications. If inappropriate power supply is used then it may cause a fire.
∙Do not twist or pull by force ends of the optical cable. It can cause malfunction.
1.8Panel Description
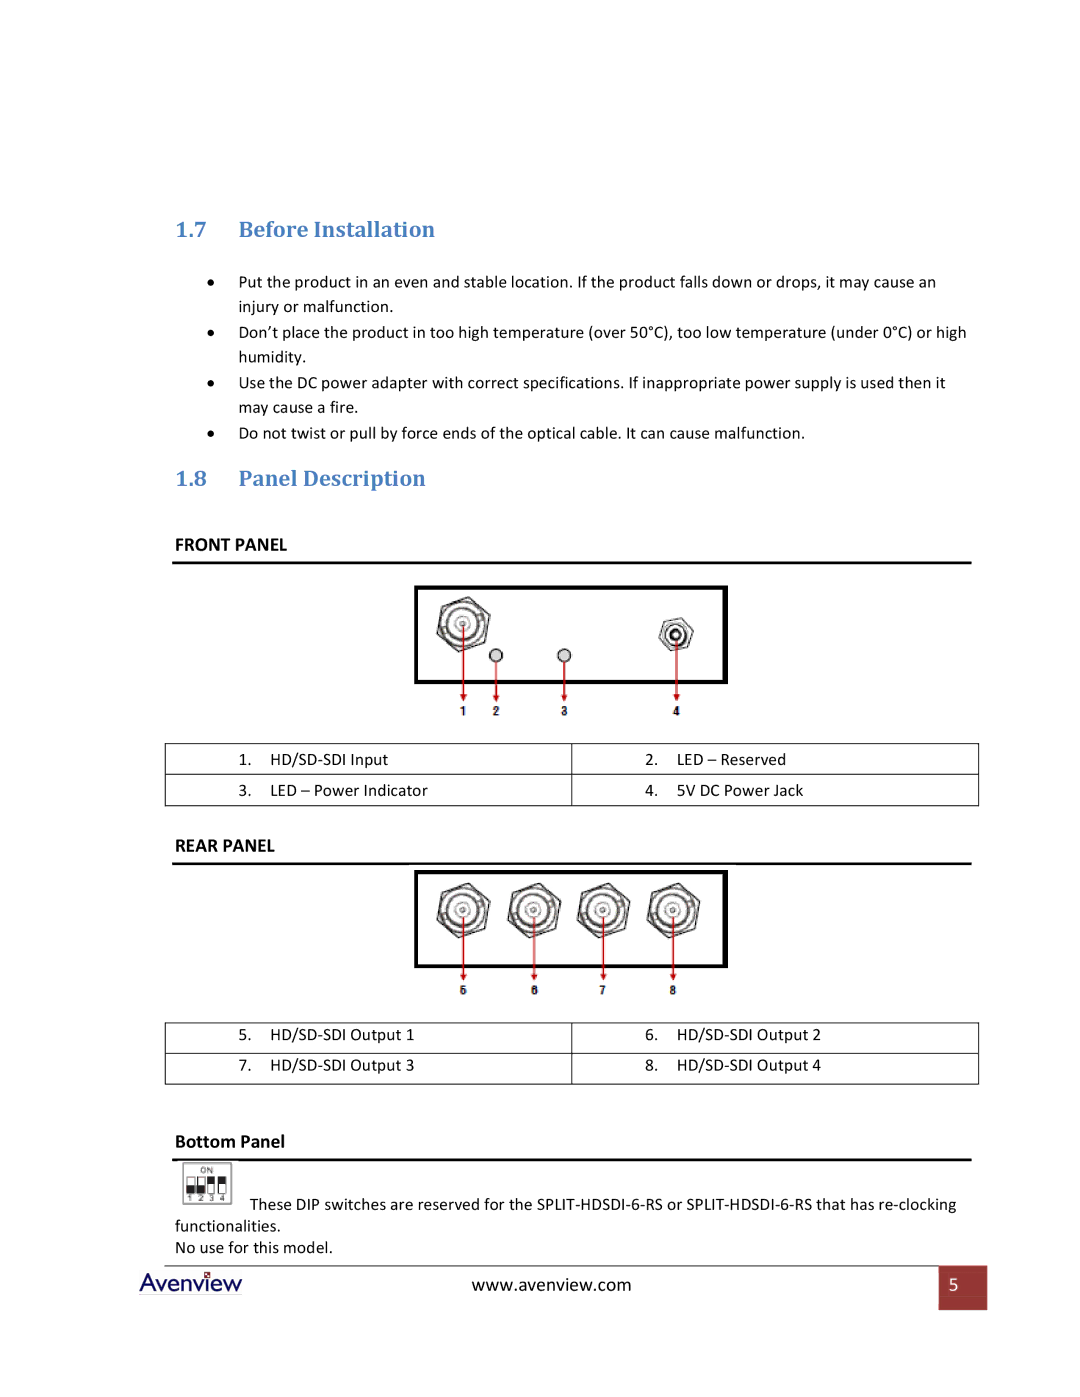
FRONT PANEL
1. | 2. | LED – Reserved | |
|
|
|
|
3. | LED – Power Indicator | 4. | 5V DC Power Jack |
|
|
|
|
REAR PANEL
5. | 6. | ||
|
|
|
|
7. | 8. | ||
|
|
|
|
Bottom Panel
These DIP switches are reserved for the
No use for this model.
www.avenview.com | 5 |
|
|