Four Port, PCI Bus RS-232/422/485 Serial Card CE with Send Data Control, 3PCISD4B, 3PCISD4A specifications
B&B Electronics offers a range of high-performance serial communication solutions, and the 3PCISD4A and 3PCISD4B models are standout examples of their exceptional capabilities. These four-port PCI Bus RS-232/422/485 serial cards are designed to meet the demanding requirements of industrial applications by providing reliable, flexible, and efficient data communication options.One of the main features of the 3PCISD4A and 3PCISD4B cards is their send data control functionality, which ensures that data transmission is managed effectively. This feature is particularly beneficial in environments where data integrity and flow control are paramount. By regulating the rate of data sent, the cards help to prevent packet loss and ensure smooth communication between devices.
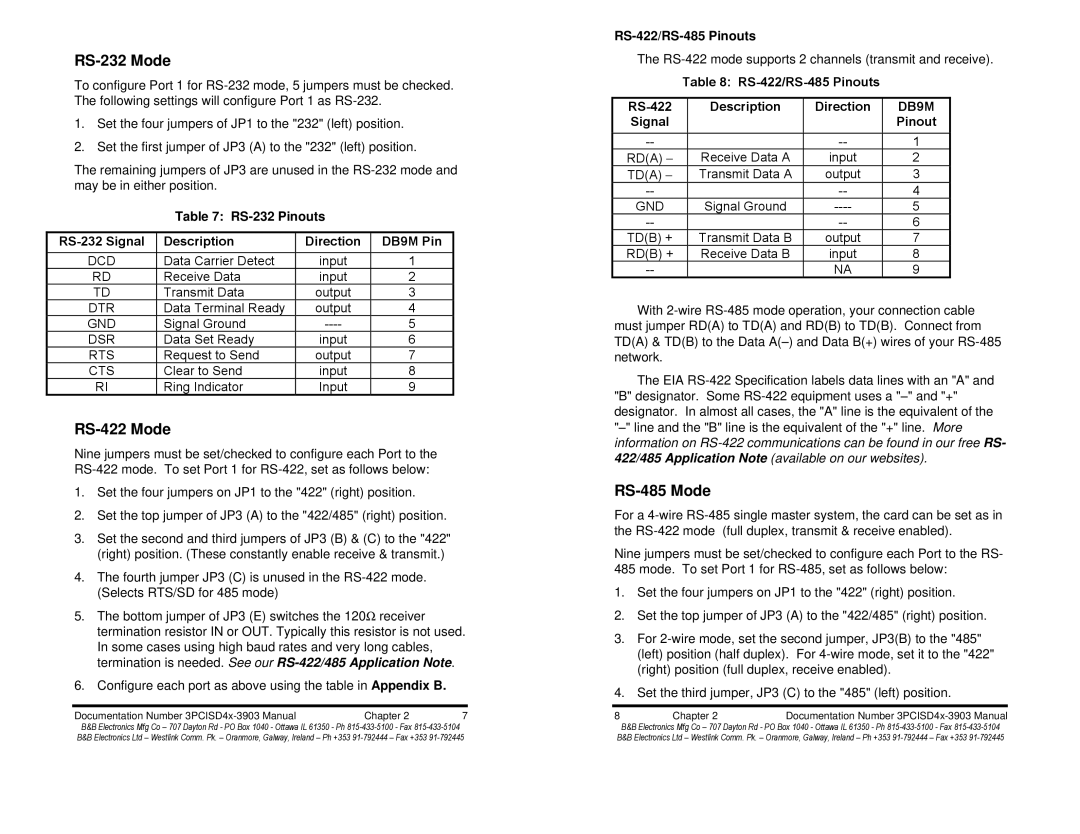
These cards support multiple serial communication standards, including RS-232, RS-422, and RS-485, making them versatile and suitable for a variety of applications. RS-232 is commonly used for point-to-point connections, while RS-422 and RS-485 support longer distances and multi-device connections, making them ideal for industrial environments. This flexibility allows users to connect different types of devices, such as sensors, controllers, or modems, without needing multiple interface cards.
Another significant characteristic of the 3PCISD4A and 3PCISD4B is their compatibility with various operating systems, including Windows and Linux. This cross-platform support allows for seamless integration into existing systems and makes setup easier for users. The cards also feature high-speed data rates, which facilitate efficient communication and help maximize performance in data-intensive applications.
Furthermore, B&B Electronics emphasizes quality and durability in their designs. The 3PCISD4A and 3PCISD4B are built to withstand the rigors of industrial environments, incorporating robust connectors and materials that can endure temperature fluctuations and electromagnetic interference. This reliability ensures that operators can trust these cards for continuous operation.
In summary, B&B Electronics' 3PCISD4A and 3PCISD4B four-port PCI Bus serial cards are comprehensive solutions for serial communication. With features like send data control, support for multiple communication standards, compatibility with various operating systems, and a commitment to durability, these cards are ideal for demanding industrial applications that require reliable and efficient data transmission. Whether connecting machines or monitoring systems, B&B Electronics provides the reliability and performance that users can depend on.
