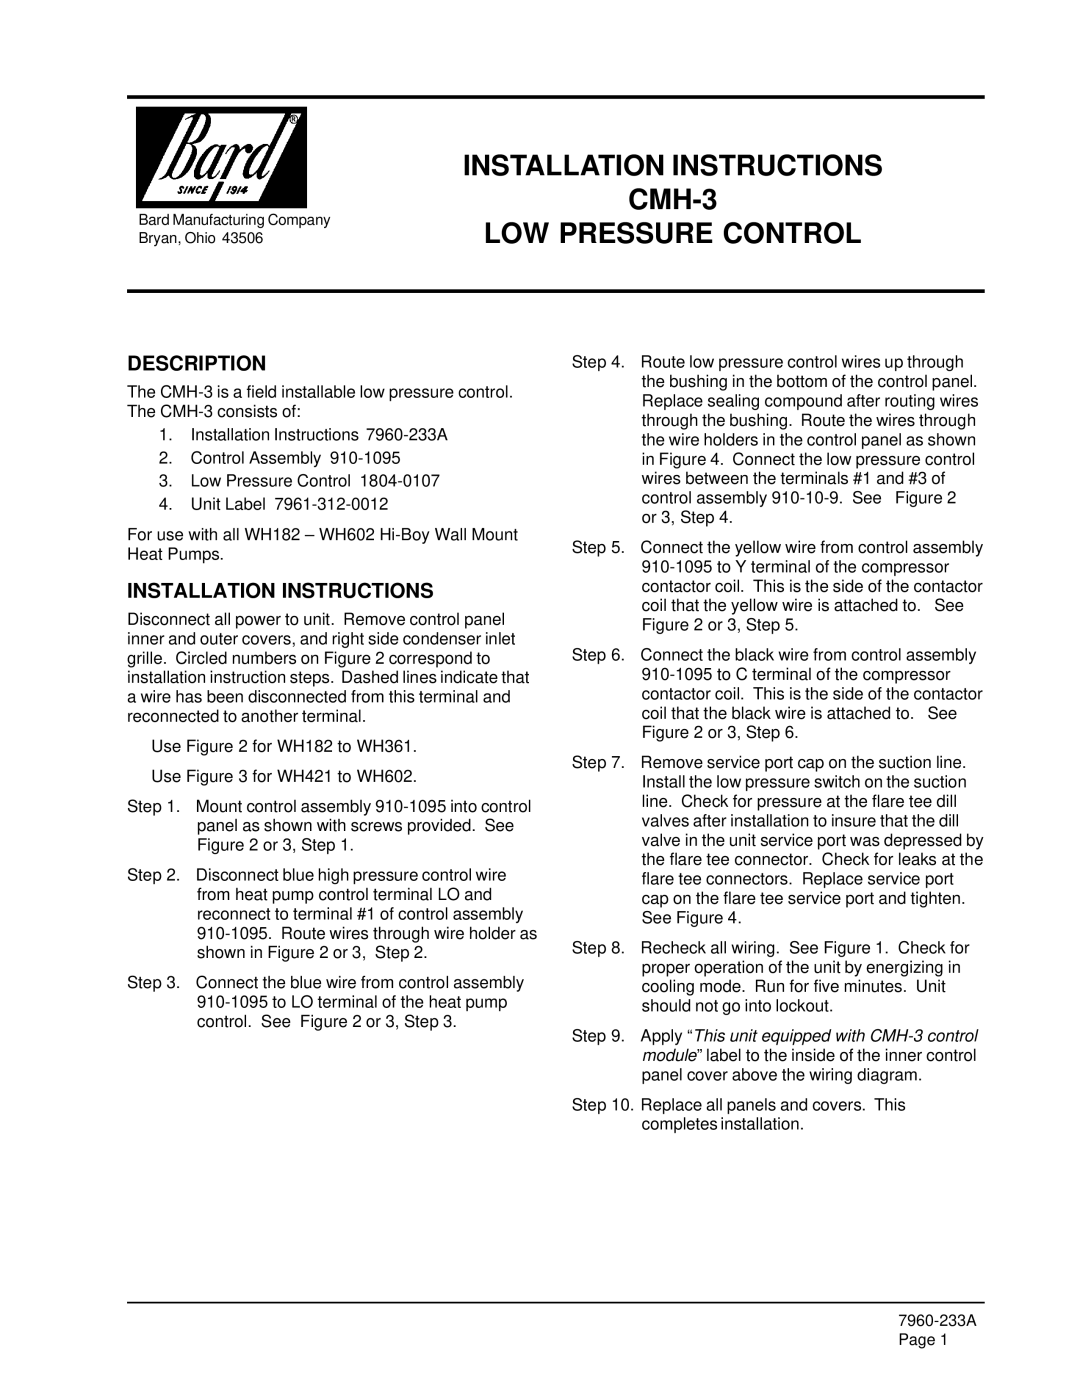
CMH-3 specifications
The Bard CMH-3 is a state-of-the-art device designed for environmental heating and cooling solutions, particularly in residential and commercial applications. It has gained recognition for its innovative features, efficient performance, and reliability, making it a preferred choice for many users seeking to enhance indoor comfort.One of the key features of the Bard CMH-3 is its advanced climate control capabilities. The device employs a multi-speed fan system that ensures optimal air circulation, allowing for precise temperature control in various environments. This versatility is especially beneficial in spaces with fluctuating heating and cooling demands, as the CMH-3 can adjust its performance to meet specific requirements seamlessly.
In addition to its impressive airflow management, the Bard CMH-3 integrates cutting-edge technology that contributes to its energy efficiency. The unit is equipped with a high-efficiency heat exchanger and energy-saving modes that significantly reduce energy consumption while maintaining excellent heating and cooling performance. This not only leads to lower utility bills for consumers but also promotes environmental sustainability through reduced energy usage.
Another standout characteristic of the Bard CMH-3 is its durability. Constructed with high-quality materials, the unit is designed to withstand harsh weather conditions and provide long-lasting service. Its corrosion-resistant casing ensures that the system remains effective even in humid or moist environments, making it suitable for various geographical locations.
The Bard CMH-3 also offers user-friendly features, including a digital thermostat and remote control options. This allows users to adjust settings conveniently from anywhere in their space, enhancing the overall user experience. The intuitive interface simplifies operation and helps individuals set their desired climate preferences without difficulty.
Furthermore, maintenance is made easy with the Bard CMH-3, as it includes accessible components for routine checks and service. Regular maintenance is crucial for optimal performance and longevity, and the design of this unit reflects Bard's commitment to user-friendly serviceability.
In summary, the Bard CMH-3 presents a compelling solution for those in need of reliable heating and cooling. With its advanced climate control features, energy-efficient technology, durable construction, and ease of use, it stands out as an exemplary choice for both residential and commercial applications. Bards' continuous innovation in HVAC technology ensures that units like the CMH-3 not only meet but exceed consumer expectations in comfort, efficiency, and longevity.