300/390 MHz TRANSMITTERS & RECEIVERS
USER’S GUIDE
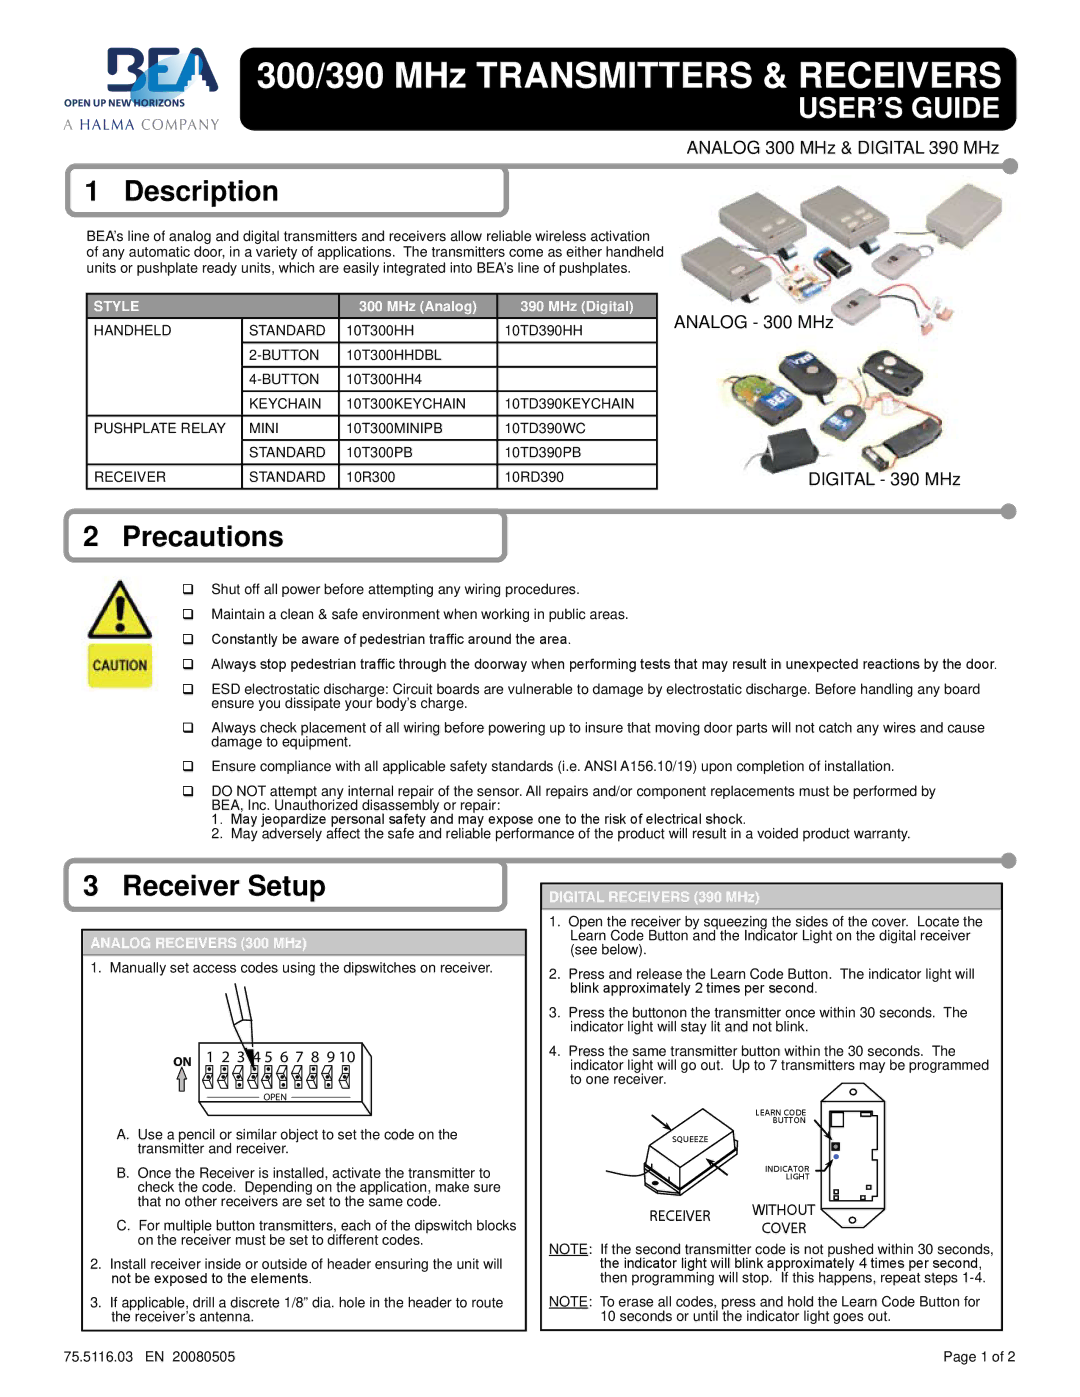
ANALOG 300 MHz & DIGITAL 390 MHz
1 Description
BEA’s line of analog and digital transmitters and receivers allow reliable wireless activation of any automatic door, in a variety of applications. The transmitters come as either handheld units or pushplate ready units, which are easily integrated into BEA’s line of pushplates.
STYLE |
| 300 MHz (Analog) | 390 MHz (Digital) |
HANDHELD | STANDARD | 10T300HH | 10TD390HH |
| 10T300HHDBL |
| |
| 10T300HH4 |
| |
| KEYCHAIN | 10T300KEYCHAIN | 10TD390KEYCHAIN |
PUSHPLATE RELAY | MINI | 10T300MINIPB | 10TD390WC |
| STANDARD | 10T300PB | 10TD390PB |
RECEIVER | STANDARD | 10R300 | 10RD390 |
ANALOG - 300 MHz
DIGITAL - 390 MHz
2Precautions
Shut off all power before attempting any wiring procedures.
Maintain a clean & safe environment when working in public areas.
Constantly be aware of pedestrian traffi c around the area.
Always stop pedestrian traffi c through the doorway when performing tests that may result in unexpected reactions by the door.
ESD electrostatic discharge: Circuit boards are vulnerable to damage by electrostatic discharge. Before handling any board ensure you dissipate your body’s charge.
Always check placement of all wiring before powering up to insure that moving door parts will not catch any wires and cause damage to equipment.
Ensure compliance with all applicable safety standards (i.e. ANSI A156.10/19) upon completion of installation.
DO NOT attempt any internal repair of the sensor. All repairs and/or component replacements must be performed by BEA, Inc. Unauthorized disassembly or repair:
1.May jeopardize personal safety and may expose one to the risk of electrical shock.
2.May adversely affect the safe and reliable performance of the product will result in a voided product warranty.
3 Receiver Setup
ANALOG RECEIVERS (300 MHz)
1. Manually set access codes using the dipswitches on receiver.
ON | 1 2 3 4 5 6 7 8 9 10 |
OPEN
A.Use a pencil or similar object to set the code on the transmitter and receiver.
B.Once the Receiver is installed, activate the transmitter to check the code. Depending on the application, make sure that no other receivers are set to the same code.
C.For multiple button transmitters, each of the dipswitch blocks on the receiver must be set to different codes.
2.Install receiver inside or outside of header ensuring the unit will not be exposed to the elements.
3.If applicable, drill a discrete 1/8” dia. hole in the header to route the receiver’s antenna.
75.5116.03 EN 20080505
DIGITAL RECEIVERS (390 MHz)
1.Open the receiver by squeezing the sides of the cover. Locate the Learn Code Button and the Indicator Light on the digital receiver (see below).
2.Press and release the Learn Code Button. The indicator light will blink approximately 2 times per second.
3.Press the buttonon the transmitter once within 30 seconds. The indicator light will stay lit and not blink.
4.Press the same transmitter button within the 30 seconds. The indicator light will go out. Up to 7 transmitters may be programmed to one receiver.
LEARN CODE
BUTTON
SQUEEZE
INDICATOR
LIGHT
RECEIVER WITHOUT
COVER
NOTE: If the second transmitter code is not pushed within 30 seconds, the indicator light will blink approximately 4 times per second, then programming will stop. If this happens, repeat steps
NOTE: To erase all codes, press and hold the Learn Code Button for 10 seconds or until the indicator light goes out.
Page 1 of 2