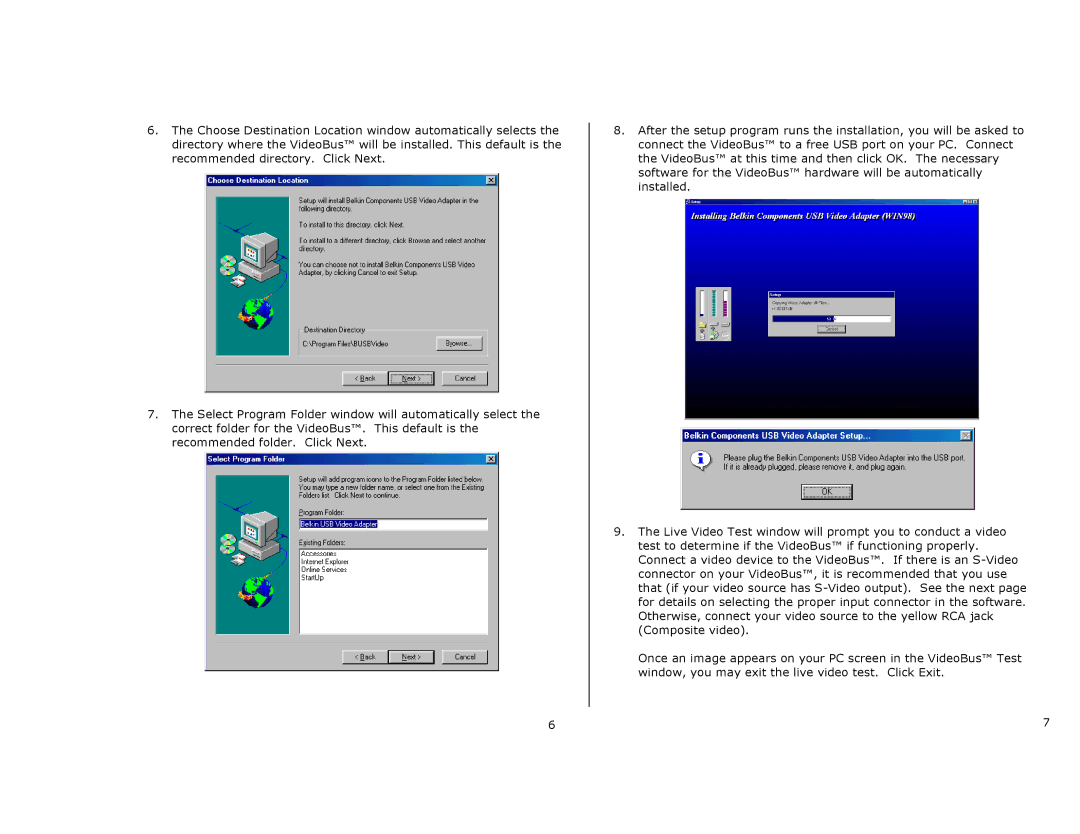
6.The Choose Destination Location window automatically selects the directory where the VideoBus™ will be installed. This default is the recommended directory. Click Next.
7.The Select Program Folder window will automatically select the correct folder for the VideoBus™. This default is the recommended folder. Click Next.
8.After the setup program runs the installation, you will be asked to connect the VideoBus™ to a free USB port on your PC. Connect the VideoBus™ at this time and then click OK. The necessary software for the VideoBus™ hardware will be automatically installed.
9.The Live Video Test window will prompt you to conduct a video test to determine if the VideoBus™ if functioning properly. Connect a video device to the VideoBus™. If there is an
Once an image appears on your PC screen in the VideoBus™ Test window, you may exit the live video test. Click Exit.
6 | 7 |
