INTRODUCTION
Congratulations and thank you for purchasing the MiniWireless Optical Mouse from Belkin. You are about to experience a whole new world of computing convenience with superior input features and navigating accuracy. The MiniWireless Optical Mouse provides a great radio frequency (RF) wireless input solution for the mobile professional.
SYSTEM REQUIREMENTS
PC 486 or higher
Windows® 98 SE, Me, 2000, XP
USB port
PACKAGE INCLUDES
MiniWireless Optical Mouse
USB Receiver
User Manual
2 AAA Batteries
OVERVIEW
Before starting the installation of the hardware for the Mouse, please remove any drivers or software from any mice that were previously installed on your computer. This is to avoid any confl icts they may create, which could result in an improper installation of your Mouse. Please consult the documents that came with your previous mouse for proper instructions on how to uninstall the software and drivers.
MOUSE SETUP
1.Remove the top cover of your Mouse by pressing and holding the bottom release tab. (Fig. 1)
Fig. 1
2.Insert 2 AAA batteries. (Fig. 2)
Fig. 2
3.Replace the top cover and close.
Note: Be sure to check polarity (+ or
– sign) and insert battery properly.
HARDWARE INSTALLATION
1.Make sure your computer is turned on before installing the Mouse.
2.Connect the receiver into an available USB port on your PC. (Fig. 3)
Fig. 3
3.Your PC should automatically find new hardware and install necessary drivers.
Note: Windows 98 SE may require you to insert your Windows 98 SE Installation CD into your computer’s
4.Switch on the power of the Wireless Mouse located on the backside of the Mouse. The Mouse syncs with the receiver automatically. (Fig. 4)
Fig. 4
Note: If the Mouse does not sync with the receiver automatically, please see the section entitled “Synchronizing your Mouse to your Receiver”, below.
Note: While traveling, please switch off the unit to save battery power.
SYNCHRONIZING YOUR MOUSE TO YOUR RECEIVER
If the Mouse does not automatically sync with the receiver, press the connect button on the top of the receiver. The light on the receiver will blink rapidly. Then sync the Mouse to the receiver by pushing the sync button on the bottom of the Mouse. The light on the receiver will stop blinking and light brightly. (Fig. 5)
Fig. 5
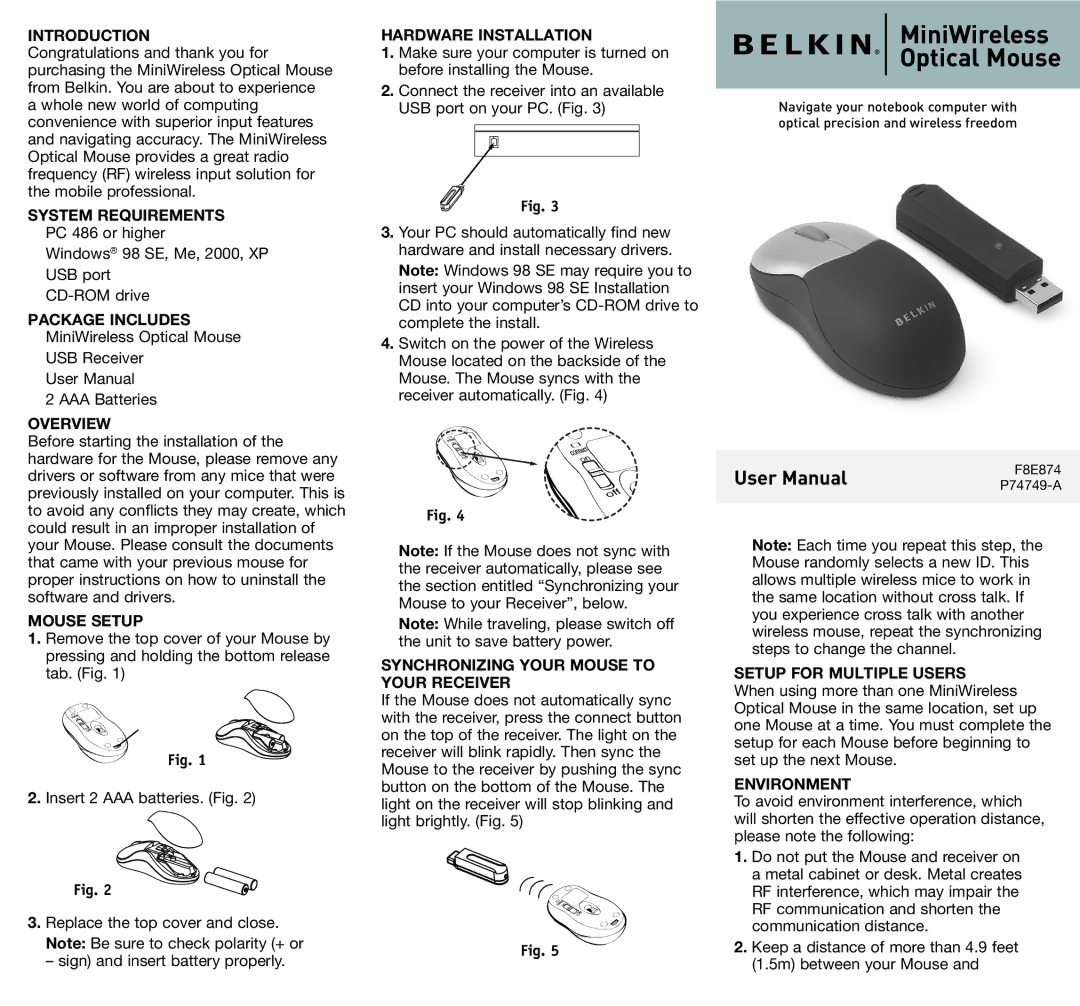
MiniWireless
Optical Mouse
Navigate your notebook computer with optical precision and wireless freedom
User Manual | F8E874 |
Note: Each time you repeat this step, the Mouse randomly selects a new ID. This allows multiple wireless mice to work in the same location without cross talk. If you experience cross talk with another wireless mouse, repeat the synchronizing steps to change the channel.
SETUP FOR MULTIPLE USERS
When using more than one MiniWireless Optical Mouse in the same location, set up one Mouse at a time. You must complete the setup for each Mouse before beginning to set up the next Mouse.
ENVIRONMENT
To avoid environment interference, which will shorten the effective operation distance, please note the following:
1.Do not put the Mouse and receiver on a metal cabinet or desk. Metal creates RF interference, which may impair the RF communication and shorten the communication distance.
2.Keep a distance of more than 4.9 feet (1.5m) between your Mouse and