MAINTENANCE GUIDELINES
Regularly and carefully cleaning the equipment prevents deterioration and product alteration.
CLEANING THE UNIT
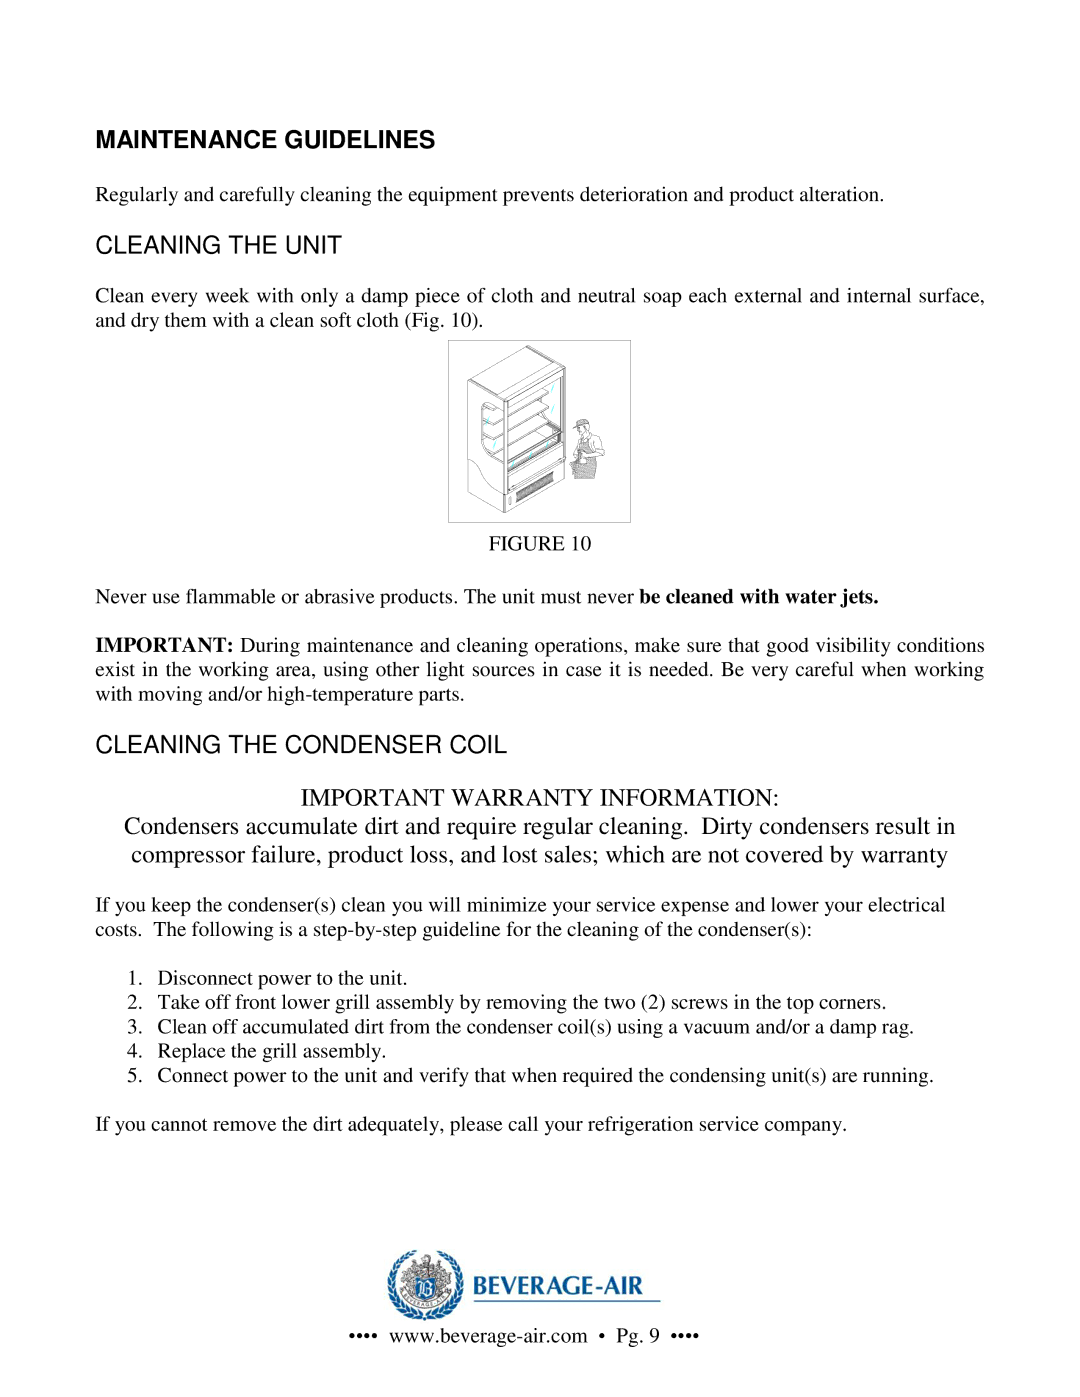
Clean every week with only a damp piece of cloth and neutral soap each external and internal surface, and dry them with a clean soft cloth (Fig. 10).
FIGURE 10
Never use flammable or abrasive products. The unit must never be cleaned with water jets.
IMPORTANT: During maintenance and cleaning operations, make sure that good visibility conditions exist in the working area, using other light sources in case it is needed. Be very careful when working with moving and/or
CLEANING THE CONDENSER COIL
IMPORTANT WARRANTY INFORMATION:
Condensers accumulate dirt and require regular cleaning. Dirty condensers result in compressor failure, product loss, and lost sales; which are not covered by warranty
If you keep the condenser(s) clean you will minimize your service expense and lower your electrical costs. The following is a
1.Disconnect power to the unit.
2.Take off front lower grill assembly by removing the two (2) screws in the top corners.
3.Clean off accumulated dirt from the condenser coil(s) using a vacuum and/or a damp rag.
4.Replace the grill assembly.
5.Connect power to the unit and verify that when required the condensing unit(s) are running.
If you cannot remove the dirt adequately, please call your refrigeration service company.
••••
