
1865 specifications
The Bissell 1865, also known as the Bissell ProHeat 2X Revolution Pet Pro, is a formidable carpet cleaner designed specifically for homes with pets. As pet owners know, maintaining a clean and fresh environment can be challenging, especially with the inevitable messes that accompany furry companions. The Bissell 1865 addresses these challenges with a combination of innovative technologies and features tailored to effective cleaning.One of the standout attributes of the Bissell 1865 is its powerful cleaning capabilities. It utilizes Bissell's Smart Clean Technology, which adjusts the cleaning settings based on the type of carpet being cleaned. This ensures optimal cleaning performance whether you are dealing with delicate carpets or heavily soiled carpets from pet accidents.
The device is equipped with a dual dirt lifter power brush that features 12 rows of bristle brushes. This advanced brushing system effectively lifts both surface dirt and deep-down grime, making it particularly effective against stubborn pet stains and odors. The cleaner also incorporates Heatwave Technology, which maintains consistent water temperatures during cleaning. Hot water is essential for breaking down tough stains, and this feature ensures that you are always using the right temperature for maximum cleaning power.
Another user-friendly feature of the Bissell 1865 is its lightweight design, making it easy to maneuver around the house. Weighing significantly less than many traditional carpet cleaners, it provides the ability to carry it up and down stairs without fatigue. Additionally, the cleaner boasts a large water tank capacity, allowing for extended cleaning sessions without the need for constant refills.
The Bissell 1865 also comes with specialized tools, including a pet stain tool that is perfect for targeting specific spots while offering a deep clean. The cleaner also offers a convenient clean shot trigger that dispenses an extra burst of cleaning solution onto tough stains, giving users an extra edge in the battle against pet messes.
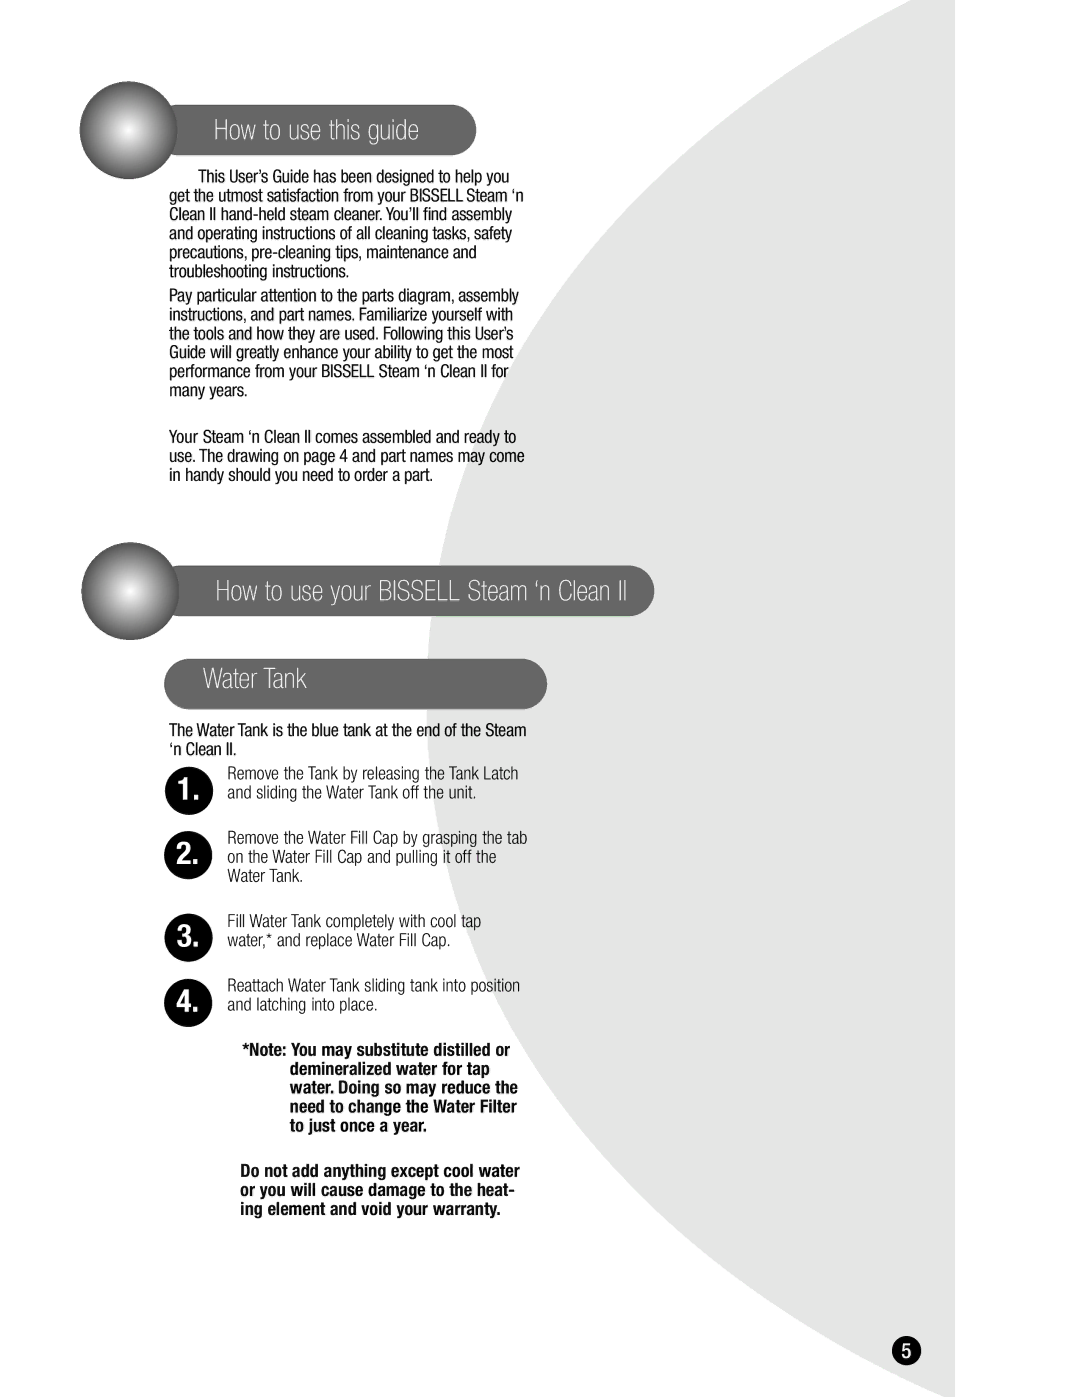
For maintenance, the machine features a removable, washable tank that simplifies the cleaning process post-use. The Bissell 1865 not only offers effective cleaning power, but it is also designed with ease of use and maintenance in mind.
In conclusion, the Bissell 1865 ProHeat 2X Revolution Pet Pro stands out as a top choice for pet owners seeking an efficient and powerful carpet cleaner. Its combination of advanced technologies, user-friendly design, and effective cleaning capabilities make it a valuable addition to any pet-friendly household. With the Bissell 1865, keeping your carpets clean and fresh has never been easier.