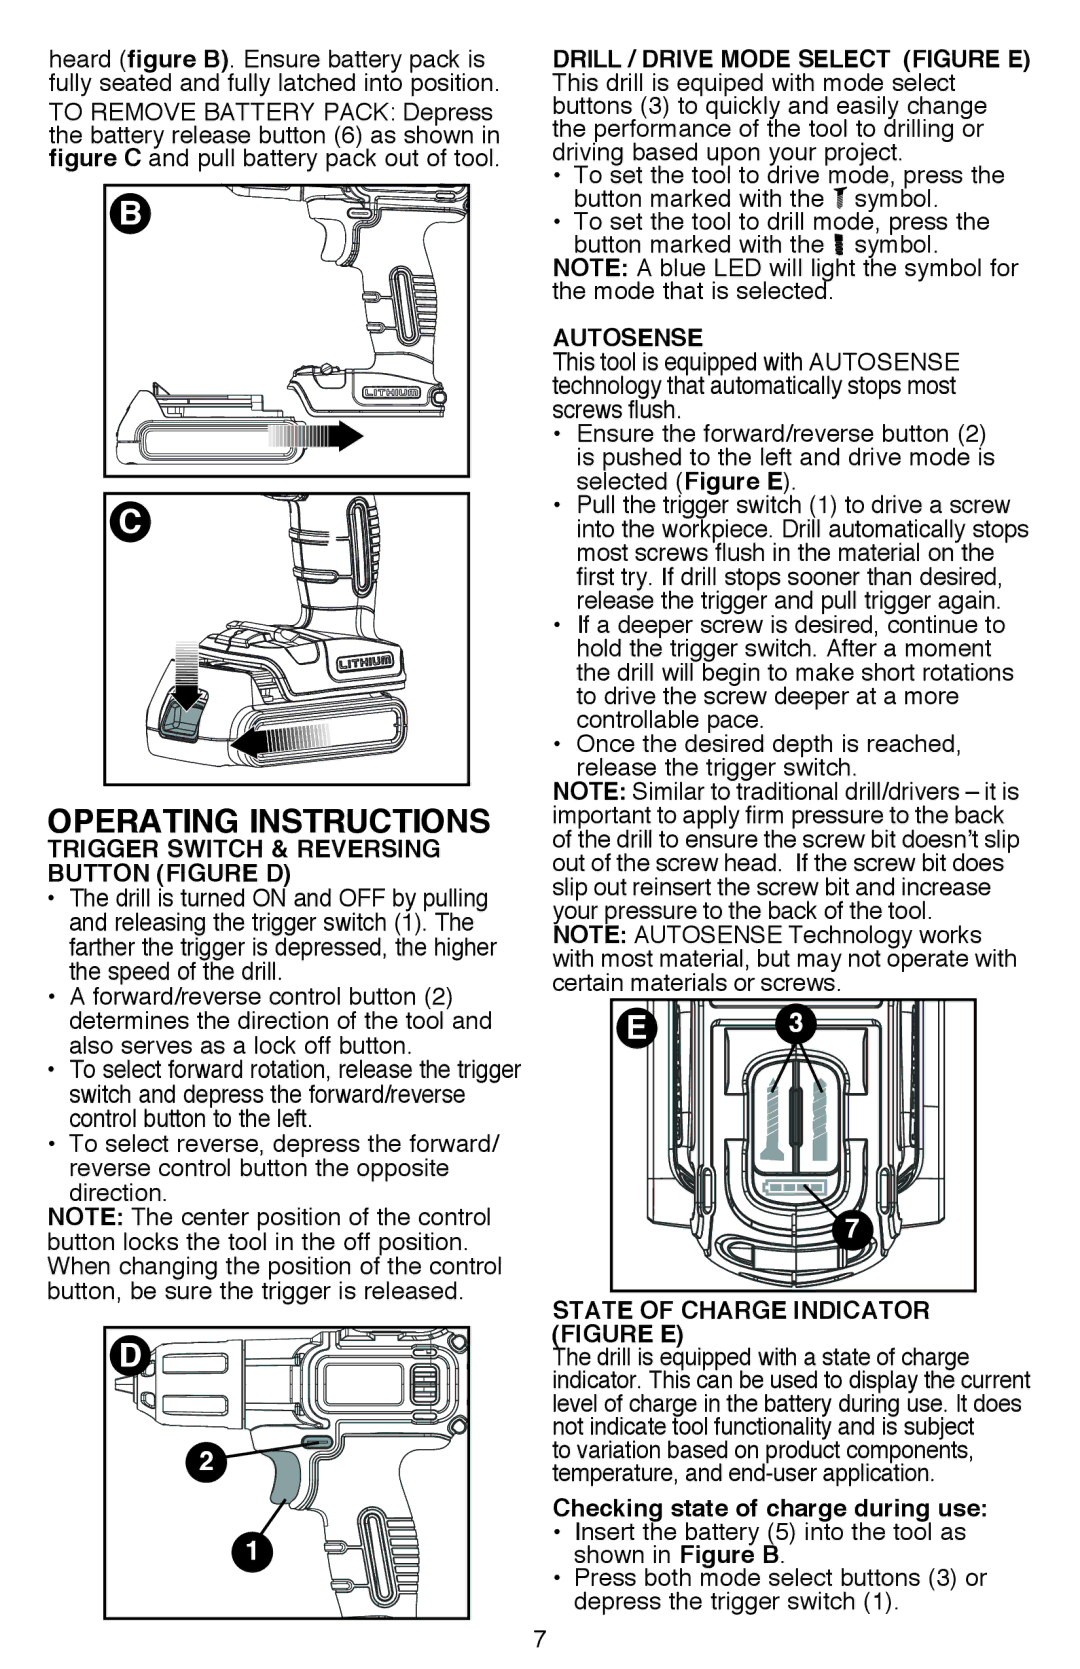
heard (figure B). Ensure battery pack is fully seated and fully latched into position. To remove battery pack: Depress the battery release button (6) as shown in figure C and pull battery pack out of tool.
B |
C |
Operating Instructions
Trigger Switch & Reversing Button (Figure D)
• The drill is turned ON and OFF by pulling and releasing the trigger switch (1). The farther the trigger is depressed, the higher the speed of the drill.
• A forward/reverse control button (2) determines the direction of the tool and also serves as a lock off button.
• To select forward rotation, release the trigger switch and depress the forward/reverse control button to the left.
• To select reverse, depress the forward/ reverse control button the opposite direction.
NOTE: The center position of the control button locks the tool in the off position. When changing the position of the control button, be sure the trigger is released.
D |
2 |
1 |
DRILL / DRIVE MODE SELECT (Figure E) This drill is equiped with mode select buttons (3) to quickly and easily change the performance of the tool to drilling or driving based upon your project.
• To set the tool to drive mode, press the button marked with the ![]() symbol.
symbol.
• To set the tool to drill mode, press the button marked with the ![]() symbol.
symbol.
NOTE: A blue LED will light the symbol for the mode that is selected.
AUTOSENSE
This tool is equipped with AUTOSENSE technology that automatically stops most screws flush.
• Ensure the forward/reverse button (2) is pushed to the left and drive mode is selected (Figure E).
• Pull the trigger switch (1) to drive a screw into the workpiece. Drill automatically stops most screws flush in the material on the first try. If drill stops sooner than desired, release the trigger and pull trigger again.
• If a deeper screw is desired, continue to hold the trigger switch. After a moment the drill will begin to make short rotations to drive the screw deeper at a more controllable pace.
• Once the desired depth is reached, release the trigger switch.
NOTE: Similar to traditional drill/drivers – it is important to apply firm pressure to the back of the drill to ensure the screw bit doesn’t slip out of the screw head. If the screw bit does slip out reinsert the screw bit and increase your pressure to the back of the tool. NOTE: Autosense Technology works with most material, but may not operate with certain materials or screws.
E ![]()
![]()
![]()
![]()
![]()
![]()
![]() 3
3![]()
![]()
![]()
![]()
![]()
![]()
![]()
![]()
![]()
![]() 7
7![]()
![]()
![]()
![]()
![]()
![]()
State of charge indicator (Figure E)
The drill is equipped with a state of charge indicator. This can be used to display the current level of charge in the battery during use. It does not indicate tool functionality and is subject
to variation based on product components, temperature, and
Checking state of charge during use:
• Insert the battery (5) into the tool as shown in Figure B.
• Press both mode select buttons (3) or depress the trigger switch (1).
7