inside of the base and lift the | 4 | |
receptacle and cord out of the holder. | ||
|
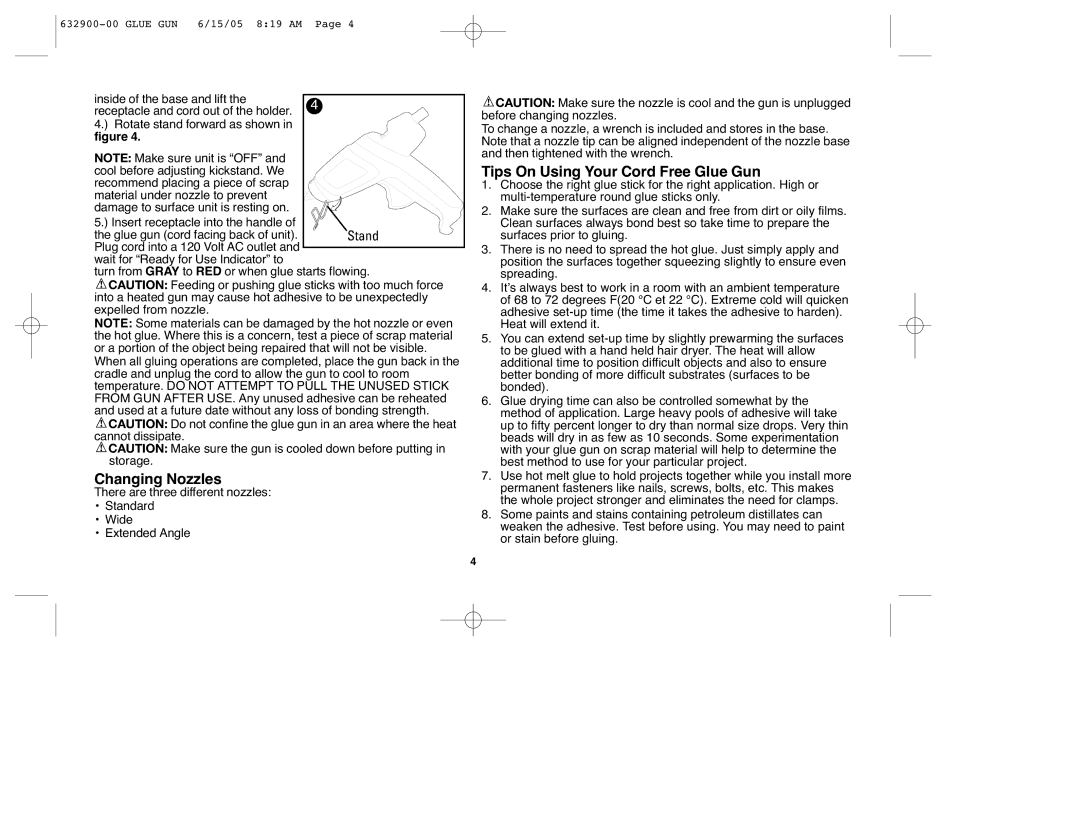
4.) Rotate stand forward as shown in figure 4.
NOTE: Make sure unit is “OFF” and cool before adjusting kickstand. We recommend placing a piece of scrap material under nozzle to prevent damage to surface unit is resting on.
5.) Insert receptacle into the handle of
the glue gun (cord facing back of unit). Stand Plug cord into a 120 Volt AC outlet and
wait for “Ready for Use Indicator” to
turn from GRAY to RED or when glue starts flowing.
![]() CAUTION: Feeding or pushing glue sticks with too much force into a heated gun may cause hot adhesive to be unexpectedly expelled from nozzle.
CAUTION: Feeding or pushing glue sticks with too much force into a heated gun may cause hot adhesive to be unexpectedly expelled from nozzle.
NOTE: Some materials can be damaged by the hot nozzle or even the hot glue. Where this is a concern, test a piece of scrap material or a portion of the object being repaired that will not be visible.
When all gluing operations are completed, place the gun back in the cradle and unplug the cord to allow the gun to cool to room temperature. DO NOT ATTEMPT TO PULL THE UNUSED STICK FROM GUN AFTER USE. Any unused adhesive can be reheated and used at a future date without any loss of bonding strength.
![]() CAUTION: Do not confine the glue gun in an area where the heat cannot dissipate.
CAUTION: Do not confine the glue gun in an area where the heat cannot dissipate.
![]() CAUTION: Make sure the gun is cooled down before putting in storage.
CAUTION: Make sure the gun is cooled down before putting in storage.
Changing Nozzles
There are three different nozzles:
•Standard
•Wide
•Extended Angle
![]() CAUTION: Make sure the nozzle is cool and the gun is unplugged before changing nozzles.
CAUTION: Make sure the nozzle is cool and the gun is unplugged before changing nozzles.
To change a nozzle, a wrench is included and stores in the base. Note that a nozzle tip can be aligned independent of the nozzle base and then tightened with the wrench.
Tips On Using Your Cord Free Glue Gun
1.Choose the right glue stick for the right application. High or
2.Make sure the surfaces are clean and free from dirt or oily films. Clean surfaces always bond best so take time to prepare the surfaces prior to gluing.
3.There is no need to spread the hot glue. Just simply apply and position the surfaces together squeezing slightly to ensure even spreading.
4.It’s always best to work in a room with an ambient temperature of 68 to 72 degrees F(20 °C et 22 °C). Extreme cold will quicken adhesive
5.You can extend
6.Glue drying time can also be controlled somewhat by the method of application. Large heavy pools of adhesive will take up to fifty percent longer to dry than normal size drops. Very thin beads will dry in as few as 10 seconds. Some experimentation with your glue gun on scrap material will help to determine the best method to use for your particular project.
7.Use hot melt glue to hold projects together while you install more permanent fasteners like nails, screws, bolts, etc. This makes the whole project stronger and eliminates the need for clamps.
8.Some paints and stains containing petroleum distillates can weaken the adhesive. Test before using. You may need to paint or stain before gluing.
4