ENGLISH (Original instructions)

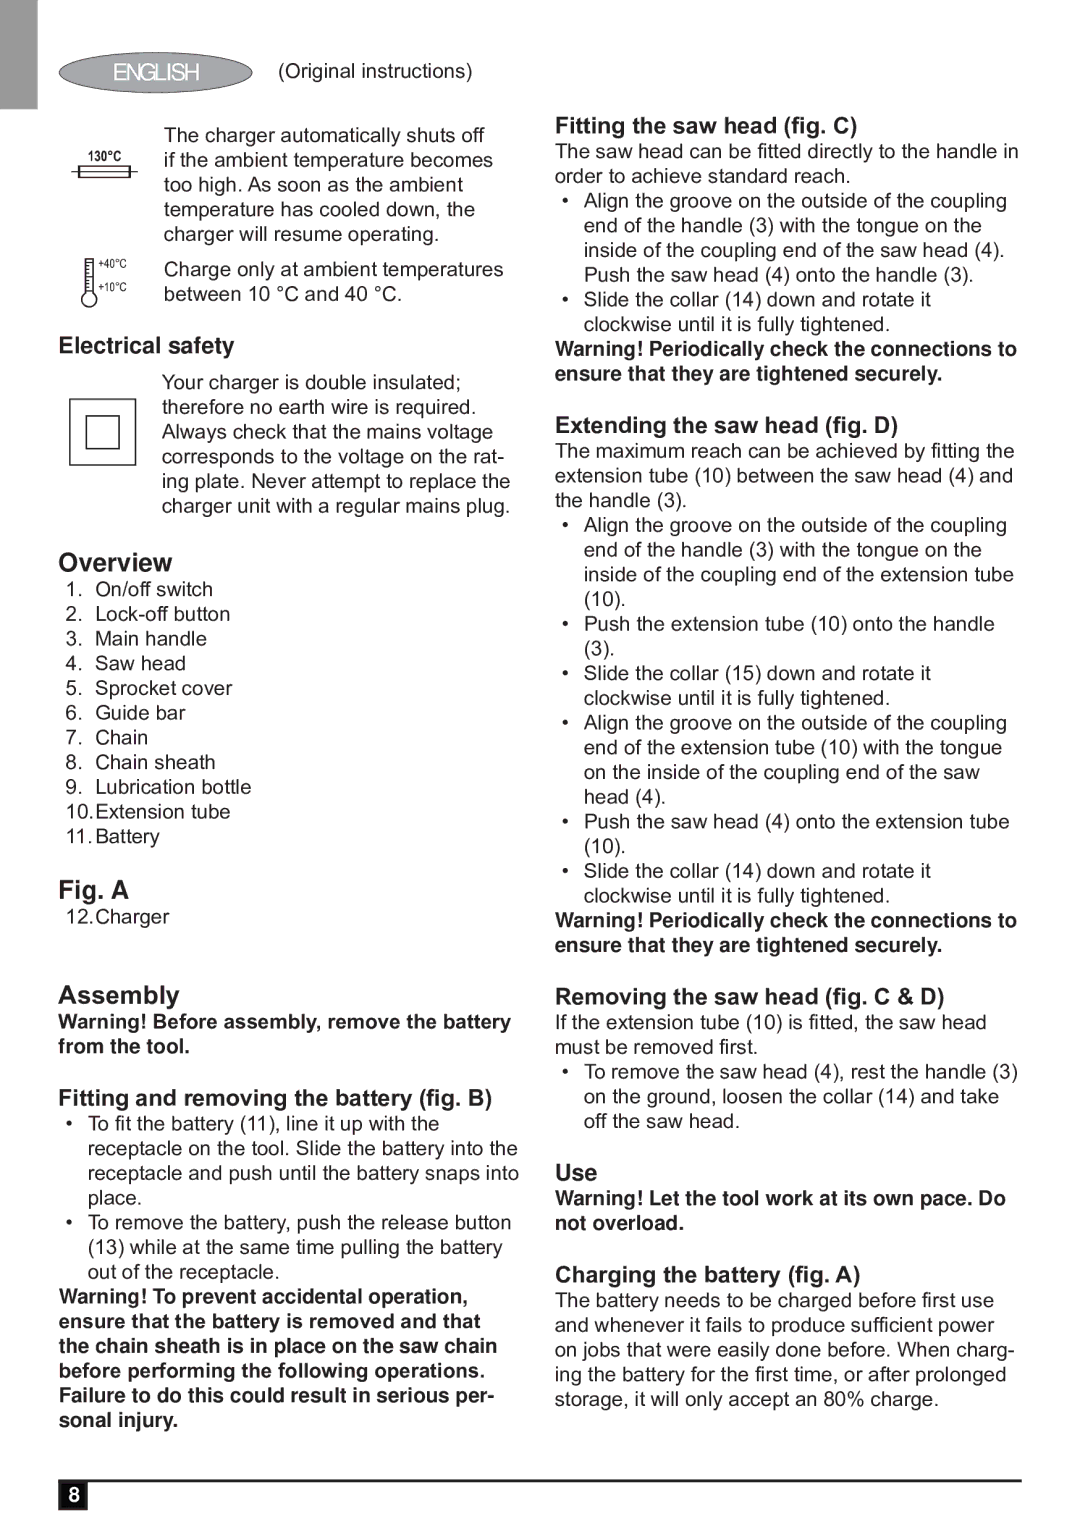
x The charger automatically shuts off if the ambient temperature becomes too high. As soon as the ambient

j temperature has cooled down, the charger will resume operating.

Charge only at ambient temperatures between 10 °C and 40 °C.

Electrical# safety

Your charger is double insulated; therefore no earth wire is required. Always check that the mains voltage corresponds to the voltage on the rat- ing plate. Never attempt to replace the charger unit with a regular mains plug.

Overview

1.On/off switch

2.Lock-off button

3.Main handle

4.Saw head

5.Sprocket cover

6.Guide bar

7.Chain

8.Chain sheath

9.Lubrication bottle

10.Extension tube

11.Battery

Fig. A

12.Charger

Fitting the saw head (fig. C)

The saw head can be fitted directly to the handle in order to achieve standard reach.

Align the groove on the outside of the coupling end of the handle (3) with the tongue on the inside of the coupling end of the saw head (4). Push the saw head (4) onto the handle (3).

Slide the collar (14) down and rotate it clockwise until it is fully tightened.

Warning! Periodically check the connections to ensure that they are tightened securely.

Extending the saw head (fig. D)

The maximum reach can be achieved by fitting the extension tube (10) between the saw head (4) and the handle (3).

Align the groove on the outside of the coupling end of the handle (3) with the tongue on the inside of the coupling end of the extension tube (10).

Push the extension tube (10) onto the handle

(3).

Slide the collar (15) down and rotate it clockwise until it is fully tightened.

Align the groove on the outside of the coupling end of the extension tube (10) with the tongue on the inside of the coupling end of the saw head (4).

Push the saw head (4) onto the extension tube (10).

Slide the collar (14) down and rotate it clockwise until it is fully tightened.

Warning! Periodically check the connections to ensure that they are tightened securely.

Assembly

Warning! Before assembly, remove the battery from the tool.

Fitting and removing the battery (fig. B)

To fit the battery (11), line it up with the receptacle on the tool. Slide the battery into the receptacle and push until the battery snaps into place.

To remove the battery, push the release button (13) while at the same time pulling the battery out of the receptacle.

Warning! To prevent accidental operation, ensure that the battery is removed and that the chain sheath is in place on the saw chain before performing the following operations. Failure to do this could result in serious per- sonal injury.

Removing the saw head (fig. C & D)

If the extension tube (10) is fitted, the saw head must be removed first.

To remove the saw head (4), rest the handle (3) on the ground, loosen the collar (14) and take off the saw head.

Use

Warning! Let the tool work at its own pace. Do not overload.

Charging the battery (fig. A)

The battery needs to be charged before first use and whenever it fails to produce sufficient power on jobs that were easily done before. When charg- ing the battery for the first time, or after prolonged storage, it will only accept an 80% charge.

8

Page 8
Image 8
Black & Decker GPC1800P manual Overview, Assembly

GPC1800, GPC1800P specifications

The Black & Decker GPC1800P and GPC1800 are two innovative outdoor power tools designed to meet the needs of homeowners and gardening enthusiasts alike. Both models are part of a broader range of cordless garden tools that emphasize convenience, ease of use, and performance.

The GPC1800P features an 18V lithium-ion battery, making it a highly efficient choice for those who require mobility without sacrificing power. The lithium-ion technology offers a longer runtime and quicker charging times compared to traditional batteries. This means users can spend more time enjoying their gardening activities and less time tethered to electrical outlets.

Another notable feature of the GPC1800P is its 12-inch cutting bar, designed to tackle branches up to 6 inches in diameter. Equipped with a high-performance motor, this tool provides consistent cutting power, ensuring a clean and efficient cut every time. The automatic oiling system keeps the cutting bar and chain well-lubricated, reducing friction and extending the lifespan of the tool.

In addition to the GPC1800P, the GPC1800 serves as a strong companion in this lineup. Like its counterpart, it boasts an 18V battery, providing versatility across a variety of cutting tasks. The GPC1800 is known for its lightweight design, which enhances maneuverability, making it easier to handle during longer sessions. This model also features a simple tool-free chain tensioning system, allowing quick adjustments and facilitating maintenance.

Both models implement safety features such as a front handguard to prevent accidental slips and a safety lock that must be engaged to start the tool. This ensures user protection while working, especially in challenging environments.

User comfort has not been overlooked, with ergonomic handles designed to reduce fatigue during extended use. The balanced design contributes to easier handling and controlled cutting angles, allowing for detailed work in gardens, backyards, and landscaping projects.

In summary, the Black & Decker GPC1800P and GPC1800 combine power, efficiency, and user-friendly features, making them excellent options for those looking to maintain their outdoor spaces with ease. With these models, Black & Decker continues to solidify its reputation as a leader in innovative power tools designed for modern gardening needs.