How to Use
This appliance is for household use only.
GETTING STARTED
Remove any labels, stickers or tags attached to the body or soleplate of the iron. Note: Use ordinary tap water for ironing. Do not use water processed through a home softening system.
Important: For optimum performance, let the iron stand for 2 minutes before beginning to iron.
TO FILL THE WATER TANK
Important: Make sure the iron is unplugged.
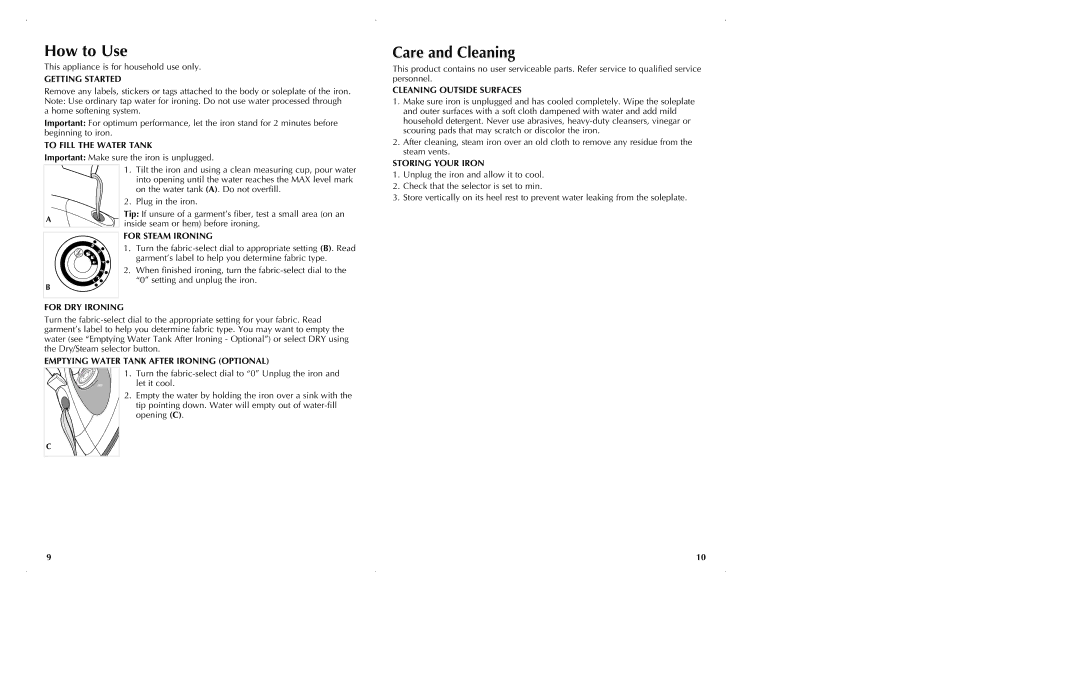
1.Tilt the iron and using a clean measuring cup, pour water into opening until the water reaches the MAX level mark on the water tank (A). Do not overfill.
2.Plug in the iron.
A | Tip: If unsure of a garment’s fiber, test a small area (on an | |
inside seam or hem) before ironing. | ||
|
FOR STEAM IRONING
1. Turn the
2. When finished ironing, turn the
B
FOR DRY IRONING
Turn the
EMPTYING WATER TANK AFTER IRONING (OPTIONAL)
1. Turn the
2.Empty the water by holding the iron over a sink with the tip pointing down. Water will empty out of
C
Care and Cleaning
This product contains no user serviceable parts. Refer service to qualified service personnel.
CLEANING OUTSIDE SURFACES
1.Make sure iron is unplugged and has cooled completely. Wipe the soleplate and outer surfaces with a soft cloth dampened with water and add mild household detergent. Never use abrasives,
2.After cleaning, steam iron over an old cloth to remove any residue from the steam vents.
STORING YOUR IRON
1.Unplug the iron and allow it to cool.
2.Check that the selector is set to min.
3.Store vertically on its heel rest to prevent water leaking from the soleplate.
9 | 10 |
