Safety Warnings and Instructions: Sanders
•ALWAYS WEAR EYE AND RESPIRATORY PROTECTION.
•Clean your tool out periodically.
 Other Important Safety Warnings and Instructions
Extension Cords
When using an extension cord, be sure to use one heavy enough to carry the current your product will draw. An undersized cord will cause a drop in line voltage resulting in loss of power and overheating. The following table shows the correct size to use depending on cord length and nameplate ampere rating. If in doubt, use the next heavier gage. The smaller the gage number, the heavier the cord.
|
|
| Minimum Gage for Cord Sets |
| ||
Volts |
| Total Length of Cord in Feet | ||||
120V |
| |||||
|
|
| ||||
240V |
| |||||
|
|
| ||||
Ampere Rating |
|
|
|
| ||
More |
| Not more | American Wire Gage |
| ||
Than |
| Than |
|
|
|
|
0 | - | 6 | 18 | 16 | 16 | 14 |
6 | - | 10 | 18 | 16 | 14 | 12 |
10 | - | 12 | 16 | 16 | 14 | 12 |
12 | - | 16 | 14 | 12 | Not Recommended | |
|
|
|
|
|
|
|
Sanding
Lead based Paint
Sanding of lead based paint is NOT RECOMMENDED due to the difficulty of controlling the contaminated dust. The greatest danger of lead poisoning is to children and pregnant women.
Since it is difficult to identify whether or not a paint contains lead without a chemical analysis, we recommend the following precautions when sanding any paint:
Personal Safety
•No children or pregnant women should enter the work area where the paint sanding is being done until all clean up is completed.
•A dust mask or respirator should be worn by all persons entering the work area. The filter should be replaced daily or whenever the wearer has difficulty breathing.
NOTE: Only those dust masks suitable for working with lead paint dust and fumes should be used. Ordinary painting masks do not offer this protection. See your local hardware dealer for the proper (NIOSH approved) mask.
•NO EATING, DRINKING or SMOKING should be done in the work area to prevent ingesting contaminated paint particles. Workers should wash and clean up BEFORE eating, drinking or smoking. Articles of food, drink, or smoking should not be left in the work area where dust would settle on them.
Environmental Safety
•Paint should be removed in such a manner as to minimize the amount of dust generated.
•Areas where paint removal is occurring should be sealed with plastic sheeting of 4 mils thickness.
•Sanding should be done in a manner to reduce tracking of paint dust outside the work area.
Cleaning and Disposal
•All surfaces in the work area should be vacuumed and thoroughly cleaned daily for the duration of the sanding project. Vacuum filter bags should be changed frequently.
•Plastic drop cloths should be gathered up and disposed of along with any dust chips or other removal debris. They should be placed in sealed refuse receptacles and disposed of through regular trash
•All toys, washable furniture and utensils used by children should be washed thoroughly before being used again.
Motor
Be sure your power supply agrees with nameplate marking. 120 Volts AC only means your tool will operate on standard 60 Hz household power. Do not operate AC tools on DC. A rating of 120 volts AC/DC means that you tool will operate on standard 60 Hz AC or DC power. This information is printed on the nameplate. Lower voltage will cause loss of power and can result in
Assembly/Adjustment Set-Up
![]() WARNING: Always unplug sander from power supply before any of the following operations.
WARNING: Always unplug sander from power supply before any of the following operations.
Attaching Sandpaper
To operate the paper clamps on your sander, simply lift them up with your thumb, as shown in Figure 1. Rotate the clamp lever downward until the clamp is fully opened.
Insert one short edge of the paper under the clamp. Push edge squarely up against the flat wall of the platen and close the paper clamp on that side. Wrap the sandpaper around to fit the other edge under the opposite paper clamp. Push as much paper under the second clamp as possible before securing the paper clamp. Any slack in the paper will reduce sanding performance.
NOTE: The QS540 comes with the paper punch shown in figure 2. The punch may be permanently attached to a workbench by screwing it down using the two holes provided. If it is on a work surface simply press the sander ( with sandpaper firmly attached ) down on the punch to create the dust collection holes. If it is hand held simply press the punch against the sander pad.
Operating Instructions
![]() WARNING: To reduce the risk of serious personal injury, read, understand and follow all important safety warnings and instructions prior to using this tool.
WARNING: To reduce the risk of serious personal injury, read, understand and follow all important safety warnings and instructions prior to using this tool.
Switch
To turn the tool ON, push the portion of the dust protected switch marked "I". To turn the tool OFF, push the portion of the switch marked "O".
Operation
Grasp the sander and turn it ON. Move it in long, sweeping strokes along the surface, letting it do the work. Utilize an even pressure across the sanding pad. Excessive pressure in the corner area may cause damage. Pushing down on the tool while sanding actually slows the removal rate and produces an inferior quality finish. Check your work often. Sander is capable of removing material rapidly.
Dust Extraction
![]() WARNING: Collected sanding dust from sanding surface coatings (polyurethane, linseed oil, etc.) can
WARNING: Collected sanding dust from sanding surface coatings (polyurethane, linseed oil, etc.) can
Your sander comes equipped with a cloth canister to collect the dust generated while sanding. To attach the canister onto the sander simply slide it firmly onto the dust extraction port at the back of the sander and twist it slightly.
To empty the dust canister, remove it from the sander by simply twisting slightly and pulling it straight back. Dump the sanding debris into an appropriate trash receptacle.
You may, if you prefer, attach a vacuum cleaner to the tool to collect the dust as you sand. Simply remove the dust bag, and install a vacuum hose.
Ensure that the vacuum cleaner can be placed such that it will not tip over or interfere with the motion of the sander. If this cannot be done, do not use the vacuum cleaner. Turn on the vacuum cleaner before beginning to sand and turn it off after turning off the sander. Empty vacuum cleaner as required.
Maintenance / Cleaning
Use only mild soap and damp cloth to clean the tool. Never let any liquid get inside the tool; never immerse any part of the tool into a liquid.
IMPORTANT: To assure product SAFETY and RELIABILITY, repairs, maintenance and adjustment should be performed by authorized service centers or other qualified service personnel, always using identical replacement parts.
TROUBLESHOOTING
Problem | Possible Cause | Possible Solution |
• Unit will not start. | • Cord not plugged in. | • Plug tool into a working |
|
| outlet. |
| • Circuit fuse is blown. | • Replace circuit fuse. |
|
| (If the product repeatedly |
|
| causes the circuit fuse to |
|
| blow, discontinue use |
|
| immediately and have it |
|
| serviced at a Black & |
|
| Decker service center or |
|
| authorized servicer.) |
| • Circuit breaker is tripped. | • Reset circuit breaker. |
|
| (If the product repeatedly |
|
| causes the circuit |
|
| breaker to trip, |
|
| discontinue use |
|
| immediately and have it |
|
| serviced at a Black & |
|
| Decker service center or |
|
| authorized servicer.) |
| • Cord or switch is damaged. | • Have cord or switch |
|
| replaced at Black |
|
| & Decker Service Center |
|
| or Authorized Servicer |
For assistance with your product, visit our website www.blackanddecker.com for the location of the service center nearest you or call the BLACK & DECKER help line at
ACCESSORIES
Recommended accessories for use with your tool are available from your local dealer or authorized service center. If you need assistance regarding accessories, please call:
![]() WARNING: The use of any accessory not recommended for use with this tool could be hazardous.
WARNING: The use of any accessory not recommended for use with this tool could be hazardous.
SERVICE INFORMATION
All Black & Decker Service Centers are staffed with trained personnel to provide customers with efficient and reliable power tool service. Whether you need technical advice, repair, or genuine factory replacement parts, contact the Black & Decker location nearest you. To find your local service location, refer to the yellow page directory under
FULL TWO-YEAR HOME USE WARRANTY
Black & Decker (U.S.) Inc. warrants this product for two years against any defects in material or workmanship. The defective product will be replaced or repaired at no charge in either of two ways.
The first, which will result in exchanges only, is to return the product to the retailer from whom it was purchased (provided that the store is a participating retailer). Returns should be made within the time period of the retailer’s policy for exchanges (usually 30 to 90 days after the sale). Proof of purchase may be required. Please check with the retailer for their specific return policy regarding returns that are beyond the time set for exchanges.
The second option is to take or send the product (prepaid) to a Black & Decker owned or authorized Service Center for repair or replacement at our option. Proof of purchase may be required.Black & Decker owned and authorized Service Centers are listed under
This warranty does not apply to accessories. This warranty gives you specific legal rights and you may have other rights which vary from state to state or province to province. Should you have any questions, contact the manager of your nearest Black & Decker Service Center. This product is not intended for commercial use.
FREE WARNING LABEL REPLACEMENT: If your warning labels become illegible or are missing, call
Black & Decker (U.S.) | See ‘Tools- | |
Inc., | Electric’ | |
701 E. Joppa Rd. | – Yellow Pages – | |
Towson, MD 21286 | for Service & | |
Sales | ||
U.S.A. | ||
|
Ponceuse de finition
MODE D’EMPLOI
N° de catalogue QS540
MERCI D’AVOIR CHOISI BLACK & DECKER !
VISITEZ WWW.BLACKANDDECKER.COM/NEWOWNER
POUR ENREGISTRER VOTRE NOUVEAU PRODUIT.
AVANT DE RETOURNER CE PRODUIT POUR QUELQUE
RAISON QUE CE SOIT, COMPOSER LE
AVANT D’APPELER, AYEZ EN MAIN LE N° DE CATALOGUE ET LE CODE DE DATE. DANS LAPLUPART
DES CAS, UN REPRÉSENTANT DE BLACK & DECKER PEUT RÉSOUDRE LE PROBLÈME PAR
TÉLÉPHONE. SI VOUS AVEZ UNE SUGGESTION OU UN COMMENTAIRE,
IMPRESSIONS SONT CRUCIALES POUR BLACK & DECKER.
RENSEIGNEMENTS IMPORTANTS
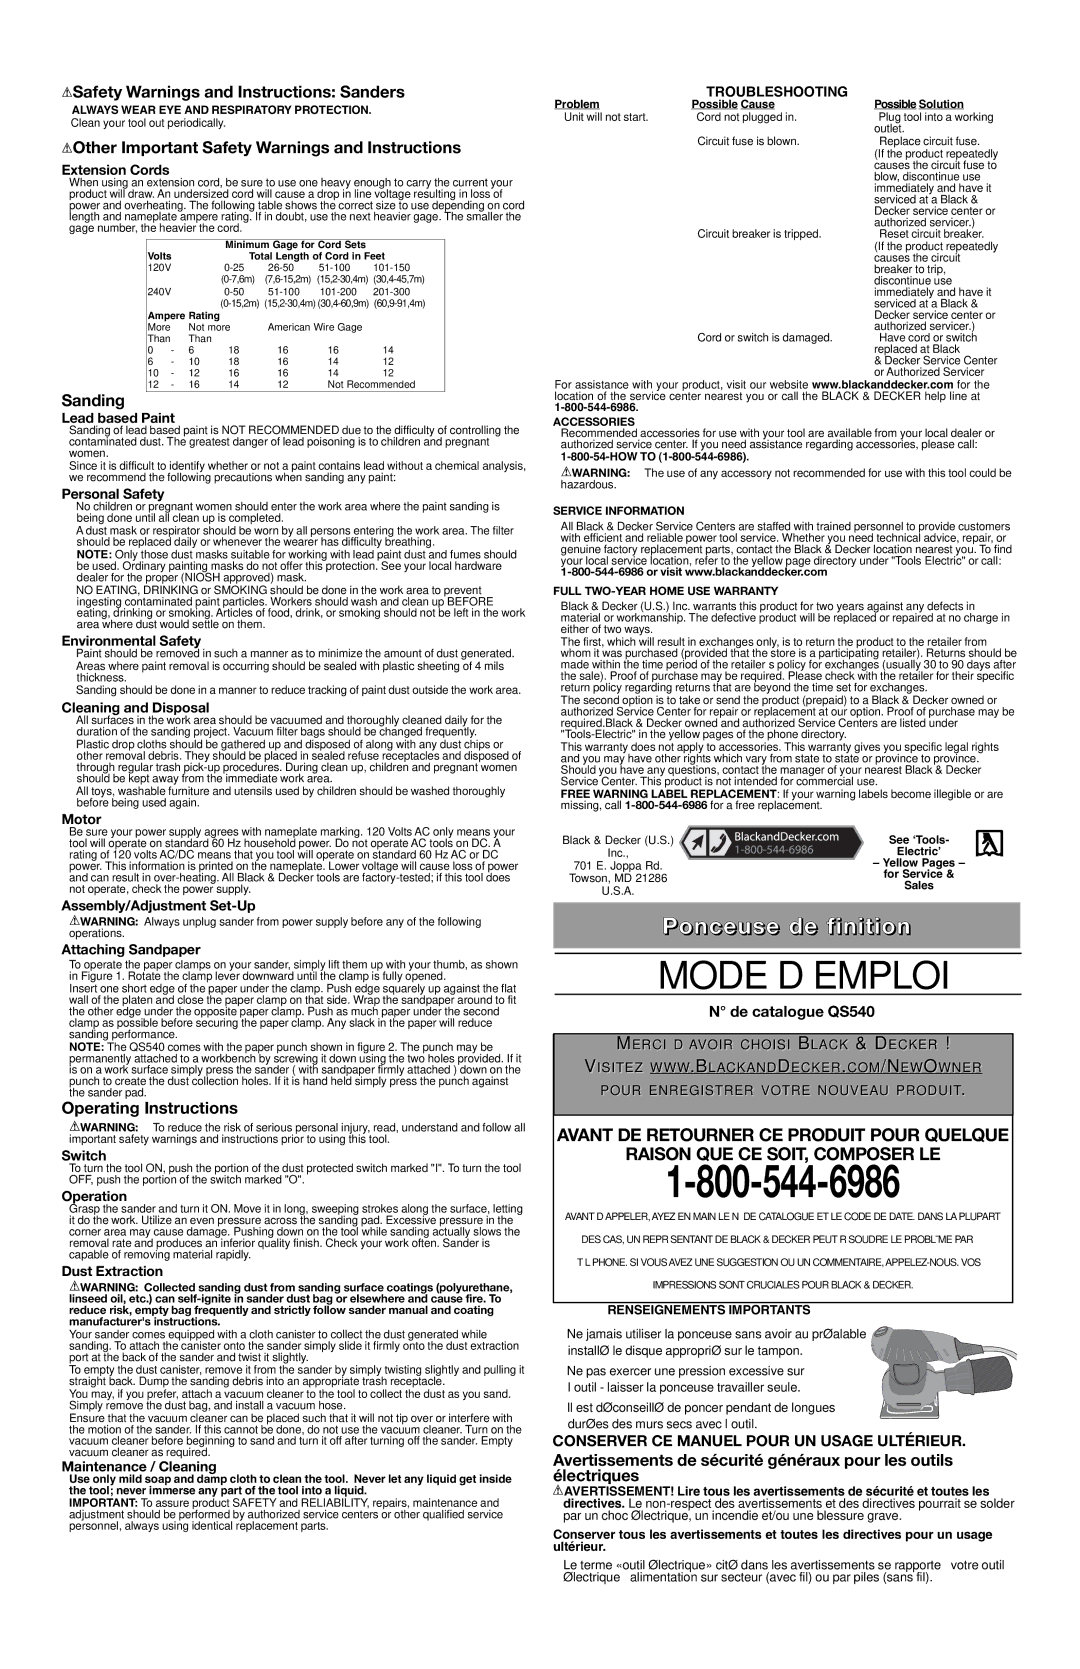
• Ne jamais utiliser la ponceuse sans avoir au préalable ![]() installé le disque approprié sur le tampon.
installé le disque approprié sur le tampon. ![]()
![]()
![]()
![]()
![]()
![]()
![]()
• Ne pas exercer une pression excessive sur l’outil - laisser la ponceuse travailler seule.
• Il est déconseillé de poncer pendant de longues durées des murs secs avec l’outil.
CONSERVER CE MANUEL POUR UN USAGE ULTÉRIEUR.
Avertissements de sécurité généraux pour les outils électriques
![]() AVERTISSEMENT! Lire tous les avertissements de sécurité et toutes les directives. Le
AVERTISSEMENT! Lire tous les avertissements de sécurité et toutes les directives. Le
Conserver tous les avertissements et toutes les directives pour un usage ultérieur.
Le terme «outil électrique» cité dans les avertissements se rapporte à votre outil électrique à alimentation sur secteur (avec fil) ou par piles (sans fil).