PRJE650 specifications
The Black & Decker PRJE650 is a powerful powerhouse in the field of juicing, offering both performance and versatility. This juicer is designed for those who value health and convenience, providing an easy way to incorporate fresh juices into their daily routine.One of the standout features of the PRJE650 is its robust 650-watt motor. This high-power motor ensures that users can extract juice from a variety of fruits and vegetables effortlessly. Whether it’s soft oranges or harder vegetables like carrots, the motor allows for quick and effective juicing without any problem.
The PRJE650 incorporates a wide-mouthed feed chute, measuring up to 3 inches in diameter, which means less pre-cutting is required. Users can simply drop whole fruits or larger pieces into the chute, significantly speeding up the preparation process and making it more convenient for those with a busy lifestyle.
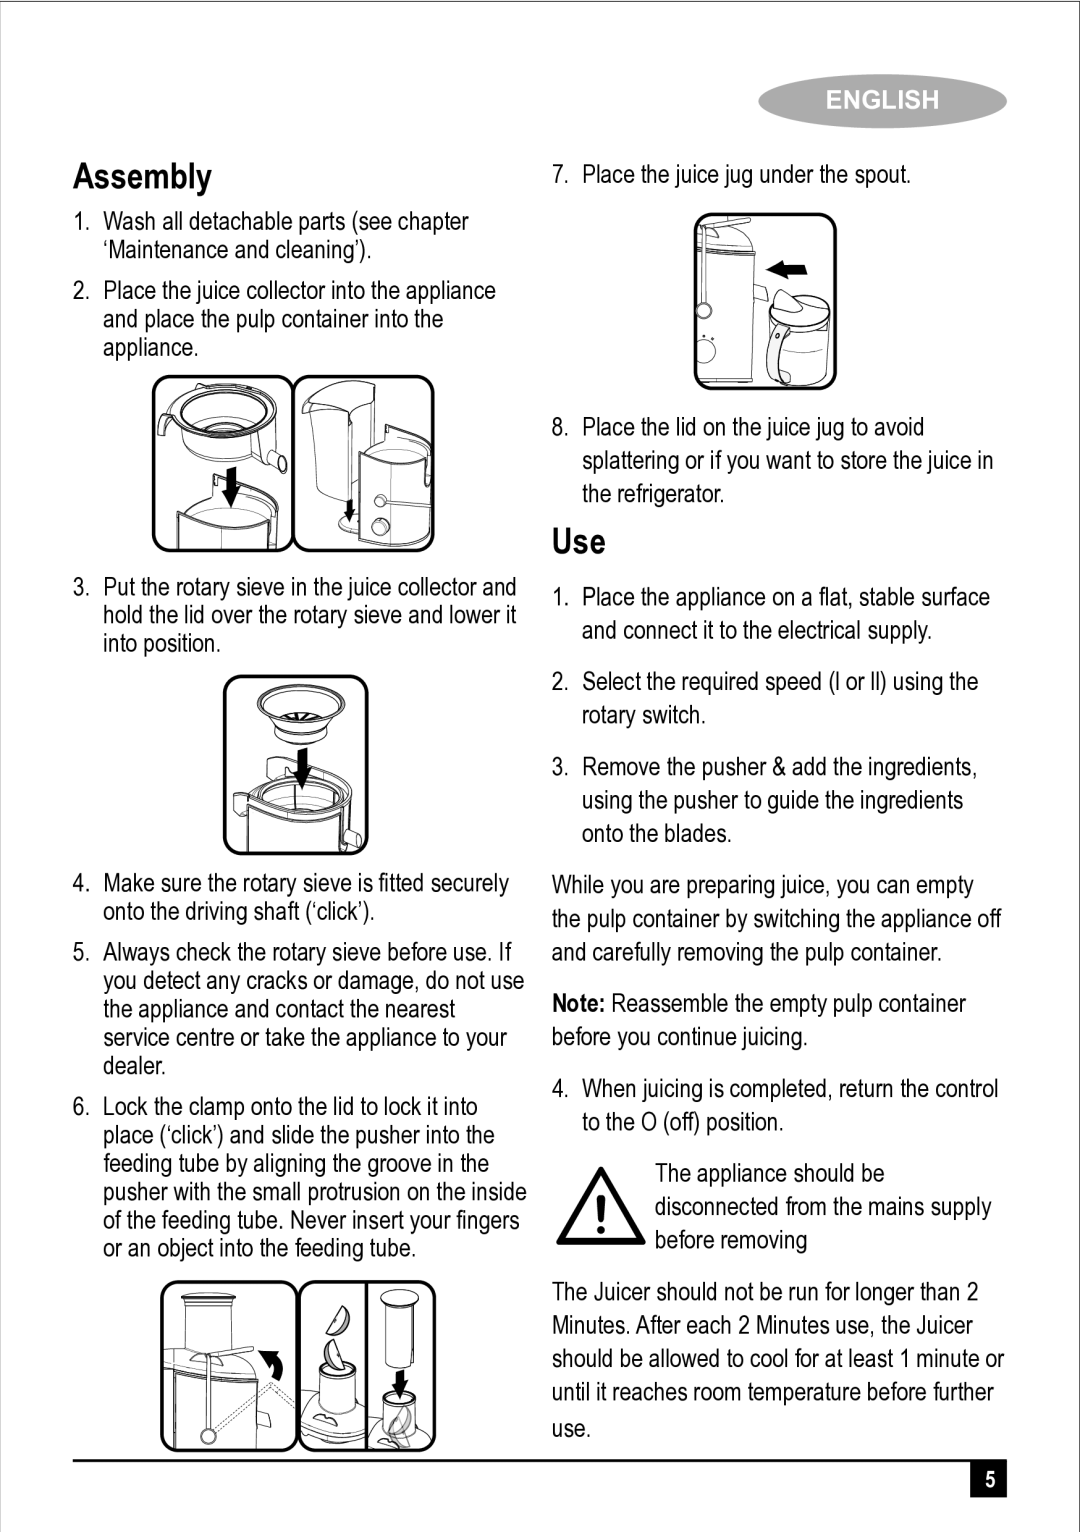
This juicer also boasts a stainless steel micro-mesh filter that ensures maximum juice extraction from the produce. The filter is designed to separate pulp from juice efficiently, giving users a smoother juice with less waste. This technology not only enhances the quality of juice but also ensures optimal nutrient retention, making it an excellent choice for health-conscious individuals.
Another noteworthy characteristic of the PRJE650 is its easy-to-clean design. The removable parts are dishwasher safe, allowing for hassle-free cleaning after use. This feature is crucial for anyone who juices regularly, as it saves time and effort compared to manual washing.
Additionally, this juicer features a safety locking mechanism to prevent any accidental operation. This thoughtful design ensures that users can feel secure while juicing, knowing that the machine will only operate when everything is correctly assembled.
The Black & Decker PRJE650 also has a compact design, making it ideal for kitchens with limited counter space. Its sleek and modern aesthetic ensures that it fits well with any kitchen decor while remaining functional and efficient.
In summary, the Black & Decker PRJE650 juicer is a reliable kitchen appliance that combines power, convenience, and easy maintenance. With its strong motor, wide feed chute, stainless steel filter, and user-friendly design, this juicer is perfect for anyone looking to enjoy fresh, homemade juices regularly. Whether for health benefits or simply the enjoyment of fresh flavors, the PRJE650 is a solid choice for juicing enthusiasts.

