ASSEMBLY INSTRUCTIONS | |
ASSEMBLY TOOLS REQUIRED (NOT SUPPLIED): | |
- Phillips Screwdriver |
|
ATTACHING GUARD TO TRIMMER | |
WARNING: Only use with guard properly assembled to | |
hedge trimmer. The use of thehedge trimmer without the | |
proper guard provided may result in serious personal injury. | |
The trimmer is shipped with the guard unattached to the trimmer. To | |
attach the guard: | A |
• Position the guard in place | |
as shown in figure A. |
|
• Insert the phillips head |
|
B | |
screws into the openings |
|
on the side of the guard |
|
and tighten securely as |
|
shown in figure B. |
|
|
|
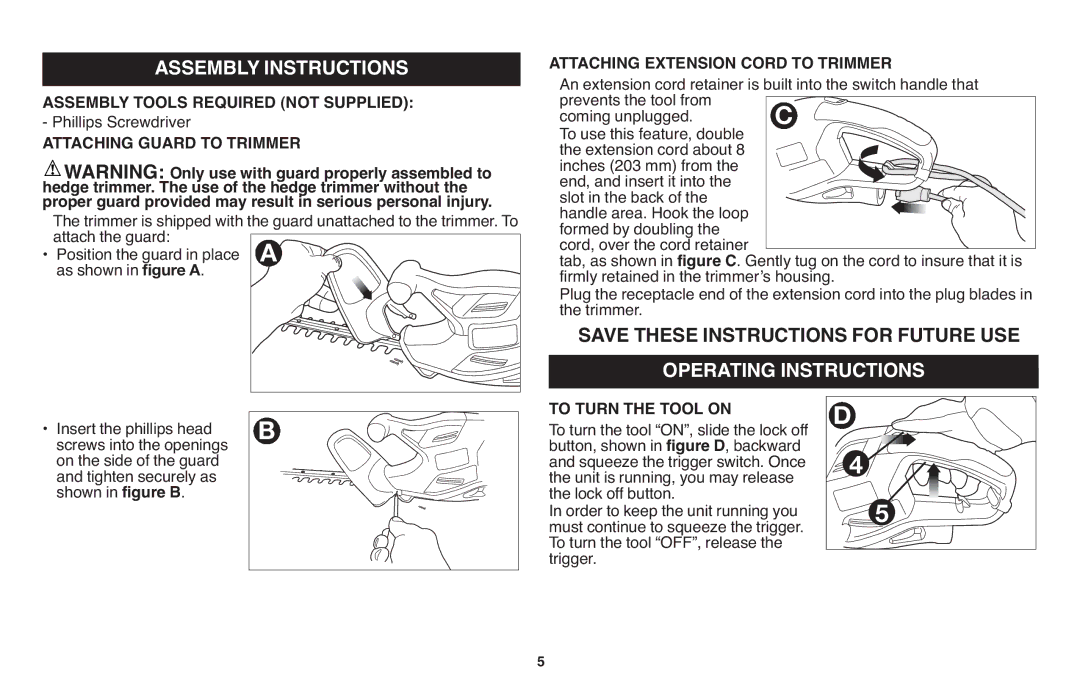
ATTACHING EXTENSION CORD TO TRIMMER | ||
An extension cord retainer is built into the switch handle that | ||
prevents the tool from | C |
|
coming unplugged. |
| |
To use this feature, double |
|
|
the extension cord about 8 |
|
|
inches (203 mm) from the |
|
|
end, and insert it into the |
|
|
slot in the back of the |
|
|
handle area. Hook the loop |
|
|
formed by doubling the |
|
|
cord, over the cord retainer |
|
|
tab, as shown in figure C. Gently tug on the cord to insure that it is | ||
firmly retained in the trimmer’s housing. | ||
Plug the receptacle end of the extension cord into the plug blades in | ||
the trimmer. |
|
|
SAVE THESE INSTRUCTIONS FOR FUTURE USE | ||
OPERATING INSTRUCTIONS | ||
TO TURN THE TOOL ON |
| D |
To turn the tool “ON”, slide the lock off |
| |
button, shown in figure D, backward | 4 | |
and squeeze the trigger switch. Once | ||
the unit is running, you may release |
| |
the lock off button. |
| 5 |
In order to keep the unit running you | ||
must continue to squeeze the trigger. |
| |
To turn the tool “OFF”, release the |
| |
trigger. |
|
|
5