BM 2609140573 04-08 4/15/08 3:11 PM Page 9
Aim the laser beam at the target surface. Push the measuring button 9 again to initiate the measurement.
In the continuous measurement mode and continuous laser beam mode, the measurement already starts upon first actuation of the measuring button 9.
The measured value appears after 0.5 to 4 seconds. The duration of the measurement depends on the distance, the light conditions and the reflection properties of the target surface. The end of the measurement is indicated by a signal tone. The laser beam is switched off automatically upon completion of the measurement.
When no measurement has taken place approx. 20 seconds after sighting, the laser beam is switched off automatically to save the batteries.
Selecting the Reference Point (see figures
For measuring, it is possible to select from four different reference points:
•The rear edge of the rangefinder (e.g., when placing the rangefinder flush against a wall),
•The rear edge of the extension pin 14 (e.g., for measurements out of corners).
•The front edge of the rangefinder (e.g., as when measuring from the edge of a table onward),
•The center of the 1/4” threaded hole 21 (e.g., is for measuring with the tripod).
To select the reference point, push button 10 repeatedly until the required reference point is indicated in the display. Each time after switching on, the rear edge of the rangefinder is preset as the reference point.
Changing the Unit of Measure
The unit of measure can be changed any time for display of the measured values, even for already measured or calculated values.
The three units of measure shown left are available for display of current length measurements.
Area and volume values as well as stored measured values can only be displayed in “ft” or “m”.
To change the unit of measure, push button 12 until a new unit of measure is displayed.
The
Continuous Laser Beam
If required, the rangefinder can be set so that the laser beam stays on in between measurements. For this, briefly push button 12. The indication “LASER” lights up continuously in the display.
! WARNING | Do not point the laser beam |
| at persons or animals and |
|
do not look into the laser beam yourself, not even from a large distance.
In this setting, the laser beam also remains switched on between measurements; to take a measurement, it is only required to push the measuring button 9 once.
To switch off the continuous laser beam, briefly push button 12 again or switch the rangefinder off. When switching on again, the rangefinder is in normal operation; the laser beam only appears when pushing the measuring button 9.
MEASURING MODES
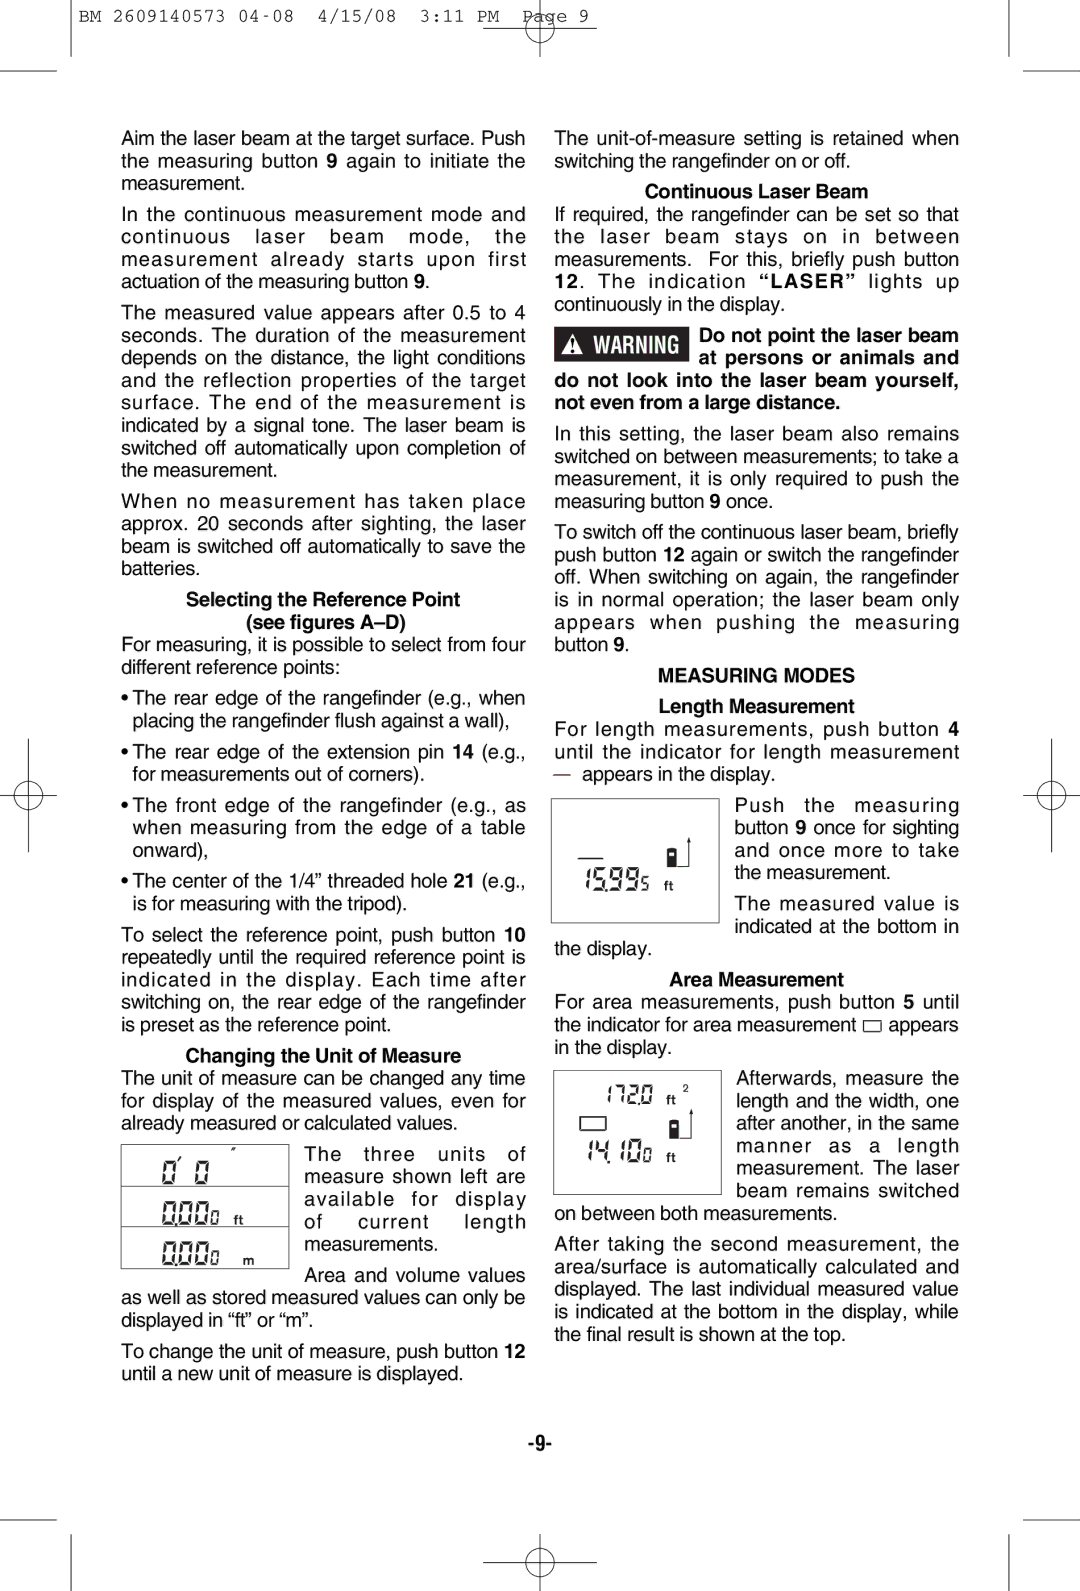
Length Measurement
For length measurements, push button 4 until the indicator for length measurement
appears in the display.
Push the measuring button 9 once for sighting and once more to take the measurement.
The measured value is indicated at the bottom in
the display.
Area Measurement
For area measurements, push button 5 until the indicator for area measurement ![]() appears in the display.
appears in the display.
Afterwards, measure the length and the width, one after another, in the same manner as a length measurement. The laser beam remains switched
on between both measurements.
After taking the second measurement, the area/surface is automatically calculated and displayed. The last individual measured value is indicated at the bottom in the display, while the final result is shown at the top.