251 specifications
The Bose 251 speakers are a celebrated choice for outdoor audio enthusiasts seeking high-quality sound in a rugged, weather-resistant design. Known for their robust performance and sleek aesthetics, these speakers are ideally suited for patios, decks, and other outdoor spaces.One of the standout features of the Bose 251 is its patented Multi-Directional Audio technology. This technology designs the speaker's drivers to project sound in multiple directions, allowing for a wider sound field. This means that no matter where you are in the outdoor space, you can enjoy clear, balanced audio. The integrated 5.25-inch woofers and 2.5-inch tweeters work in harmony to deliver an impressive frequency range, ensuring that both deep bass and crisp highs are well-represented.
The construction of the Bose 251 speakers reflects their commitment to durability and longevity. They are crafted with materials that resist the elements, including UV-resistant enclosures and weather-resistant grilles. This makes them a reliable choice for outdoor installation, ensuring that they endure rain, sun, or snow without losing sound integrity. They are designed to withstand temperature extremes and resist fading, enabling them to maintain both their function and appearance through various weather conditions.
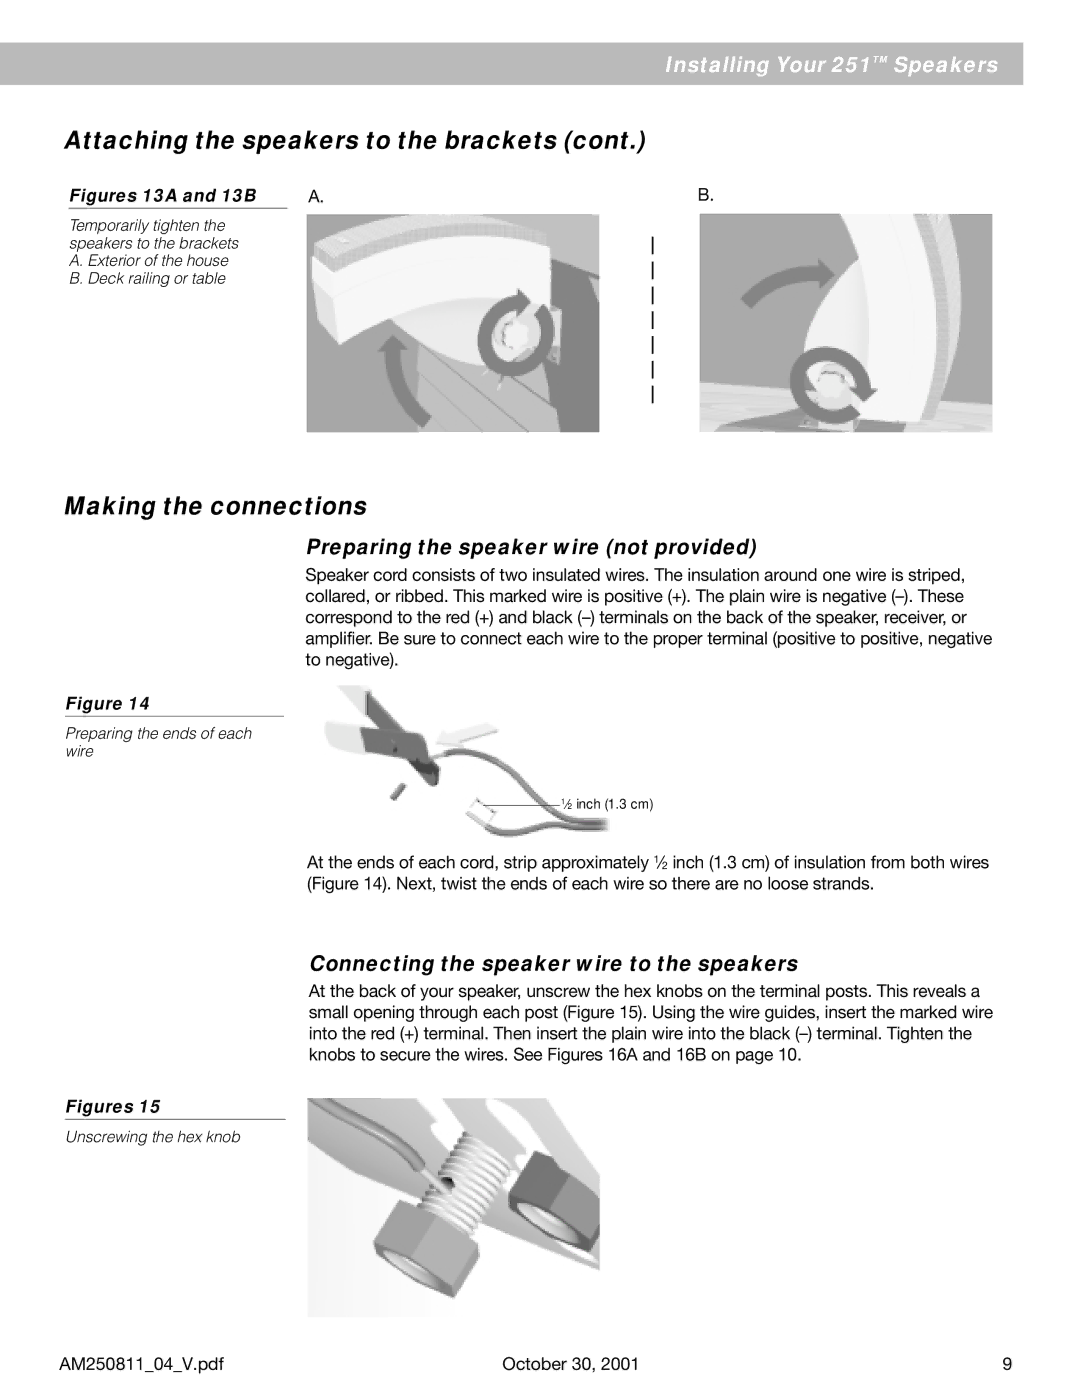
Installation is made easy with the Bose 251 speakers, which feature a flexible mounting system that allows them to be positioned in a variety of orientations. This adaptability ensures that users can maximize sound projection and enhance the listening experience in their specific outdoor layout.
In addition to their technological advancements and robust build, the Bose 251 speakers are designed with a modern, elegant aesthetic that can easily blend into outdoor environments. Available in two classic colors, these speakers can complement any patio or garden décor, providing not only high-quality sound but also visual appeal.
Overall, the Bose 251 outdoor speakers offer a compelling combination of advanced sound technology, durability, and elegant design, making them an excellent option for anyone looking to elevate their outdoor audio experience. Whether for parties, relaxation, or outdoor events, these speakers promise to deliver an exceptional auditory experience while standing resilient against the rigors of the outdoors.

