Manuals
/
Bradley Smoker
/
Household Appliance
/
Plumbing Product
Bradley Smoker
E19-120A Installation Instructions, Supplies Required, Assemble drench shower
Models:
E19-120A
1
3
4
4
Download
4 pages
21.77 Kb
1
2
3
4
Install
Assembly of Comk3onents
Page 3
Image 3
Page 2
Page 4
Page 3
Image 3
Page 2
Page 4
Contents
Table of Contents
Installation Instructions
Bradley Drench Shower - Horizontal Supply Model E19-120A
Operation
Pre-Installation Information
Check Contents
Bradley Drench Shower Warranty
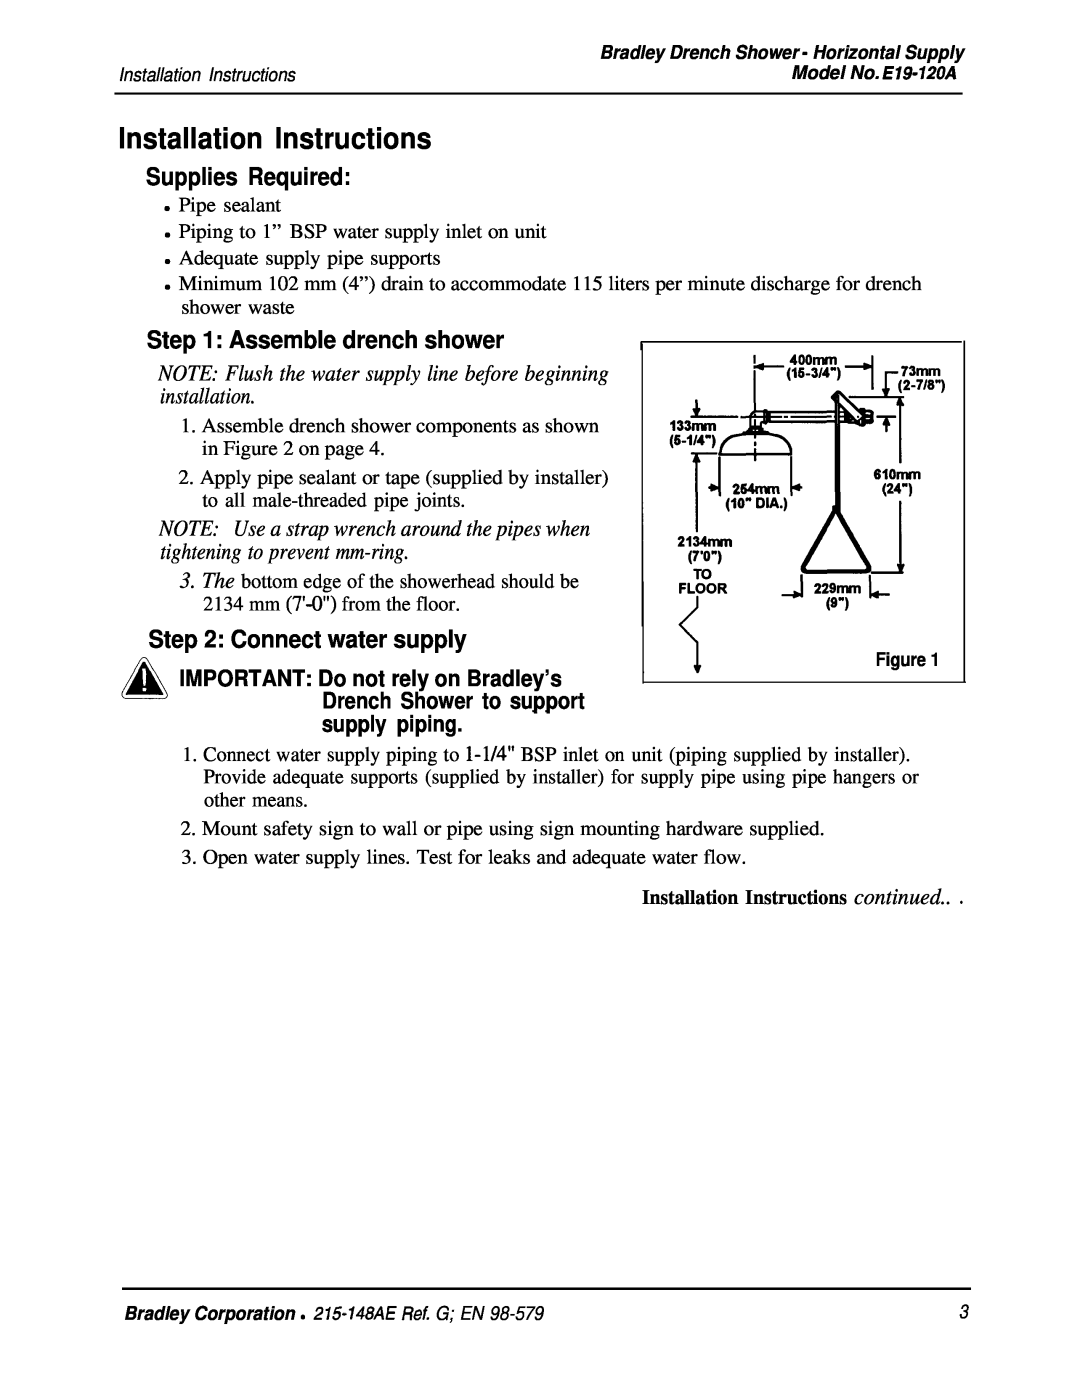
Step 2 Connect water supply
Installation Instructions
Supplies Required
Step 1 Assemble drench shower
Bradley Corporation 215148AE Ref. G EN
Assembly of Comk3onents
IService Parts List
Model No. EM-120A
Top
Page
Image
Contents