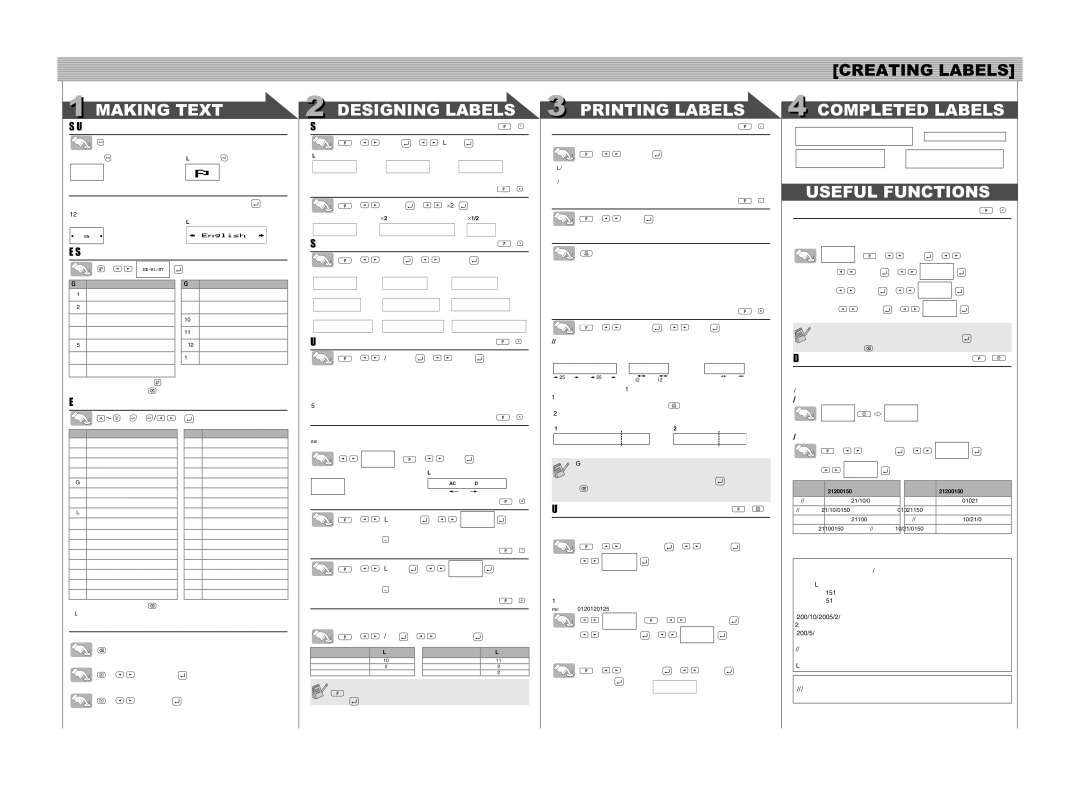
2 DESIGNING LABELS
[Size] | | ( | + ) |
> | [Size] > | [Large] | |
[Large] | [Medium] | [Small] | |
Automatically adjusts the text size according to the tape width.
[Width] | | | ( | + | ) |
> | [Width] | > | [⋅2] | | |
[Normal] | [⋅2] | | [⋅1/2] | | |
[Style] (Vertical) | | ( | + | ) |
> | [Style] | > | [Vertical] | | |
[Normal] | [Bold] | | [Outline] | | |
3 PRINTING LABELS
You can preview the text before printing.
 >
>
 [Preview]
•The LCD shows the whole text and the label length (inch/mm), then returns to the original text.
•Only the text can be previewed, not the font, style, size, underline/frame or any additional features.
 >
>
 [Feed]
Printing
• | To cut off the label, push in the tape cutter lever on the upper-right corner of the |
| machine. |
• | To prevent damage to the tape, do not try to cut while the message "Print" or "Feed" |
1
2
3
4
5
6
7
•To go to the next group, press  .
.
•To cancel operations, press  .
.
[Shadow] | [Italic] | [I+Bold](Italic Bold) | |
| | | | | | | | | |
[I+Outl](Italic Outline) | [I+Shadow](Italic Shadow) | [Vertical] | |
| | | | | | | | | |
| | | | | | | | | |
[Underline/Frame]( +
+ )
)
 >
>
 [Undl/Frm]
  >
>
 [Undl]
[Off] | [Undl](Underline) [Round] | [Candy] |
[Callout] [Banner] [Wooden]
is displayed. |
• When Chain Print is set, "OK to Feed?" will appear after printing. (See the Note of |
[Chain Prt] in [Margin] (Tape Margin). ) |
[Margin] (Tape Margin) | ( + ) |
 >
>
 [Margin]
  >
>
 [Full]
[Full]/[Half]/[Narrow] is for leaving equal margins on both sides of the text.
NOTE: Cut along the printed dots (:) with scissors so the text is centered in the label.
FullHalfNarrow
| | ABC | | | | : ABC | | : ABC | |
| | | | | | | | | | | | | |
| | | | | | | | | | | | |
| 25mm | | 25mm | 12mm 12mm | 4mm 4mm |
| | | | | |
[Chain Prt] (Chain Print) is for printing more than 1 copy of a label with min-
Entering Accented Characters
> > / | > |
Accented Characters | Accented Characters |
A | a |
C | c |
D | d |
E | e |
G | g |
I | i |
K | k |
L | l |
N | n |
O | o |
R | r |
S | s |
T | t |
U | u |
Y | y |
Z | z |
•To cancel operations, press  .
.
•The order of accented characters differ by the selected LCD language.
To Clear
By pressing the Backspace Key, the letters will be deleted one by one.
All text and settings will be cleared.
 >
>
 [Txt&Format]
  .
.
Only text will be cleared.
 >
>
 [Text Only]
  .
.
Frames cannot be printed on 3.5 mm tape.
You can align text by setting tabs.
Example: To set a tab between "ABC" and "D"
The cursor should be positioned where you set a tab.


 >
> >
>
 [Tab]
[Tab] 
Display | Label image | | | |
| | | | | | | | |
| | ABC | | D | |
| | | | | | | | |
| | | | Tab | | | | |
| | | | | | |
[Tab Length](Auto / 0 - 100 mm) | | | ( + ) |
|
 >
>
 [Tab Length]
  >
>

•You can also select the length by entering the length with Number keys.
•To return to [Auto], press  .
.
[Label Length](Auto / 30 - 300 mm) | ( + ) |
 >
>
 [Length]
  >
>


•You can also select the length by entering the length with Number keys.
•To return to [Auto], press  .
.
You can choose label length from six formats to create labels for various ap- plications.
 >
>
 [A/F]
[A/F]  >
>
 [VCR VHS]
Application | Length | | Application | Length |
VCR VHS | 140 mm | | CD Spine | 113 mm |
Mini DV | 42 mm | | File Tab | 82 mm |
Audio | 89 mm | | Divider | 42 mm |
You can also use the Function shortcuts for these menu. Press the
 and the shortcut key shown next to the menu title. To confirm,
press  .
.
imum margin <e.g. 1>. You can also create a label containing texts in various
styles; enter a text in one style and press  . After that, cancel feeding (see the note below), and enter the second text in another style <e.g.2>.
Chain Print | |
<e.g. 1> | <e.g. 2> |
ABC ABC ABC | | ABC | ABC | |
| | | DEF | |
(feed & cut) | | (feed & cut) |
• FEED THE TAPE BEFORE USING THE CUTTER OTHERWISE A PART OF THE TEXT MAY BE CUT OFF.
•After printing, "OK to Feed?" will appear. Press  to feed. Press
 to cancel.
•Do not try to pull the tape since this may damage the tape cassette.
Using [Print Option] | ( + ) |
[Copies]
You can print up to 9 copies of each label.
 >
>
 [Print Option]
  >
>
 [Copies]
  >
>
You can also select the number of copies by entering with Number keys.
[Numbering]
You can print many copies of the same text while increasing a selected number by 1 after each label is printed.
Example: To print copies of a label containing a serial number (0123, 0124 and 0125)
> >
>
 [Print Option]
  >
>

 [Numbering]
  >
>

Select the highest number you wish to be printed when setting the number.
[Mirror]
 >
>
 [Print Option]
  >
>
 [Mirror]
  > [Mirror Prt?]

Use clear tape in [Mirror], so the labels can be read correctly from the oppo- site side when attached on glass, windows or other transparent surfaces.
To add Time/Date to your text:
The cursor should be positioned where you wish to insert the time and date.
To select the format of Time/Date:
 >
>
 [TimeDate]
  >
>

Format | Example | | Format | Example |
(October 21st 2009, 15:30) | | (October 21st 2009, 15:30) |
| | |
D/M/Y | 21/10/09 | | Y-M-D | 09-10-21 |
| | | | |
D/M/Y hm | 21/10/09 15:30 | | Y-M-D hm | 09-10-21 15:30 |
| | | | |
D.M.Y | 21.10.09 | | M/D/Y | 10/21/09 |
| | | | |
D.M.Y hm | 21.10.09 15:30 | | M/D/Y hm | 10/21/09 15:30 |
| | | | |
To change the Clock Settings:
See step 4 of the "Initial Settings".
| Declaration of Conformity |
| (Europe/Turkey only) |
We, | BROTHER INDUSTRIES, LTD |
| 15-1, Naeshiro-cho, Mizuho-ku, |
| Nagoya, 467-8561, Japan |
declare that this product is in compliance with the essential requirements and other relevant provisions of Directives 2004/108/EC and 2005/32/EC. The Adapter AD-24ES is in compliance with the essential requirements and other relevant provisions of Directive 2006/95/EC.
The Declaration of Conformity (DoC) is on our Web site. Please go to http://solutions.brother.com -> choose region (eg. Europe) -> choose country -> choose your model -> choose "Manuals"-> choose Declaration of Conformity (*Select Language when required).
Contact Information
Contact may differ by country. See the Web site. (http://www.brother.com/)