
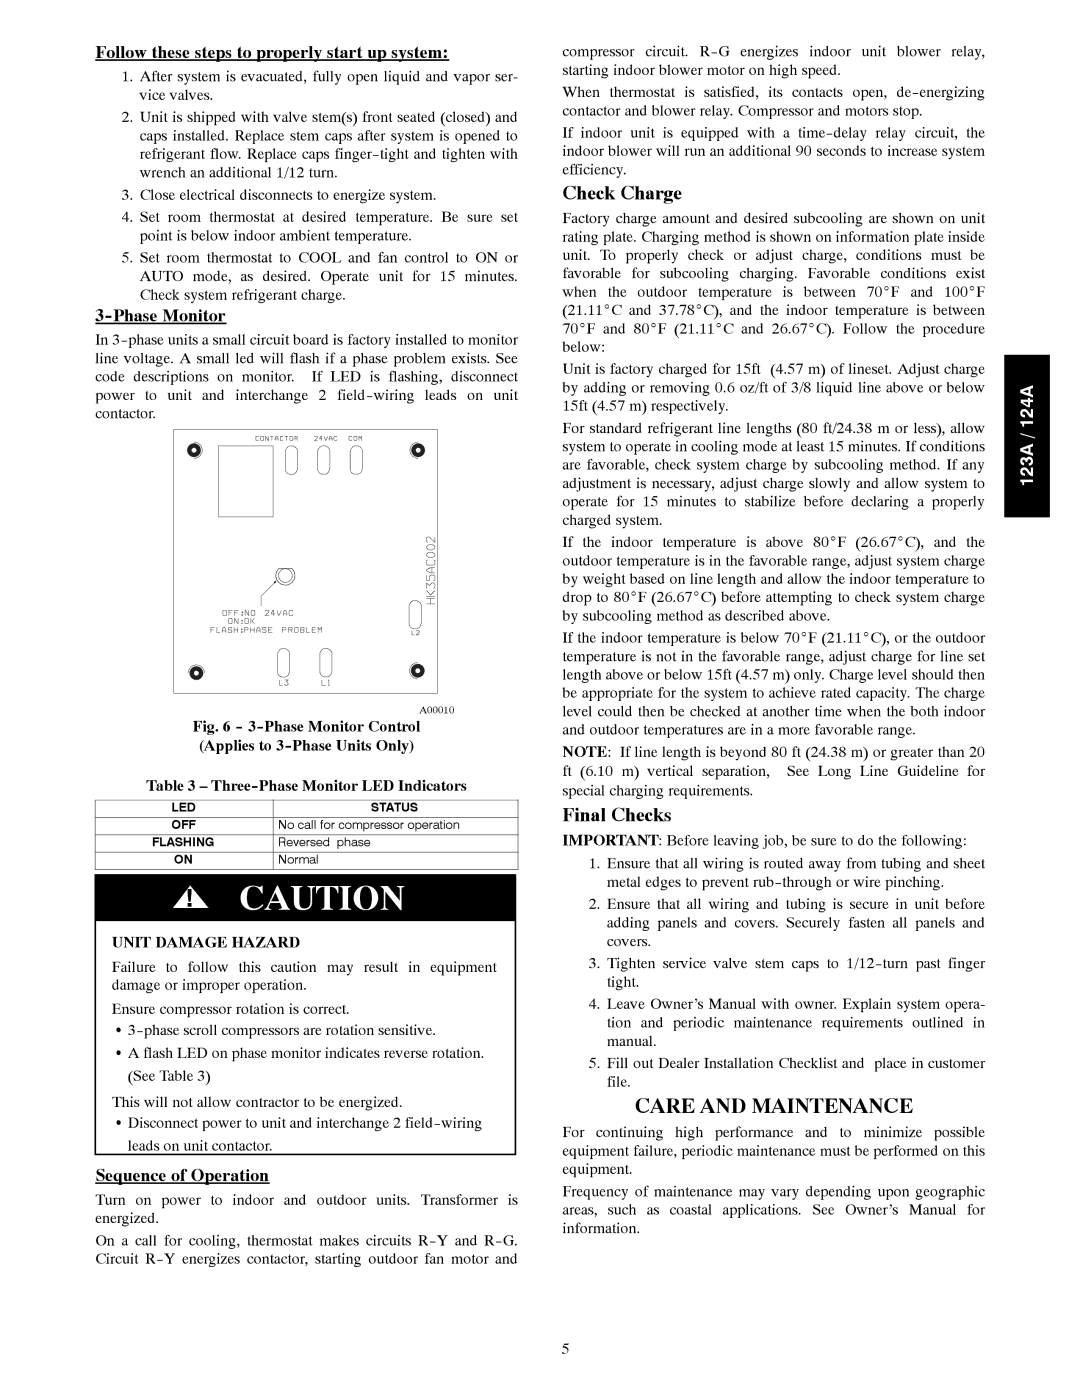
123A specifications
Bryant 123A is a high-efficiency residential air conditioning unit that stands out for its reliable performance and advanced features. Designed with homeowners in mind, this model combines modern technology with user-friendly functionality, ensuring optimal comfort in various climates.One of the main features of the Bryant 123A is its variable-speed compressor, which allows for precise temperature control and energy savings. Unlike traditional units that operate at a fixed speed, the variable-speed compressor adjusts its output based on the cooling needs of the home. This not only maintains a more consistent indoor temperature but also reduces energy consumption, making it an environmentally friendly choice.
The unit also boasts a SEER (Seasonal Energy Efficiency Ratio) rating of up to 19. This high rating means that the Bryant 123A operates with exceptional energy efficiency, translating into lower utility bills. Homeowners will appreciate the long-term savings that come with this energy-efficient design.
In addition to its impressive efficiency, the Bryant 123A features a robust construction designed to withstand various weather conditions. The steel cabinet is both durable and corrosion-resistant, ensuring that the unit will endure over time. Furthermore, the unit is equipped with a sound-dampening system that minimizes operational noise, providing a quieter indoor environment.
Smart technology integration is another significant characteristic of the Bryant 123A. Homeowners can benefit from the optional Ecobee Smart Thermostat compatibility, allowing remote access and control of the cooling system through smartphone apps. This feature enables users to adjust settings from anywhere, enhancing convenience and energy management.
Moreover, the Bryant 123A utilizes eco-friendly refrigerant, further solidifying its commitment to sustainable practices. The R-410A refrigerant is not only effective at cooling but also contributes to lower ozone depletion potential. This choice aligns with modern environmental standards and regulations, making the unit a responsible choice for conscious consumers.
Overall, the Bryant 123A unit is a standout option for residential air conditioning, offering advanced features, high efficiency, and durable construction. Whether for new installations or replacements, this model promises to deliver reliable cooling performance while maximizing cost savings and environmental responsibility. Homeowners seeking comfort without compromise will find the Bryant 123A an ideal solution for their cooling needs.